Difference between revisions of "Acrylic Clear Enclosure for pcDuino3"
Qian.zhang (talk | contribs) (→Usage) |
Qian.zhang (talk | contribs) (→Usage) |
||
| Line 16: | Line 16: | ||
[[File:pcDuino3 acrylic1.jpg]] | [[File:pcDuino3 acrylic1.jpg]] | ||
| − | ''Step 1'' | + | |
| + | '''Step 1''' | ||
Tear off the wrapping paper. | Tear off the wrapping paper. | ||
| Line 24: | Line 25: | ||
[[File:pcDuino3 acrylic3.jpg]] | [[File:pcDuino3 acrylic3.jpg]] | ||
| − | ''Step 2'' | + | |
| + | '''Step 2''' | ||
Fix the copper pillars and caps on pcDuino3 | Fix the copper pillars and caps on pcDuino3 | ||
| Line 30: | Line 32: | ||
[[File:pcDuino3 acrylic4.jpg]] | [[File:pcDuino3 acrylic4.jpg]] | ||
| − | [[File:pcDuino3 | + | [[File:pcDuino3 acrylic6.jpg]] |
| − | [[File:pcDuino3 | + | [[File:pcDuino3 acrylic7.jpg]] |
Revision as of 01:45, 1 July 2014
Introduction
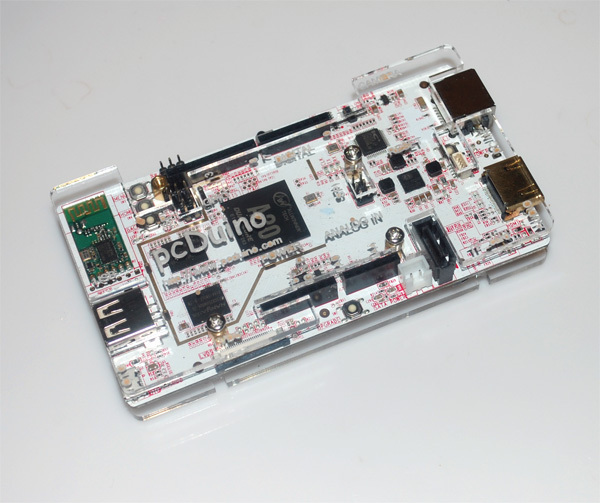
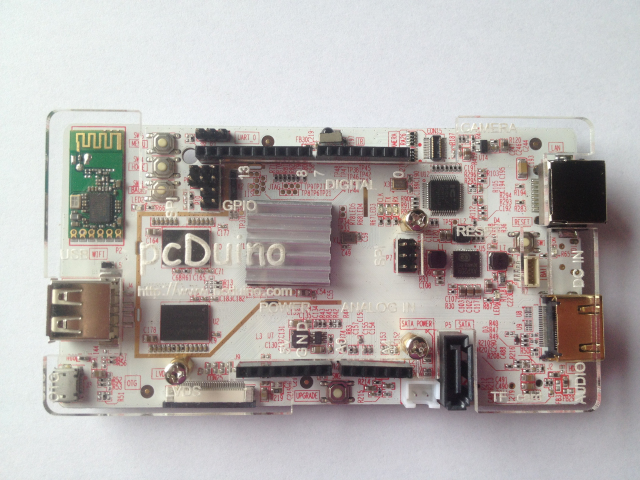
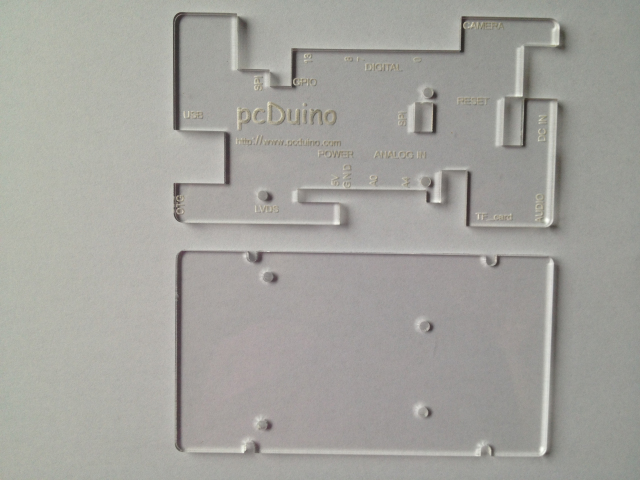
This is a acrylic clear enclosure for your pcDuino3. The Arduino shield can still be installed on the pcDuino3 when the enclosure is installed.
Caution
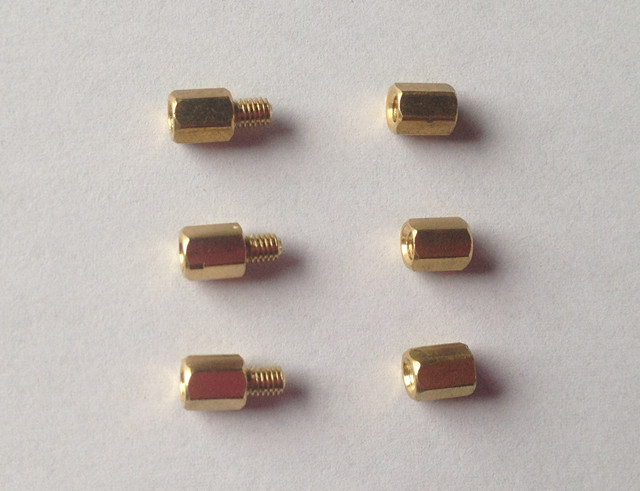
If your pcDuino V3 is Android system, please only fix 3 copper pillars on pcDuino V3. You can see the details in Usage.
Usage
Below is installation instructions.
Step 1
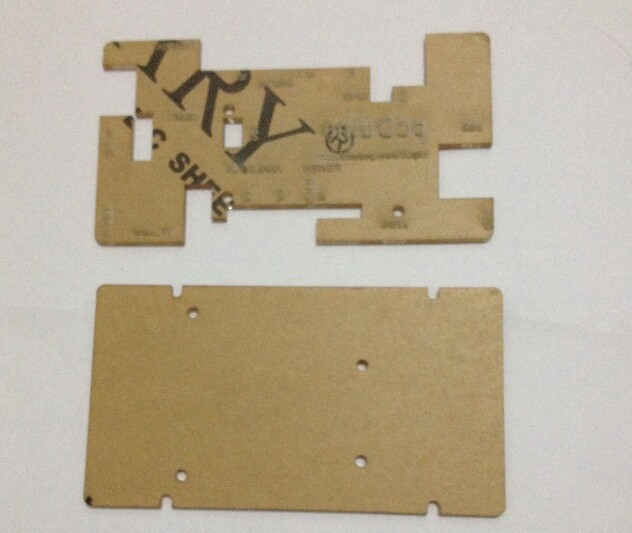
Tear off the wrapping paper.
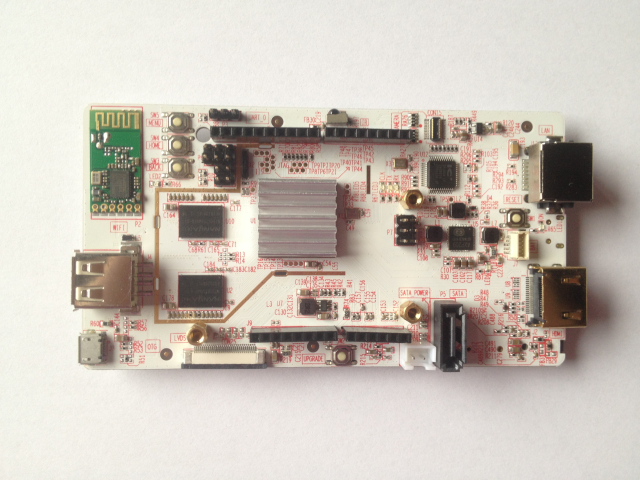
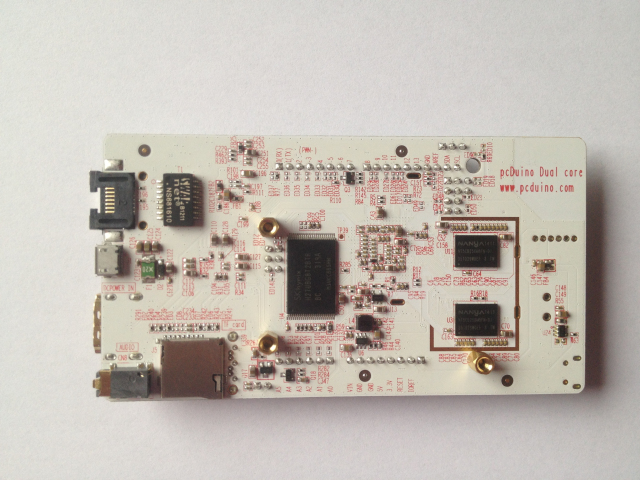
Step 2
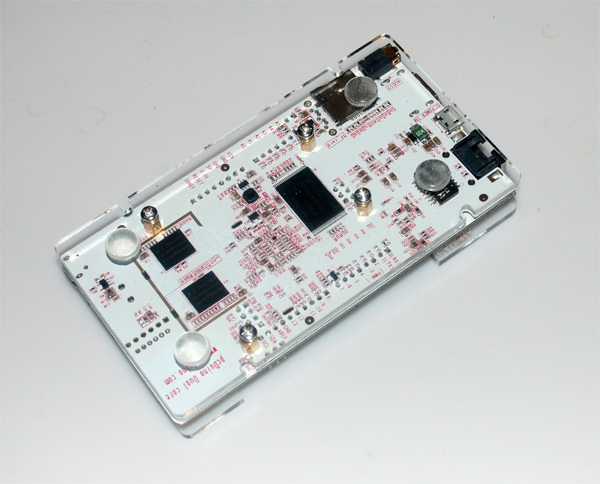
Fix the copper pillars and caps on pcDuino3
