Difference between revisions of "Acrylic Clear Enclosure for pcDuino3"
Qian.zhang (talk | contribs) (→Usage) |
Qian.zhang (talk | contribs) (→Parts List) |
||
| (13 intermediate revisions by 2 users not shown) | |||
| Line 9: | Line 9: | ||
If your pcDuino V3 is Android system, please only fix 3 copper pillars on pcDuino V3. You can see the details in Usage. | If your pcDuino V3 is Android system, please only fix 3 copper pillars on pcDuino V3. You can see the details in Usage. | ||
| + | |||
| + | == Parts List == | ||
| + | |||
| + | *1× [http://linksprite.com/wiki/index.php5?title=PcDuino3亚克力外壳_(上板A版) Acrylic Clear Top Plate for pcDuino3] [IT_ACRY_PCDU3A]] [CB101104] | ||
| + | *1× [http://linksprite.com/wiki/index.php5?title=PcDuino3亚克力外壳(底板) Acrylic Clear Bottom Plate for pcDuino3] [IT_ACRY_PCDU3]] [CB101103] | ||
| + | *4× [http://linksprite.com/wiki/index.php5?title=单通六角铜柱_隔离柱螺丝铜螺柱M3*4%2B6MM Copper Pillar] [IT_COPPCYL_4+6MM] [WA101103] | ||
| + | *3× [http://linksprite.com/wiki/index.php5?title=中空六角铜柱6MM Copper Nut] [IT_COPPCYL_6MM] [WA101102] | ||
| + | *7× [http://linksprite.com/wiki/index.php5?title=螺丝长6MM M3 Screw] [IT_SCREW_6MM] [WB101102] | ||
| + | *4× [http://linksprite.com/wiki/index.php5?title=塑料脚垫_XDTW1204_(Silicone_Bumpers_) Foot Sticker] [IT_COM_BUM1204]] [[ZC101101] | ||
| + | *1× [http://linksprite.com/wiki/index.php5?title=%E6%95%A3%E7%83%AD%E7%89%8719X19X5mm_%2B_%E6%95%A3%E7%83%AD%E7%89%87%E8%B4%B4%E7%BA%B8_17X17mm 散热片19X19X5mm + 散热片贴纸 17X17mm ][ IT_KIT_STI17MM_SINK19MM] [ZB2010101] | ||
== Usage == | == Usage == | ||
| Line 14: | Line 24: | ||
'''Below is installation instructions.''' | '''Below is installation instructions.''' | ||
| − | [[File:pcDuino3 | + | [[File:pcDuino3 acrylic19.jpg]] |
| + | |||
| − | ''Step 1'' | + | '''Step 1''' |
Tear off the wrapping paper. | Tear off the wrapping paper. | ||
| Line 24: | Line 35: | ||
[[File:pcDuino3 acrylic3.jpg]] | [[File:pcDuino3 acrylic3.jpg]] | ||
| − | ''Step 2'' | + | |
| + | '''Step 2''' | ||
Fix the copper pillars and caps on pcDuino3 | Fix the copper pillars and caps on pcDuino3 | ||
| Line 30: | Line 42: | ||
[[File:pcDuino3 acrylic4.jpg]] | [[File:pcDuino3 acrylic4.jpg]] | ||
| − | [[File:pcDuino3 | + | [[File:pcDuino3 acrylic6.jpg]] |
| + | |||
| + | [[File:pcDuino3 acrylic7.jpg]] | ||
| + | |||
| + | |||
| + | '''Step 3''' | ||
| + | |||
| + | Fix a copper pillar and a screw on the bottom plate. | ||
| + | |||
| + | [[File:pcDuino3 acrylic14.jpg]] | ||
| + | |||
| + | [[File:pcDuino3 acrylic15.jpg]] | ||
| + | |||
| + | |||
| + | '''Step 4''' | ||
| + | |||
| + | Fix the bottom plate with screws. | ||
| + | |||
| + | [[File:pcDuino3 acrylic8.jpg]] | ||
| + | |||
| + | [[File:pcDuino3 acrylic16.jpg]] | ||
| − | [[File:pcDuino3 | + | |
| + | '''Step 5''' | ||
| + | |||
| + | Fix the top plate with screws. | ||
| + | |||
| + | [[File:pcDuino3 acrylic8.jpg]] | ||
| + | |||
| + | [[File:pcDuino3 acrylic19.jpg]] | ||
| + | |||
| + | |||
| + | '''Step 6''' | ||
| + | |||
| + | Paste the stickers on bottom plate. | ||
| + | |||
| + | [[File:pcDuino3 acrylic12.jpg]] | ||
| + | |||
| + | [[File:pcDuino3 acrylic17.jpg]] | ||
Latest revision as of 04:39, 2 September 2014
Contents
Introduction
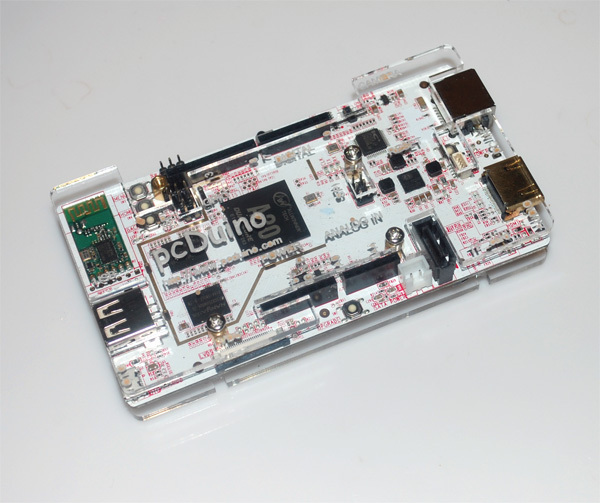
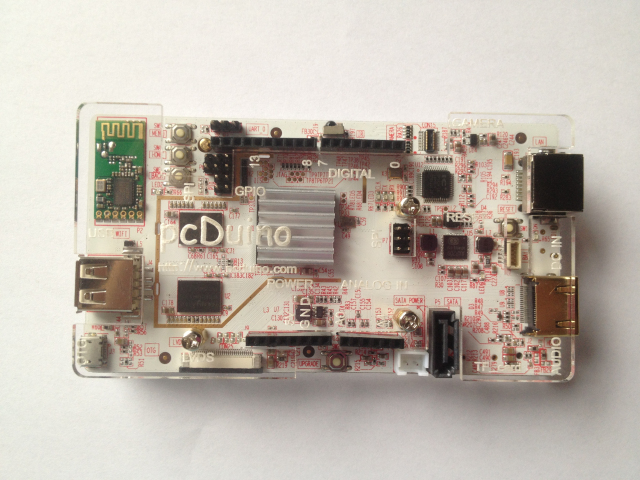
This is a acrylic clear enclosure for your pcDuino3. The Arduino shield can still be installed on the pcDuino3 when the enclosure is installed.
Caution
If your pcDuino V3 is Android system, please only fix 3 copper pillars on pcDuino V3. You can see the details in Usage.
Parts List
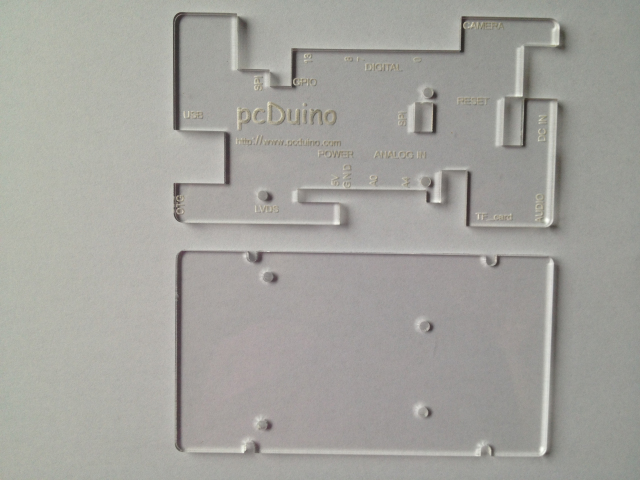
- 1× Acrylic Clear Top Plate for pcDuino3 [IT_ACRY_PCDU3A]] [CB101104]
- 1× Acrylic Clear Bottom Plate for pcDuino3 [IT_ACRY_PCDU3]] [CB101103]
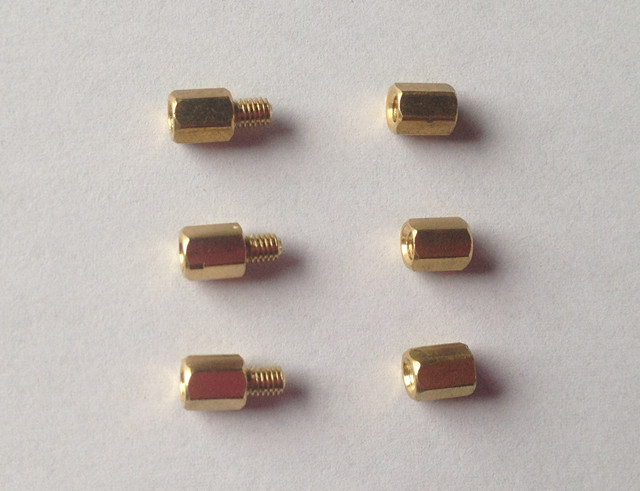
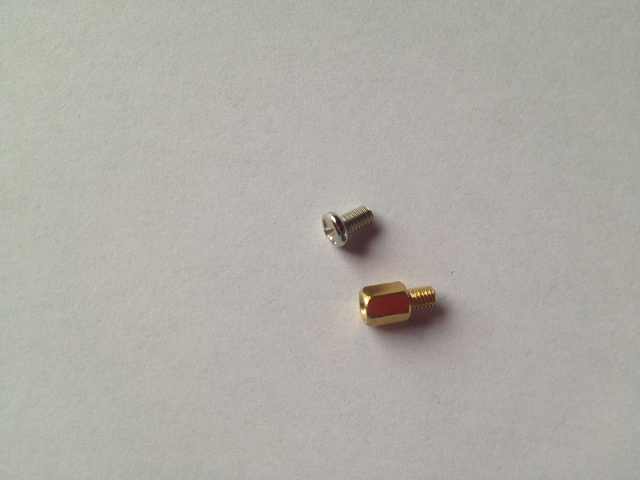
- 4× Copper Pillar [IT_COPPCYL_4+6MM] [WA101103]
- 3× Copper Nut [IT_COPPCYL_6MM] [WA101102]
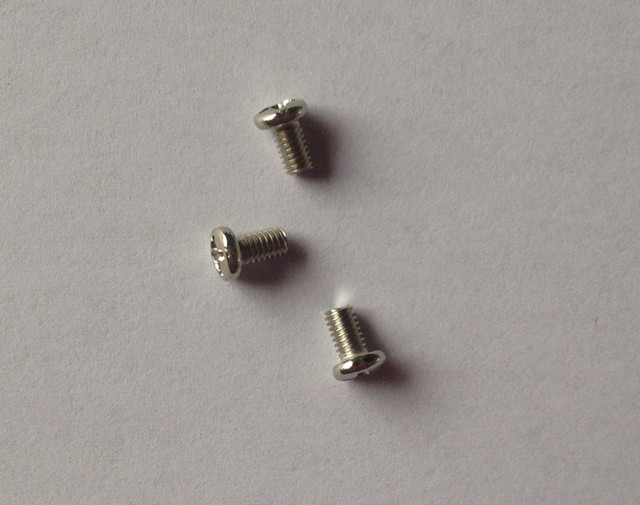
- 7× M3 Screw [IT_SCREW_6MM] [WB101102]
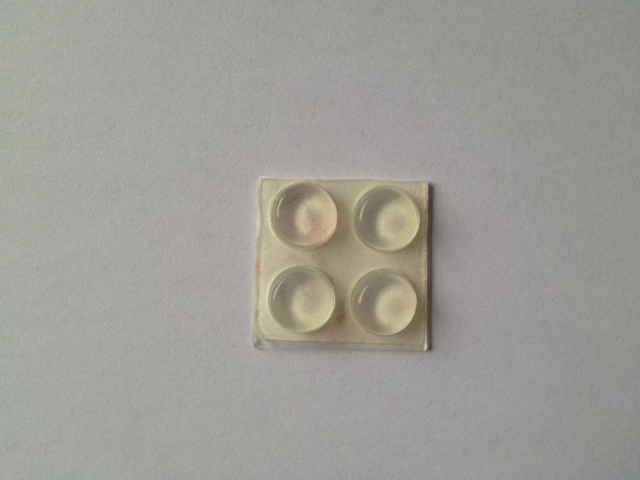
- 4× Foot Sticker [IT_COM_BUM1204]] [[ZC101101]
- 1× 散热片19X19X5mm + 散热片贴纸 17X17mm [ IT_KIT_STI17MM_SINK19MM] [ZB2010101]
Usage
Below is installation instructions.
Step 1
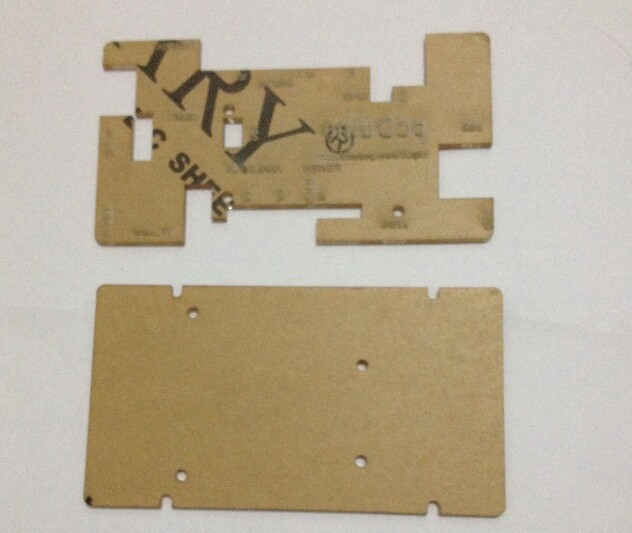
Tear off the wrapping paper.
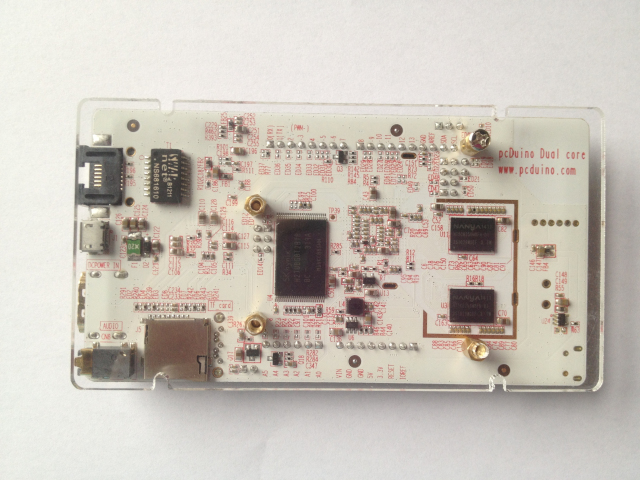
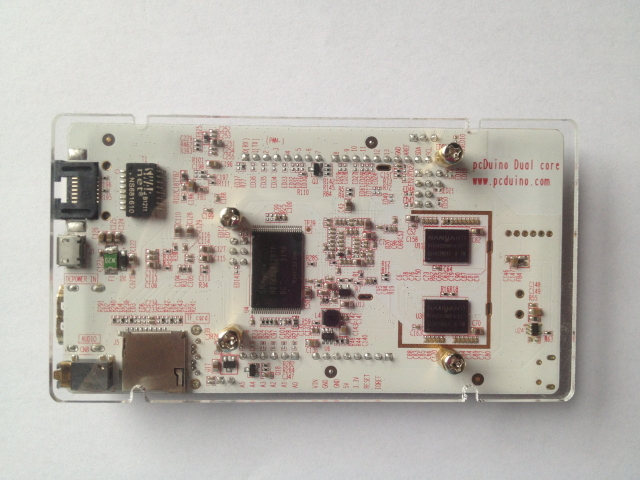
Step 2
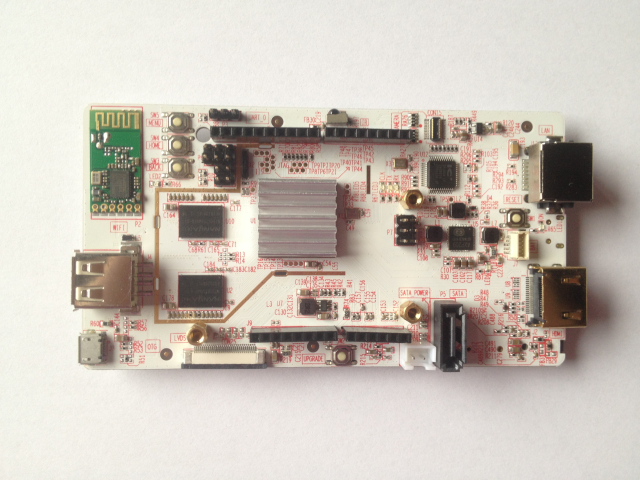
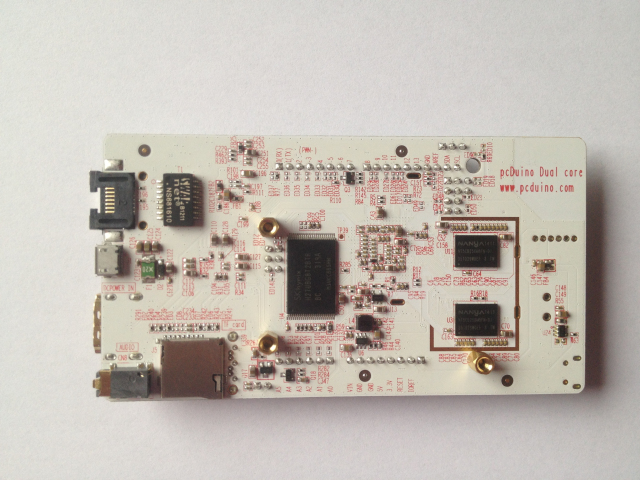
Fix the copper pillars and caps on pcDuino3
Step 3
Fix a copper pillar and a screw on the bottom plate.
Step 4
Fix the bottom plate with screws.
Step 5
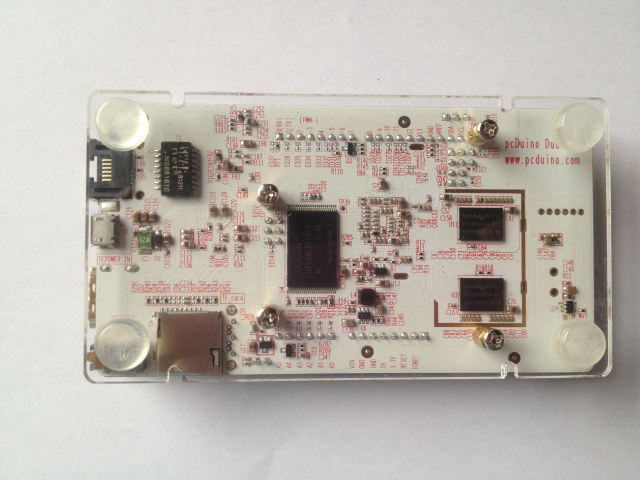
Fix the top plate with screws.
Step 6
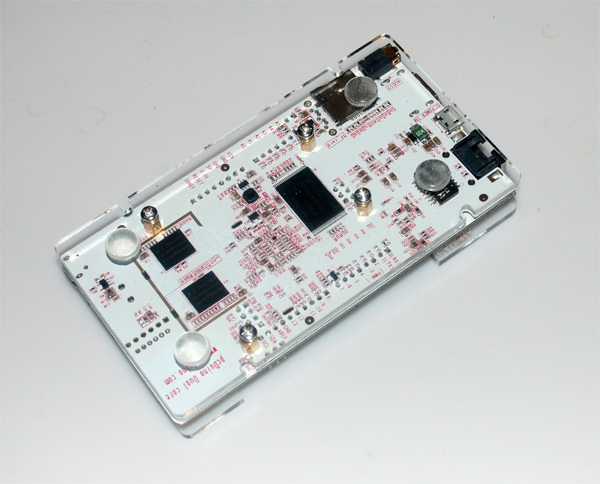
Paste the stickers on bottom plate.
