Difference between revisions of "Infrared Shield for Arduino"
(→Introduction) |
(→Introduction) |
||
| Line 2: | Line 2: | ||
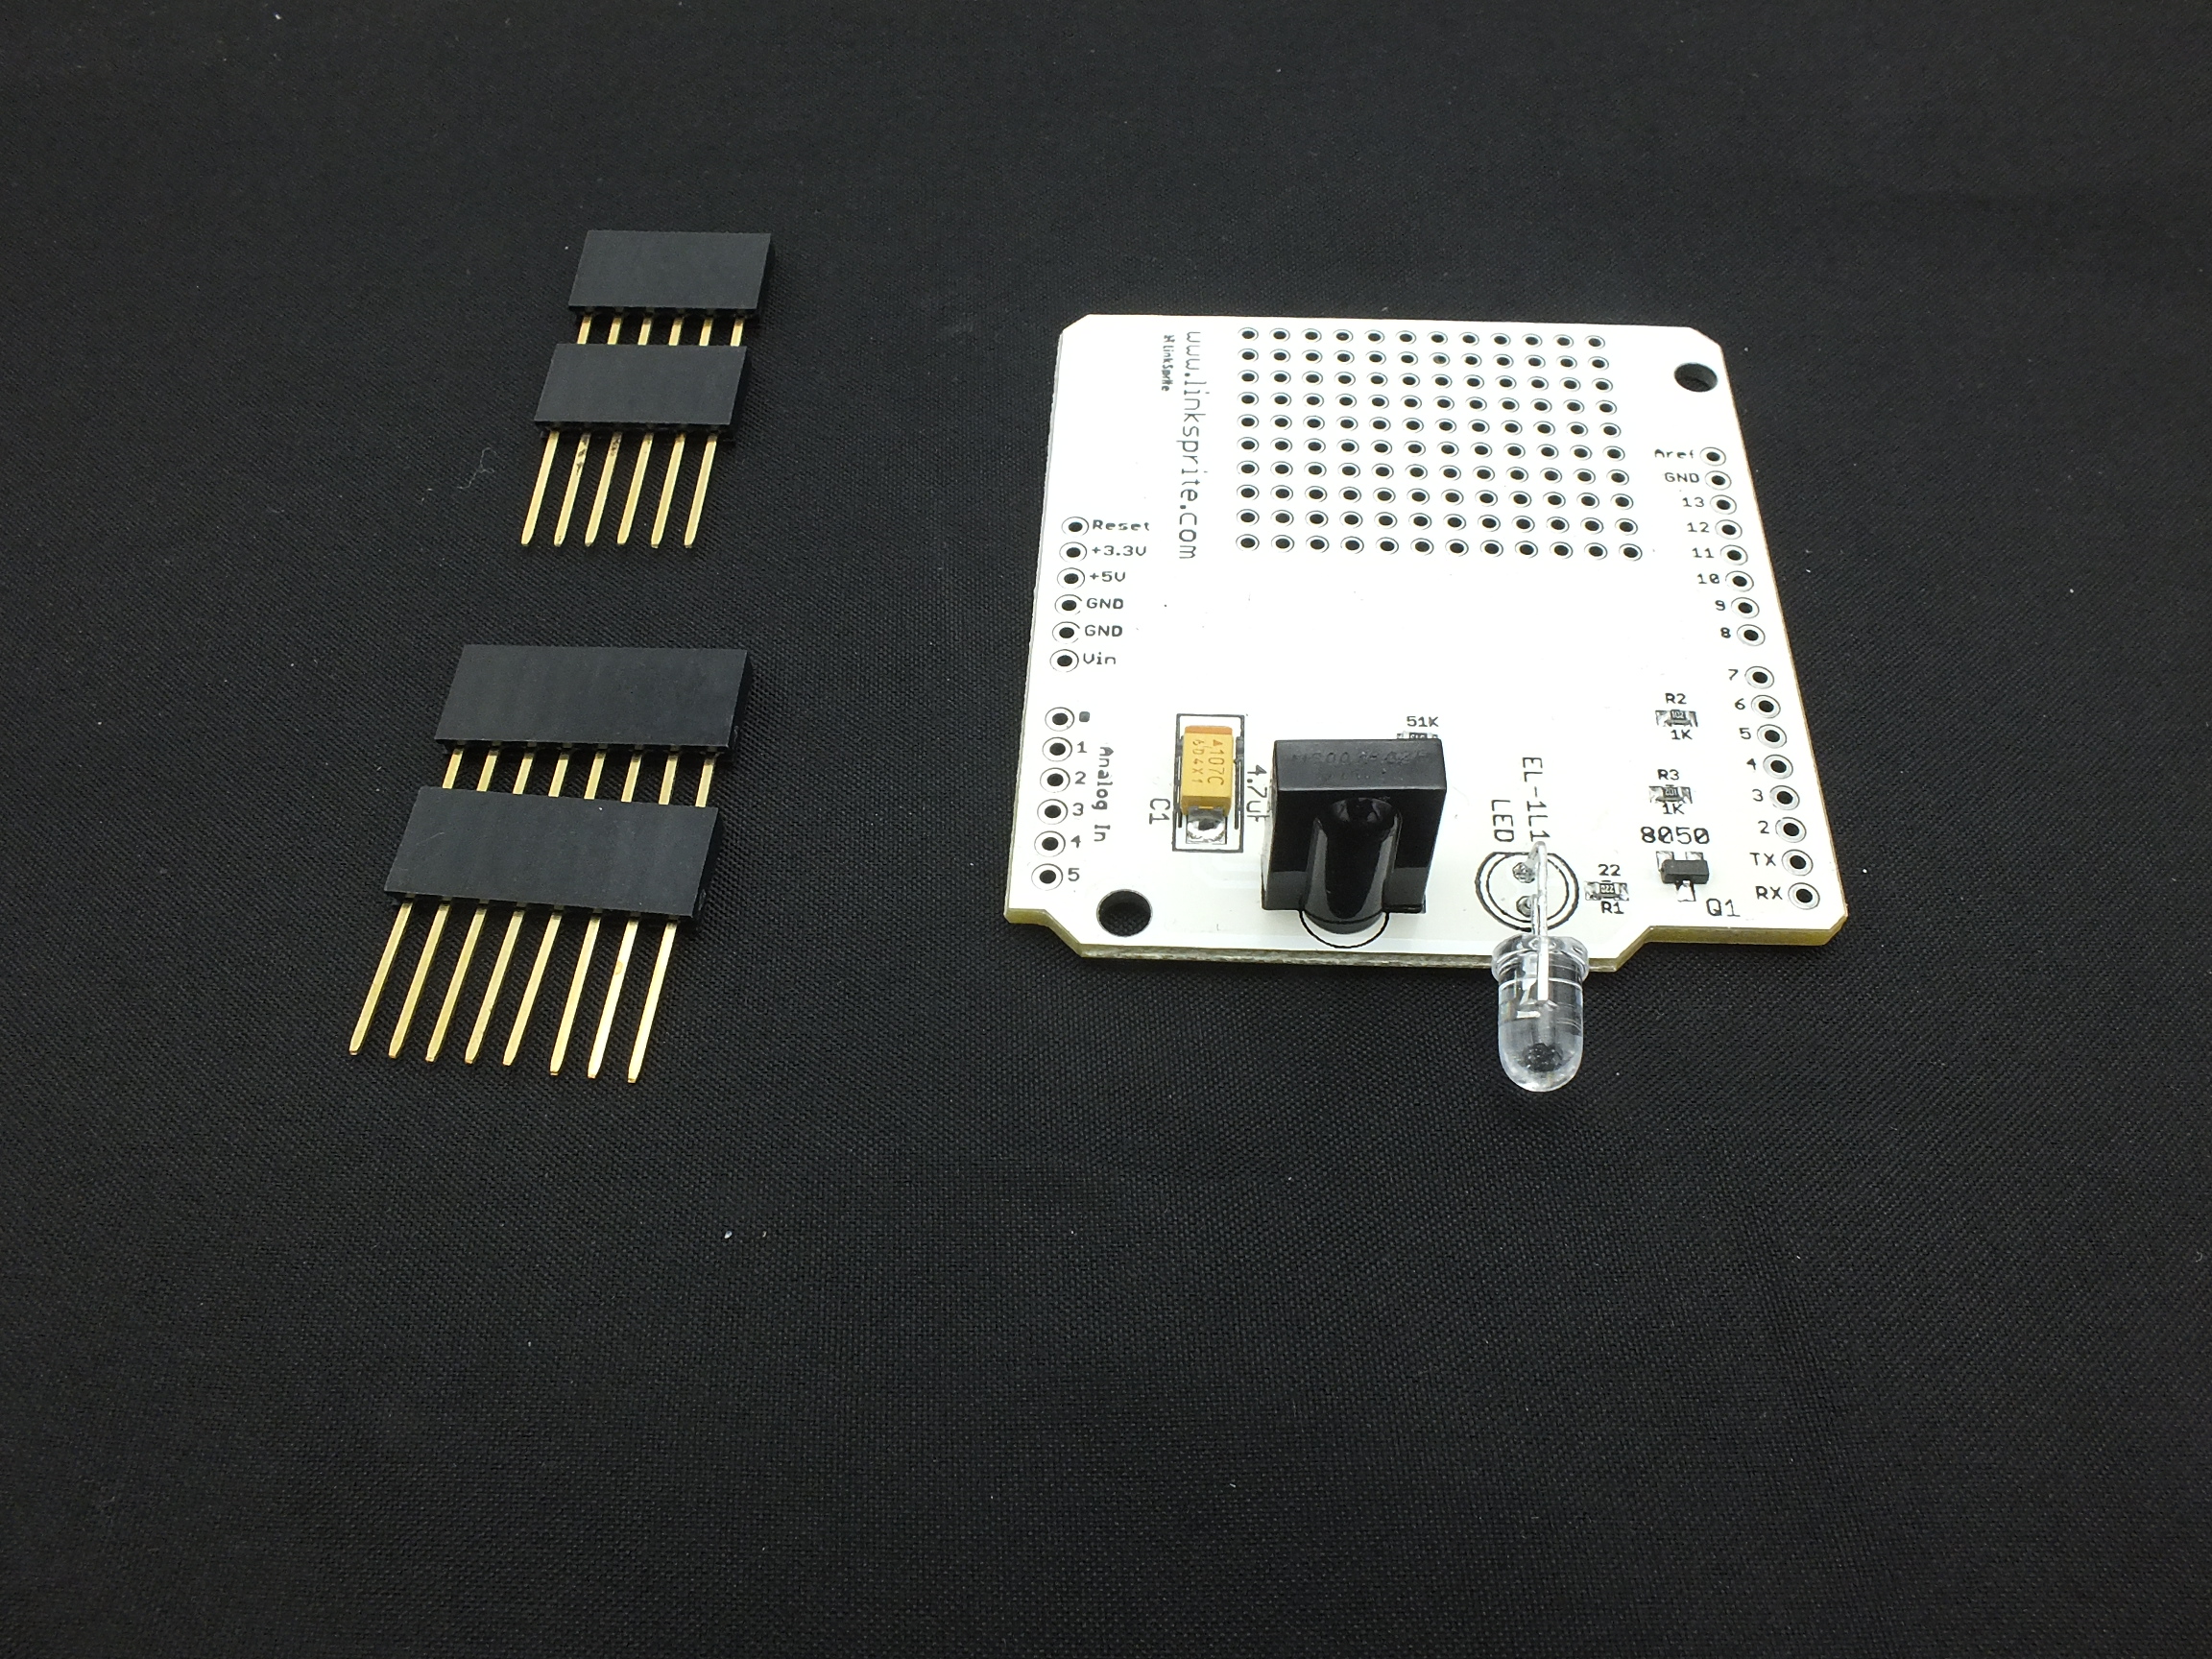
This shield adds a pair of infrared transmitter and receiver to your Arduino. The spare area can also be used as breadboard. Interesting sample project is WiFi TV remote control using Android smartphone. All source codes are provided. | This shield adds a pair of infrared transmitter and receiver to your Arduino. The spare area can also be used as breadboard. Interesting sample project is WiFi TV remote control using Android smartphone. All source codes are provided. | ||
| − | [[ | + | [[File:DSCF5566.JPG]] |
== Features == | == Features == | ||
Revision as of 05:37, 22 March 2016
Contents
Introduction
This shield adds a pair of infrared transmitter and receiver to your Arduino. The spare area can also be used as breadboard. Interesting sample project is WiFi TV remote control using Android smartphone. All source codes are provided.
Features
Application Ideas
Cautions
Schematic
Specification
Pin definition and Rating
Mechanic Dimensions
Usage
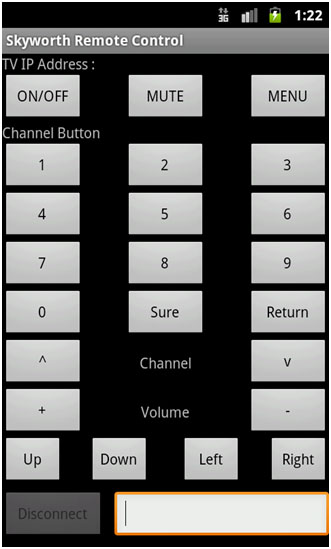
In this tutorial, we are going to make a WiFi TV remote control using LinkSprite Infrared Shield and LinkSprite Juniper Gainspan WiFi shield. We also design an Android app so that you can control your TV using your Android smartphone without the need of the remote control.
Stop fighting for the remote control. Now everybody in the house has a remote control!
Steps
The Arduino code for infrared and gainspan can be downloaded from here.
Download Android source code for WiFi TV Remote Control here.
Step 1: First, we need to configure the Juniper wifi shield. When use AT command to configure the Juniper WiFi shield, remove ATMEGA328P on the Arduino, short J4 (Pi1) and J5 (p2), Short J4 (pin2) and J5 (pin1), then connect the Arduino with Juniper installed to PC.
Using serial terminal console on PC, the configuration steps are as follows:
- AT --- Detect if module is connected to the virtual COM, and if the module can receive the AT commands from the host
[OK] --- The response from the module.
- AT+WD -- Disconnect from the current network
[OK]
- AT+NDHCP=0 --- Not use DHCP
[OK]
- AT+NSET=192.168.1.2,255.255.255.0,192.168.1.1 --- Set fixed IP, network mask, gateway
[OK]
- AT+WAUTO=0,LS,,01 ------ Set mode "STA", connect to SSID "LS" and use channel -1
[OK]
- AT+NAUTO=1,1,,2000- -- Set TCP(1) server, and port is 2000
[OK]
- ATC1 -- Automatically reconnect after reset
[OK]
- AT&W0 -- Automatically save
[OK]
- ATA -- Automatically connect to IP SubNet Gateway 192.168.1.2: 255.255.255.0: 192.168.1.1
[OK]
Step 2: Remove Juniper, Download IRSend code to Arduino, and then reinstall Juniper to Arduino, set the Juniper to talk to ATMEGA328 through UART. The setting is as follows:
J4(pin1) is connected to J4(pin2), J5(pin1) is connected to J5 (pin2).
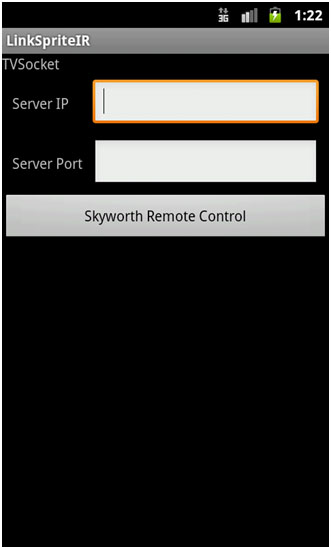
Step 3: Install TV remote control.apk to Android smartphone, path:\IR\TV remote control\bin
Input ip and port and click button.
FAQ
Please list your question here:
Support
If you have questions or other better design ideas, you can go to our forum to discuss or creat a ticket for your issue at linksprite support.
Resources
How to buy
Here to buy Infrared Shield for Arduino on store
See Also
Other related products and resources.
Licensing
This documentation is licensed under the Creative Commons Attribution-ShareAlike License 3.0 Source code and libraries are licensed under GPL/LGPL, see source code files for details.


