Difference between revisions of "LinkNode R1: Arduino-compatible WiFi relay controller"
(→Tutorials) |
(→Tutorials) |
||
| Line 47: | Line 47: | ||
[[File:R1-1.png]] | [[File:R1-1.png]] | ||
| + | |||
| + | |||
| + | *Open Boards Manager from Tools --> Board menu --> Boards Manager. | ||
| + | *Search and install esp8266 platform (and don't forget to select your ESP8266 board from Tools --> Board menu after installation). | ||
| + | |||
| + | |||
| + | [[File:R1-2.png]] | ||
Revision as of 03:19, 21 April 2017
Introduction
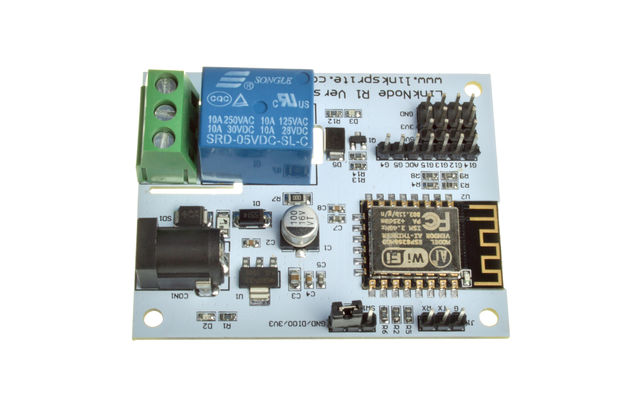
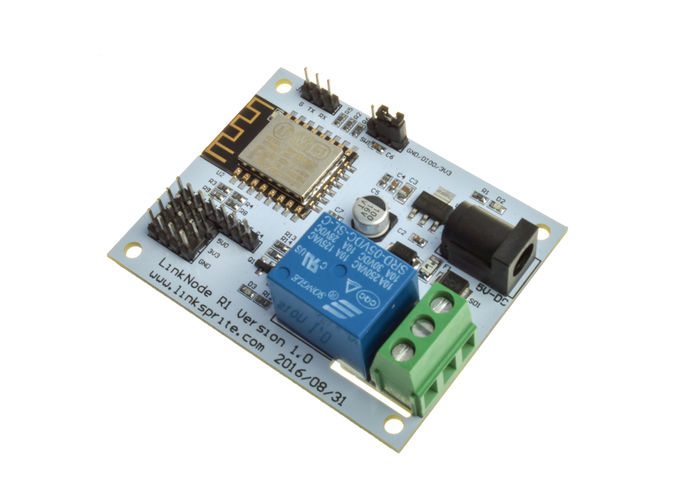
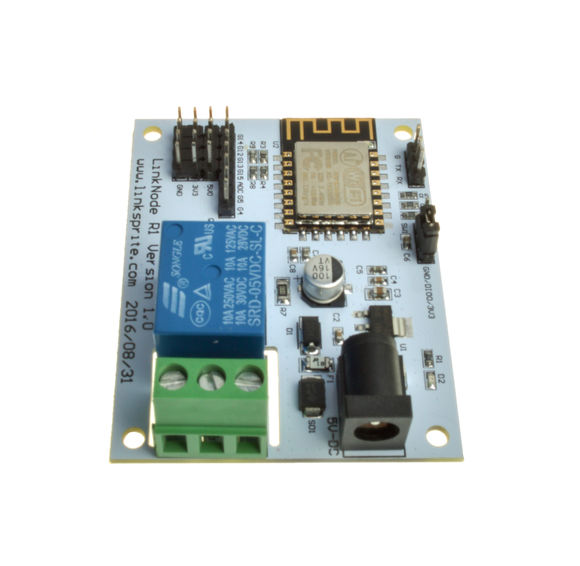
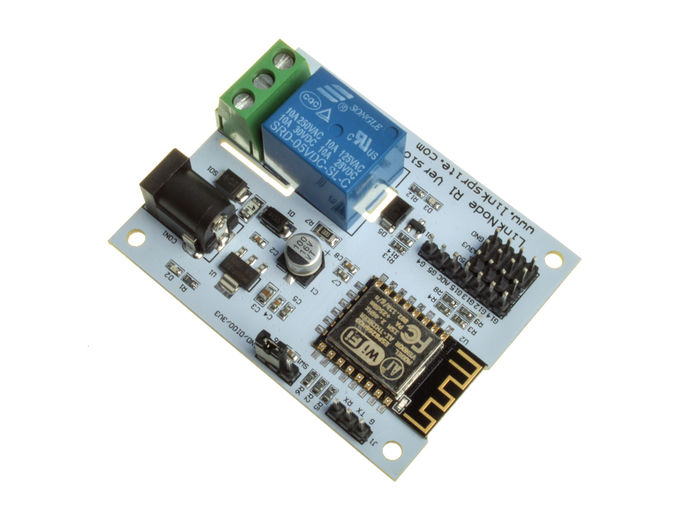
LinkNode R1 is a WiFi development board which is powered by the high integrated WiFi chip ESP-8266EX.
Thanks for the contribution from open source community who have developed Arduino core for ESP8266, this let Aduino IDE program LinkNode R1 without any change. At the same time, LinkNode R1 has Arduino-compatible pin out which make it very easy to connect to Arduino Sensors.
Features
- Powered by ESP-8266EX
- 6 Digital I/O pins
- 1 Analog Input pin
- 1 Digital I/O for Relay
- 1 DC port for power/configure
- Power jack for 5V power input
- Compatible with Arduino programming
- Compatible with NodeMCU
- OTA -- Wireless Upload(Program)
Tutorials
1. Get started in Arduino
If you have used Arduino before, you will feel that the LinkNode R1 is as same as Arduino, and there is no difference between their programming. The only limitation of LinkNode R1 is that it only has 6 digital ports and 1 analog input port.
a. Requirements
- Arduino IDE, (the latest version is 1.8.2 )
- The Arduino core for LinkNode D1
b. Install hardware package for LinkNode R1
- Install Arduino 1.6.8 from the Arduino website.
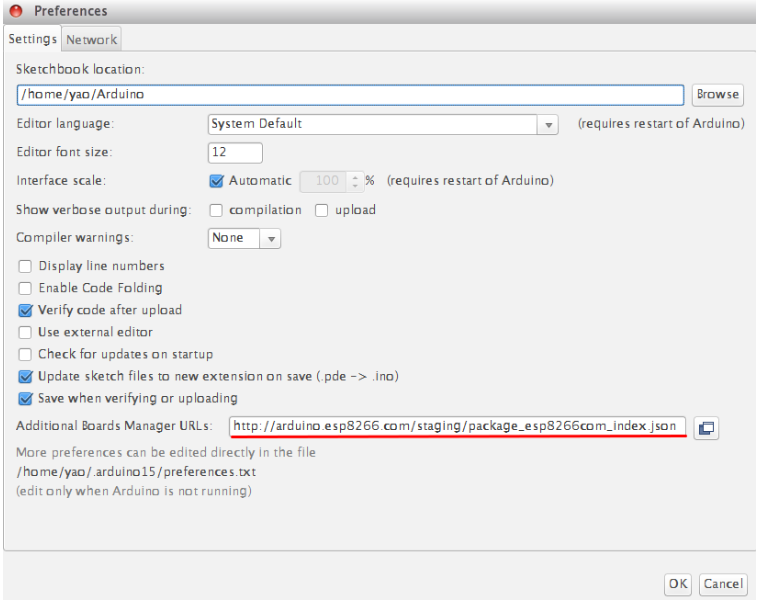
- Start Arduino and go to File --> Preferences .
- Enter http://arduino.esp8266.com/stable/package_esp8266com_index.json into Additional Board Manager URLs field. You can add multiple URLs, separating them with commas.
- Open Boards Manager from Tools --> Board menu --> Boards Manager.
- Search and install esp8266 platform (and don't forget to select your ESP8266 board from Tools --> Board menu after installation).
