Difference between revisions of "LinkSprite Black Enclosure for pcDuino"
Qian.zhang (talk | contribs) (→Assembly Steps for pcDuino) |
Qian.zhang (talk | contribs) (→Assembly Steps for pcDuino) |
||
| Line 30: | Line 30: | ||
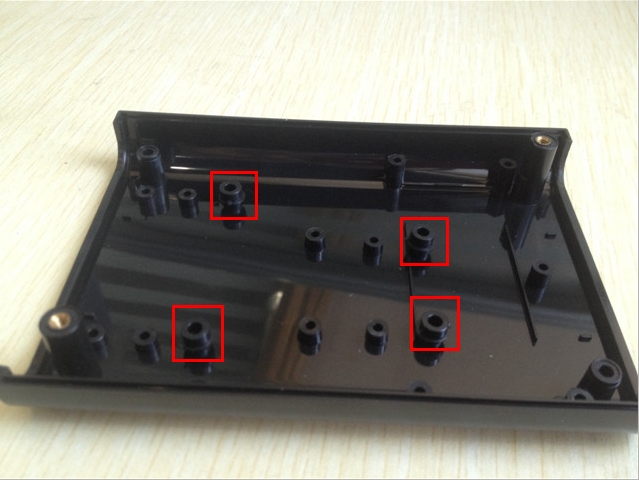
*Step 1 Mount the four seperate gasket on the socket in order to twist the screws easily. | *Step 1 Mount the four seperate gasket on the socket in order to twist the screws easily. | ||
| − | [[File:pcduinoV1_case_1.jpg |500 pix]] | + | [[File:pcduinoV1_case_1.jpg | 500 pix]] |
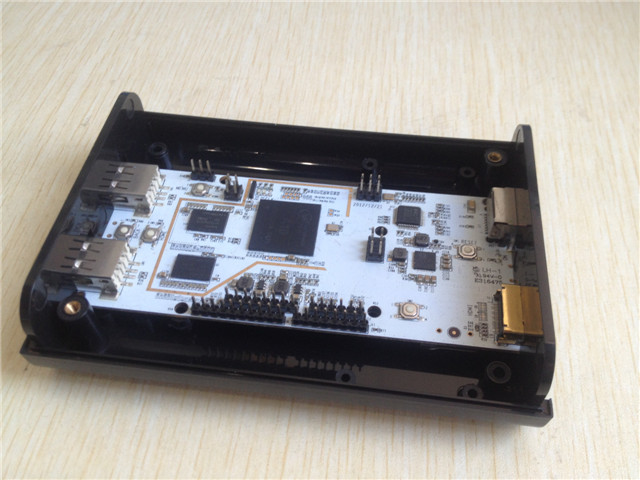
*Step 2 Install pcDuino with two precut end pieces. | *Step 2 Install pcDuino with two precut end pieces. | ||
| − | [[File:pcduinoV1_case_2.jpg |500 pix]] | + | [[File:pcduinoV1_case_2.jpg | 500 pix]] |
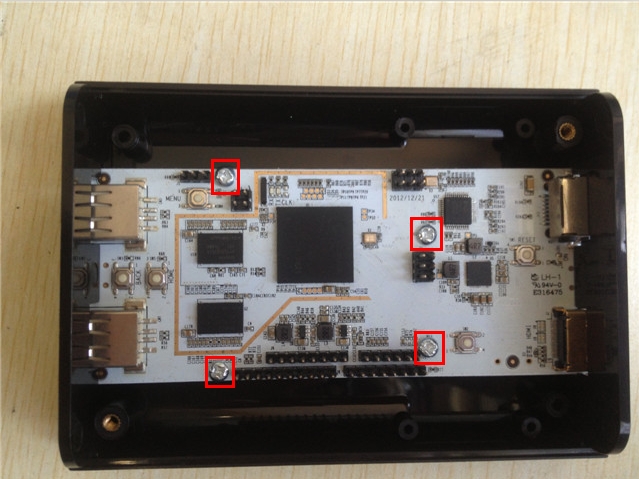
*Step 3 Fasten pcDuino on the bottom with screws. | *Step 3 Fasten pcDuino on the bottom with screws. | ||
| − | [[File:pcduinoV1_case_3.jpg |500 pix]] | + | [[File:pcduinoV1_case_3.jpg | 500 pix]] |
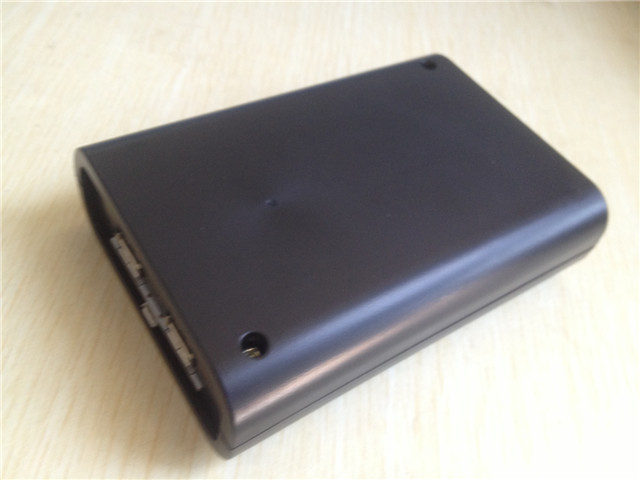
*Step 4 Cover and insert the screws. | *Step 4 Cover and insert the screws. | ||
| − | [[File:pcduinoV1_case_4.jpg |500 pix]] | + | [[File:pcduinoV1_case_4.jpg | 500 pix]] |
Revision as of 07:59, 3 September 2014
Introduction
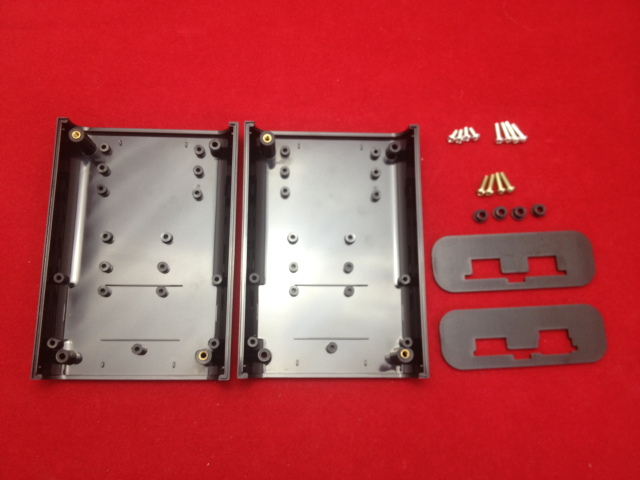
The LinkSprite black enclosure is a more powerful box for your pcDuino.
It can be adapted for couple of Arduino shields at the same time. The enclosure can use with the extension side plate to make more internal space for the additional Arduino shields. Great use for your pcDuino and project!
With pcDuino:
File:Enclosure for pcDuinoV1.jpg
Features
- Made of ABS plastic (good thermostability, high intensity)
- Enclosure is easy to machine, drill, cut and shape to what you need
- Brass, screws inserts (can be used and reused for many times)
- Fits pcDuinoV1
- Couple of boards can be adapted at the same time
- Products of high precision, the appearance of fine, exquisite craft.
Dimensions
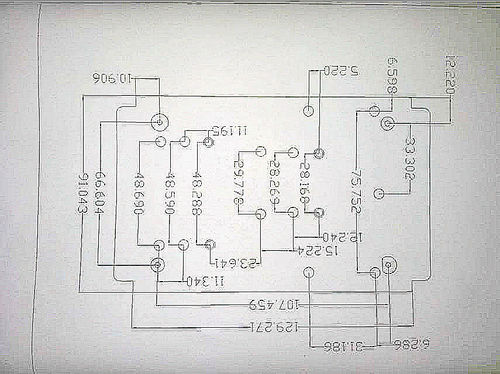
129mm×91mm×34mm
Assembly Steps
Assembly Steps for pcDuino
- Step 1 Mount the four seperate gasket on the socket in order to twist the screws easily.
- Step 2 Install pcDuino with two precut end pieces.
- Step 3 Fasten pcDuino on the bottom with screws.
- Step 4 Cover and insert the screws.
