Difference between revisions of "LinkSprite Extension Plate for Clear Enclosure for Arduino"
Katherine.d (talk | contribs) |
Katherine.d (talk | contribs) (→Usage) |
||
| Line 6: | Line 6: | ||
== Usage == | == Usage == | ||
| + | *1. Installing the Arduino enclosure as the normal one ([http://linksprite.com/wiki/index.php5?title=LinkSprite_Clear_Enclosure_for_Arduino#Usage step 1 to step 3]) | ||
| + | *2. Nestle the extension plate into the groove on the bottom panel. | ||
| + | *3. Insert the copper cylinder, you can install more extension plate if you have more shield or you need more internal space. | ||
| + | |||
| + | [[File:cucylinder1.jpg]] | ||
| + | |||
| + | [[file:cucylinder2.jpg]] | ||
| + | |||
| + | *4. Instal the end piece and drill them as your requirements. | ||
| + | *5. Cover with the lid and fasten by the screws at last | ||
| + | |||
[[File:enclosure4.jpg | 400px]] | [[File:enclosure4.jpg | 400px]] | ||
Revision as of 09:45, 10 January 2013
Introduction
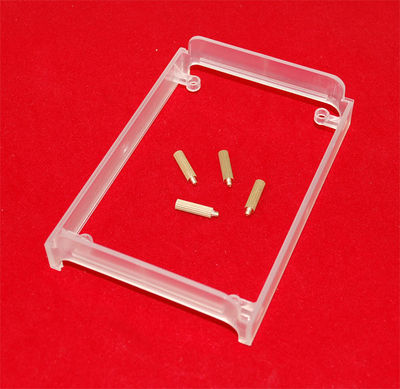
This LinkSprint extension plate is a standard accessiorise for LinkSprite Arduino enclosure to make the case has more internal space, so that we you can use overlying more shields or boards to fit your project.
The extension plate is made of the same material ABS with the Arduino enclosure, make case like a whole one. You can overlying one or two or more ,just need to fasten by the copper cylinder in the package.

Usage
- 1. Installing the Arduino enclosure as the normal one (step 1 to step 3)
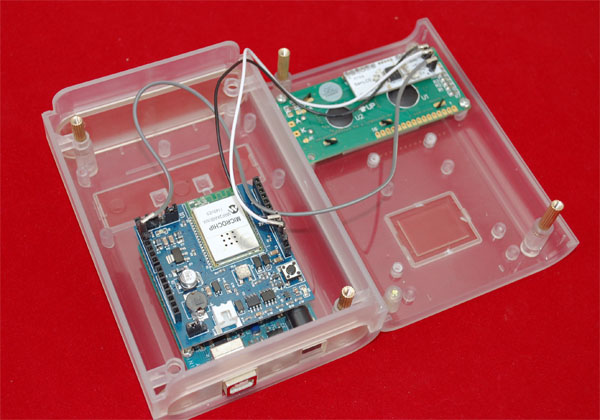
- 2. Nestle the extension plate into the groove on the bottom panel.
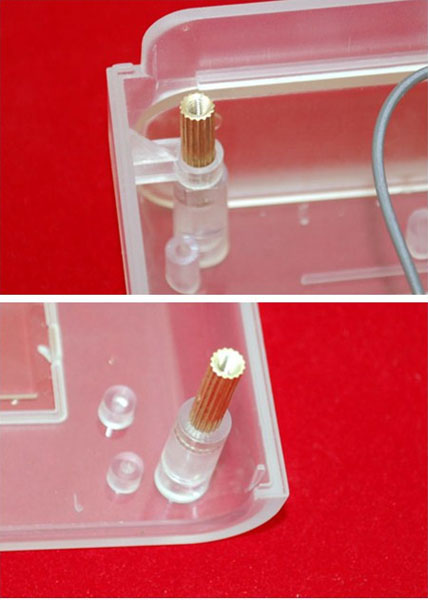
- 3. Insert the copper cylinder, you can install more extension plate if you have more shield or you need more internal space.
- 4. Instal the end piece and drill them as your requirements.
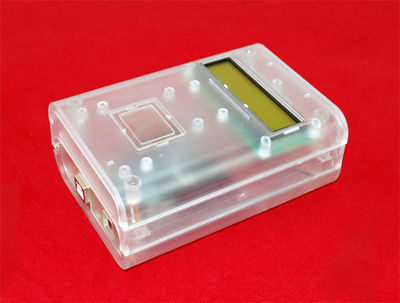
- 5. Cover with the lid and fasten by the screws at last


