The Global Car Tracking Kit
Contents
Introduction
Every year about 700,000 vehicles get stolen in US. In fact, a car is stolen every 45 seconds.
In this instructable, I have explained the process of building one's very own Global Car Tracking System. The steps for building this device is very simple and explained in a lucid manner. The skills required for you to build this is minimum (Basic knowledge about electronics and the Arduino IDE).
Part List
1X Arduino Uno
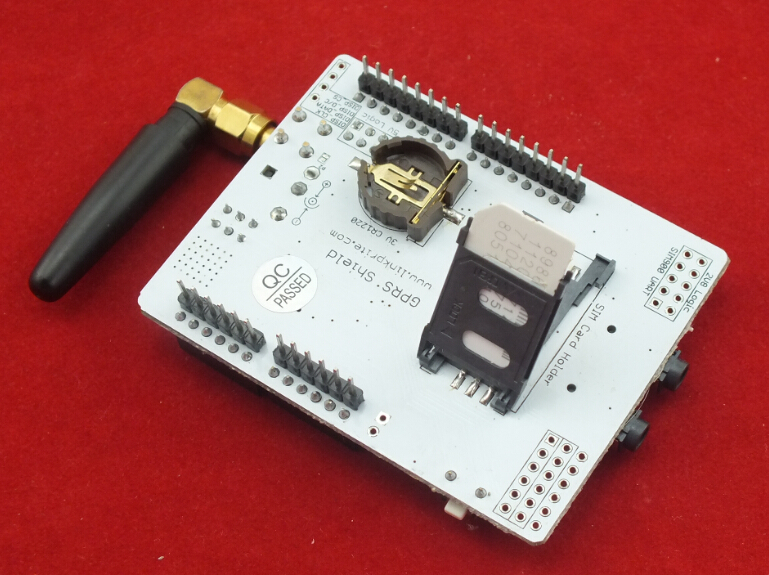
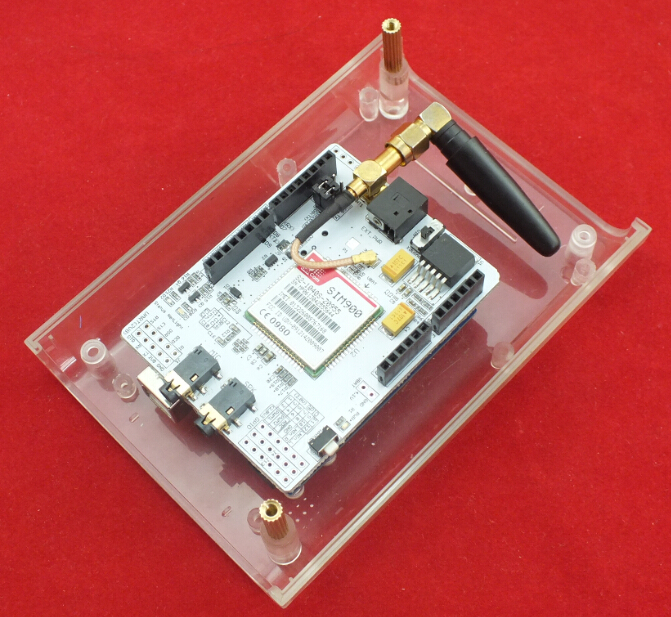
1X SIM900 GPRS/GSM Shield [SHD_SIM900][101101029]
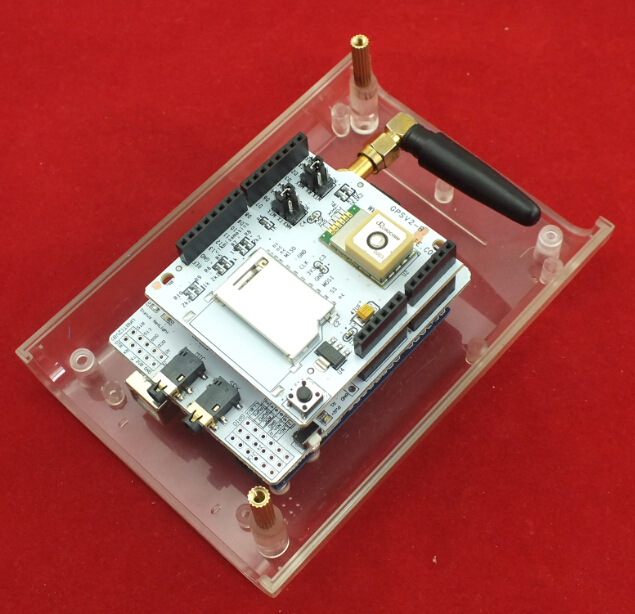
1X GPS Shield With SD Card Slot for Arduino V2.0 B[SHD_GPSV2_B][101102006]
1X Adapter Plug for powering the Arduino
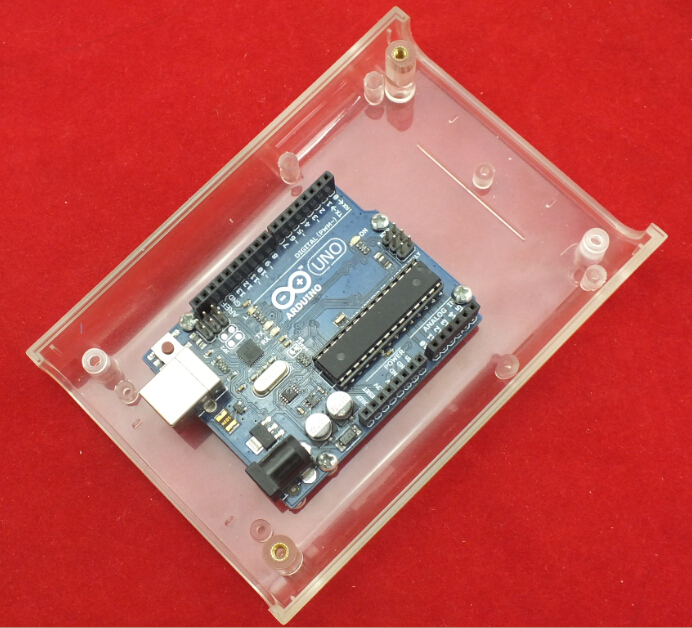
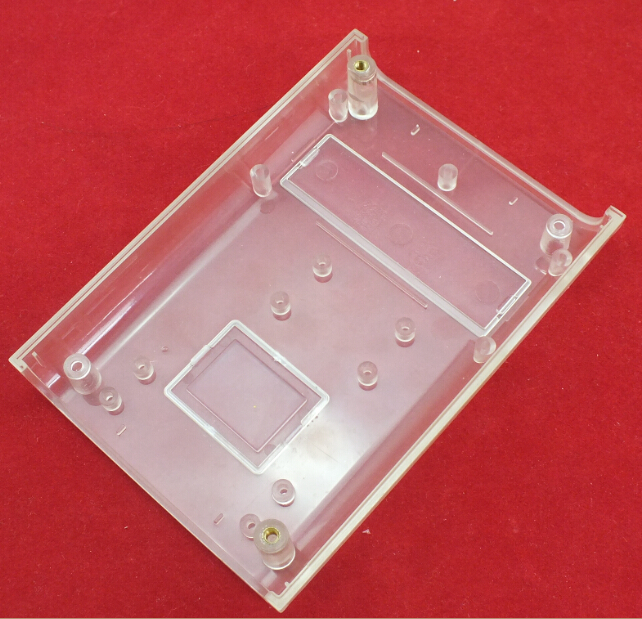
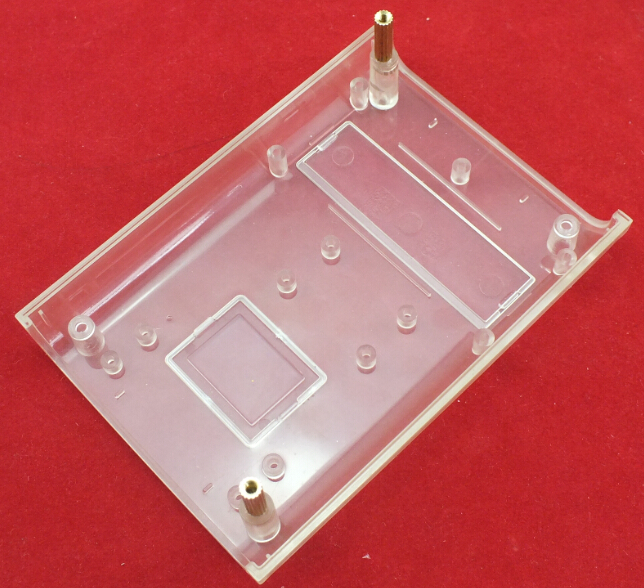
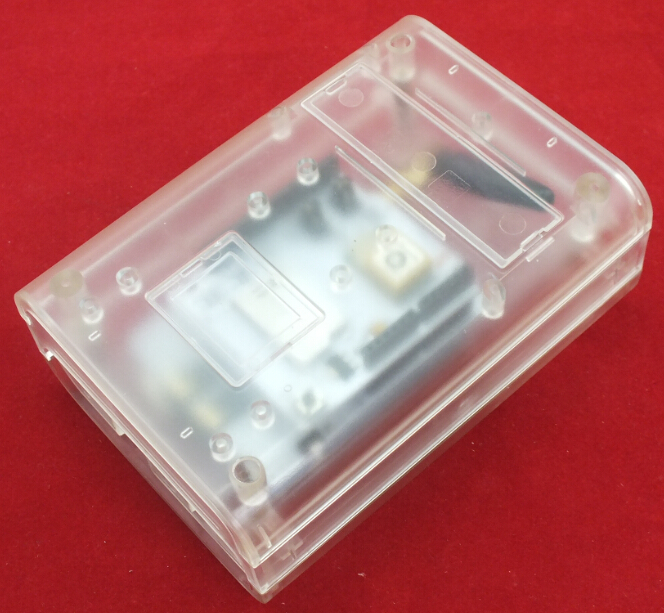
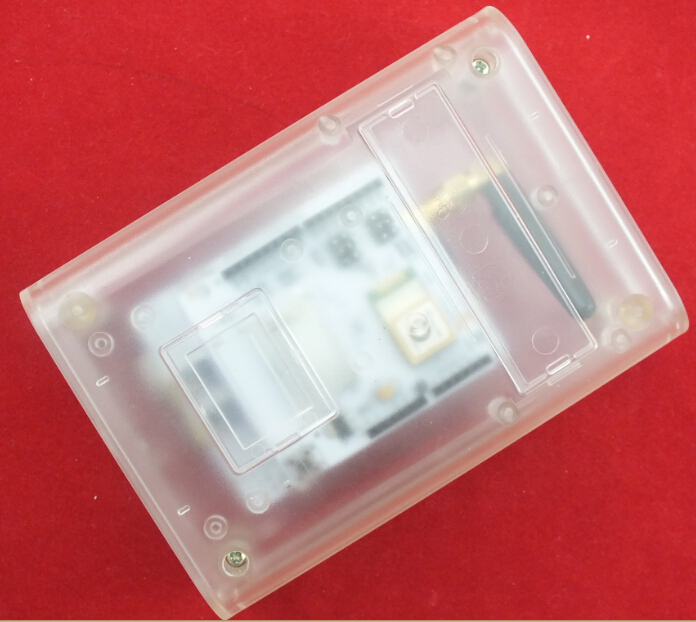
1X LinkSprite Clear Enclosure for pcDuino/Arduino[COM_CASE_PCDUINO_CLEAR] [114201005]
1X LinkSprite Extension Plate for Clear Enclosure for pcDuino/Arduino [COM_CASE_ARDU_CLEAR_PLATE][114201003]
Tools
1. Soldering Iron
2. Solder
3. Soldering Wax
4. Screw driver
HardWare set up
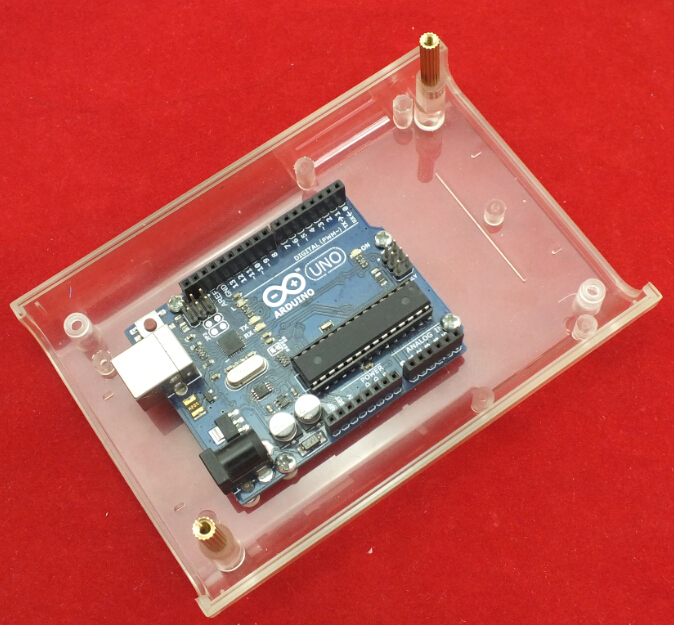
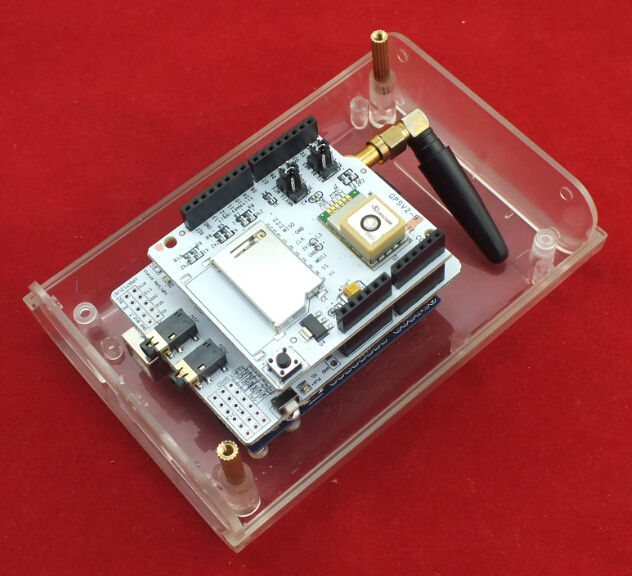
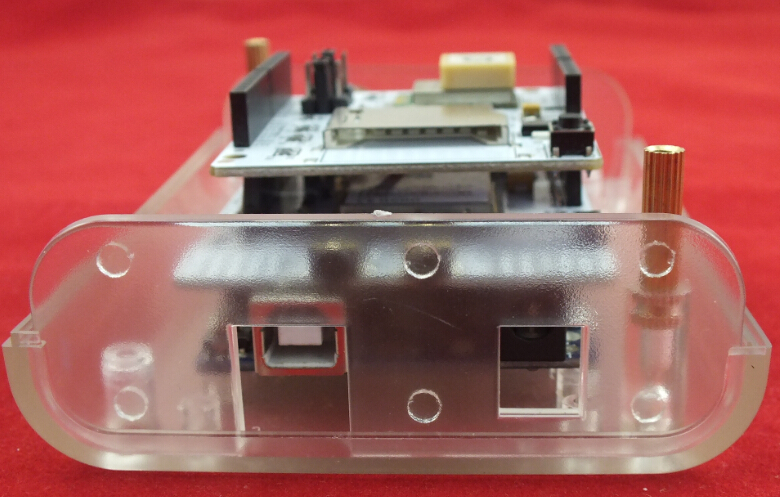
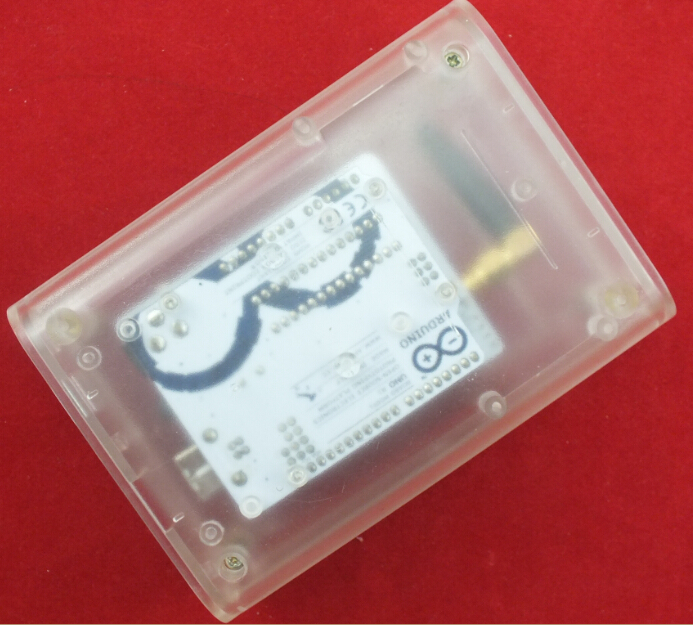
1. Fixing the Arduino UNO in the LinkSprite Clear Enclosure by screws.
2. Fixing 2 pcs Copper Pillar in the Clear Enclosure
3. Insert a SIM card in SIM GSM/GPRS Shield
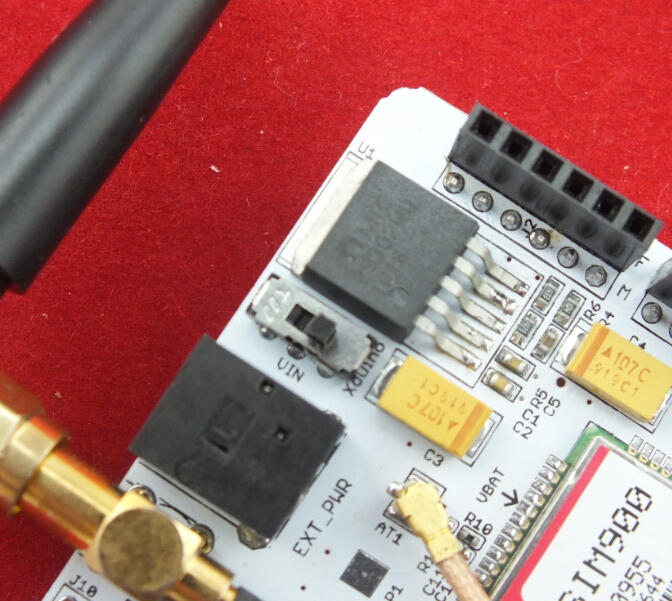
4. Push the power supply to Xduino
5. Plug SIM GSM/GPRS Shield into Arduino UNO
6. Plug GPS Shield into SIM GSM/GPRS Shield
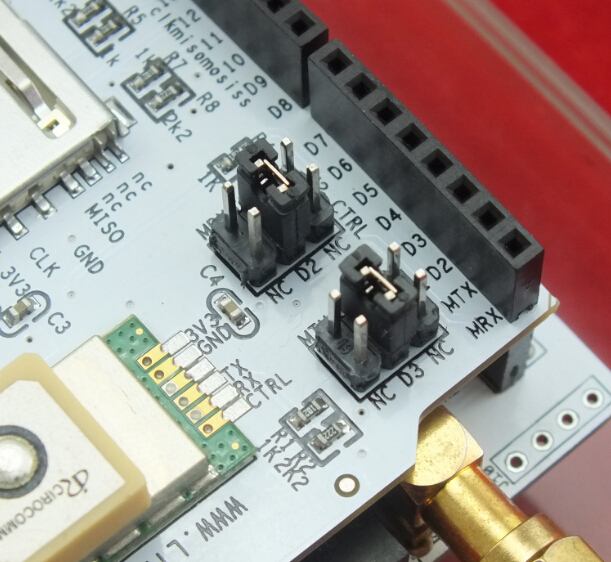
7. Choose the D2 and D3 of GPS Shield as the picture showen
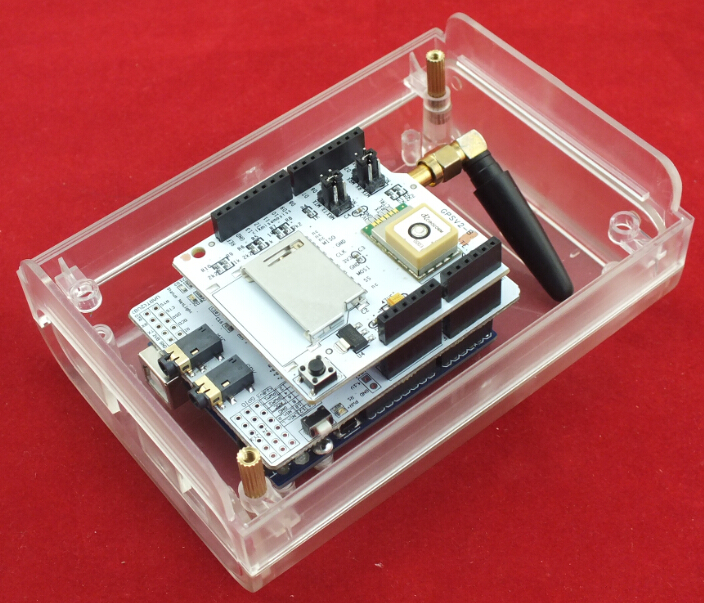
8. Assembled the Clear Enclosure
Programming the Arduino
Before you can program the Arduino Uno, you must first install the Tiny GPS library for the GPS Shield. These are the steps to install the library:
1. Download the Tiny GPS library for the Arduino.
2. Extract the zip file to the folder: " Arduinobraries "
3. Now you would see the library under " Sketch --> Import Library " in the Arduino IDE.
4. You can proceed with the Arduino Uno programming.
Download the code and load it on the Arduino
Testing
Now that you have built the system, it is time to install it in your vehicle. The device can be installed anywhere in the car: the hood, cabin or trunk. Remember that the device must be hidden from view and difficult to locate by a car thief. The device must directly be connected to the 12v Car battery as it must run even when the car is switched off.
Steps to track down your vehicle using the system:
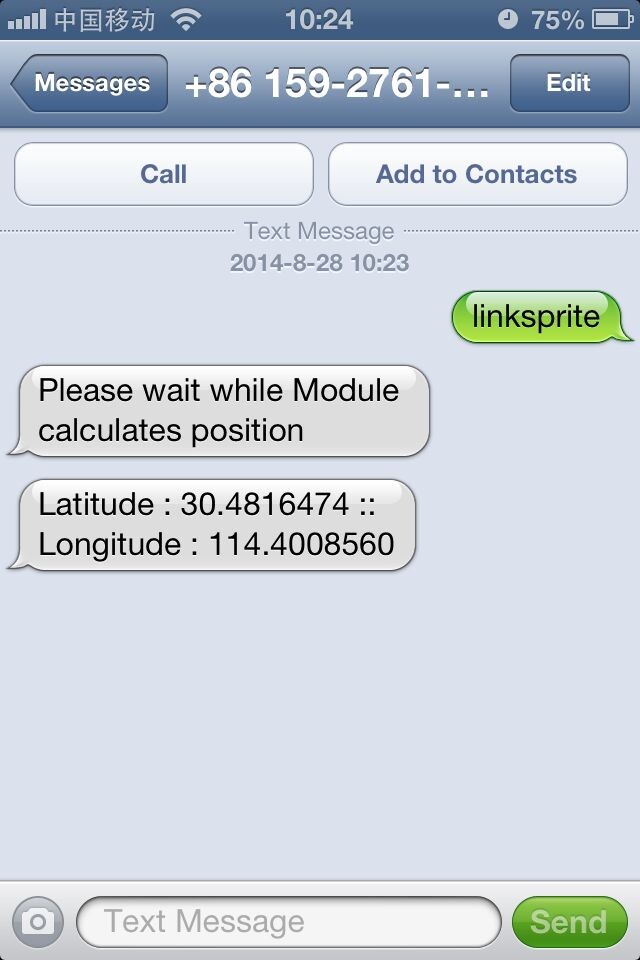
1. When your car is stolen and you wish to track your car, simply send a text message containing the password to your car.
2. It then verifies the password you entered with the password stored in its program. If the password matches, then system sends an acknowledgment SMS to the predefined phone/cell number stored in it.
3. GPS then begins to calculate its GPS position and once a GPS lock is acheived, it sends the coordinates of its location to the number stored in its program.
4. After you receive the Coordinates in your message, copy them to the search bar in google maps to reveal the position of your stolen car.
And there you go...congratulations!!! You have built your very own Global Car Tracking System.
