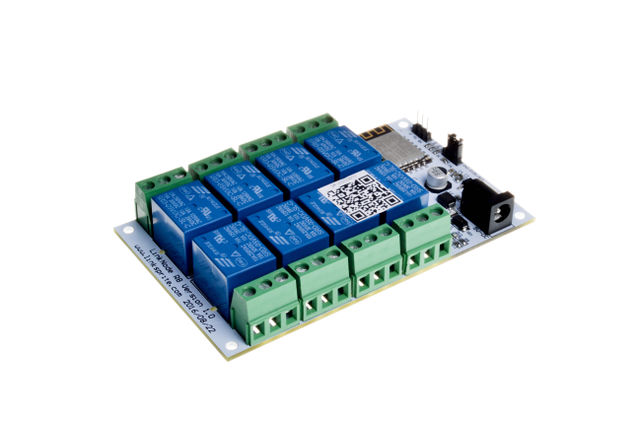
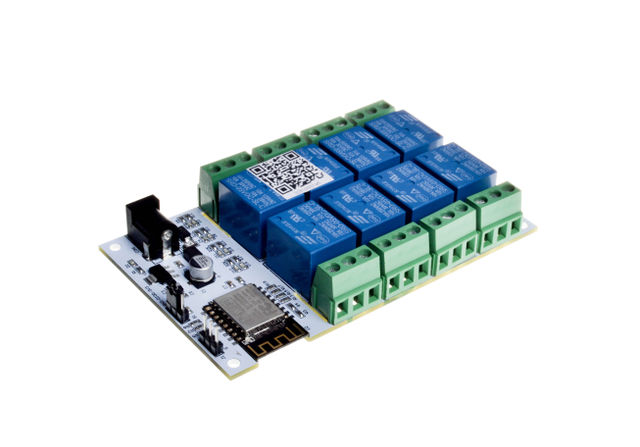
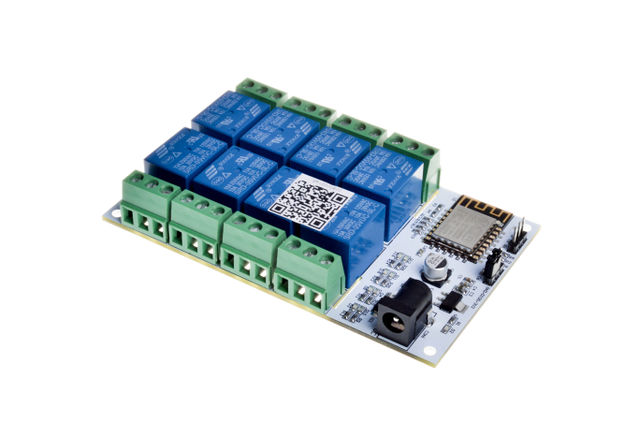
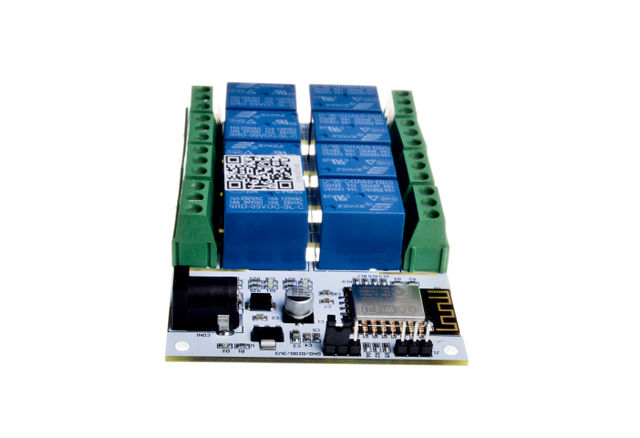
LinkNode R8 ESP-12f ESP8266 WiFi relay controller IoT module
Contents
Introduction
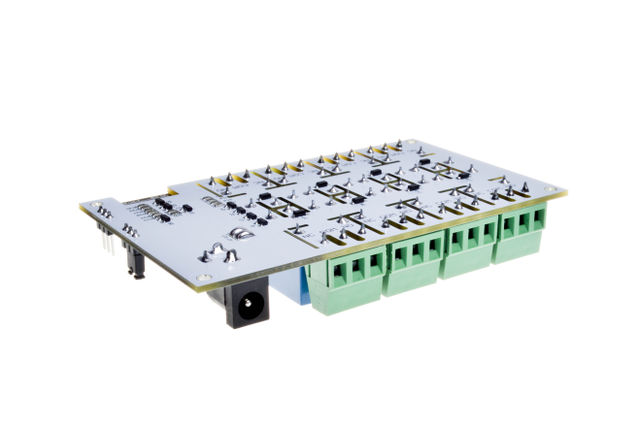
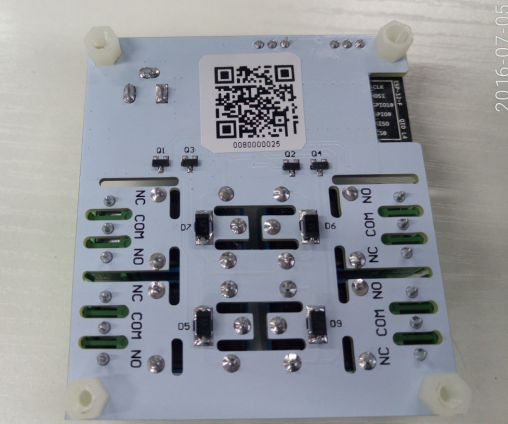
LinkNode R8 is a WiFi relay controller and it is powered by ESP-12f ESP8266 WiFi module. There are 8 relay channels and each channel allows you to control high-power devices (up to 10 A) via the on-board relay. LinkNode R8 can be used to remotely turn lights, fans and other devices on/off. The WiFi interface will allow you to associate the board with your existing WiFi network and send the commands over the network.
Features
- ESP-12f ESP8266 WiFi module
- 8 Channel relays,supporting:
- 277V AC, 10A
- 125V AC, 12A
- 5V DC power
- Two work modes:
- Program via UART
- Boot from flash
- 8 indiator LEDs
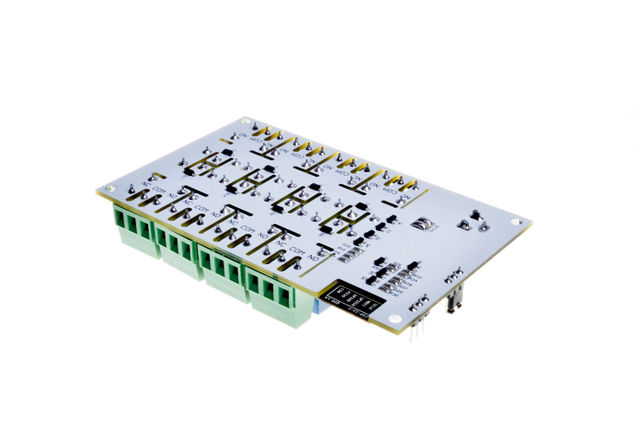
LinkNode R8 Diagram
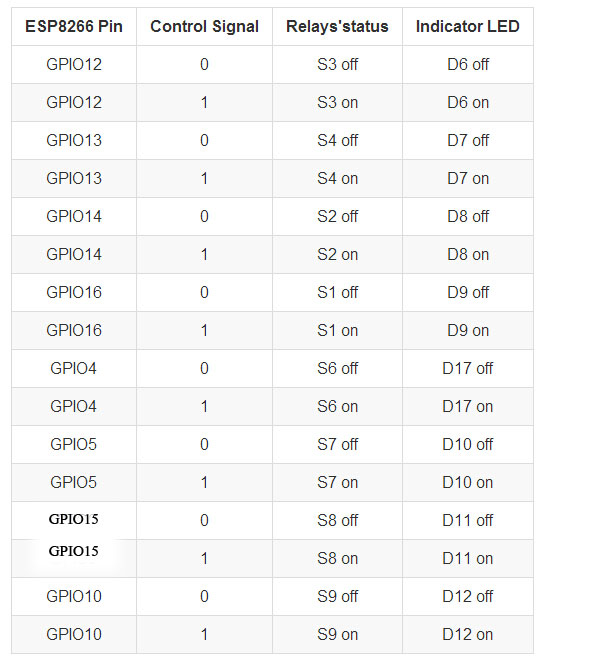
Control logic
How to use Android APP to control LinkNode R8
LinkNode R8 is an open source 8-Channel relay controller which is powered by the ESP8266 WiFi SoC.
The following will introduce how to use Android APP to control the LinkNode R8.
Steps
1. Install Android APP And IOS APP
- Download the APK file from the LinkNode-Rx-2016-12.apk and install it.
- If your equipment is iphone/ipad,you can get the app form appstore and name is "LinkNode Relay".
- IOS App download link :LinkNode Relay
2. Login LinkSpriteIO
- If you never register an account on LinkSpriteIO, please enter Email and your password, then click the REGISTER button
- If you have an account on LinkSpriteIO, please enter Email and your password, then click the SIGN IN button
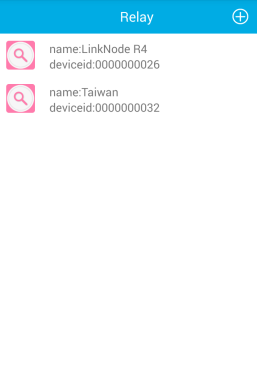
3. Go to Relay device list
- Click the plus icon on the upper right quarter to add a new LinkNode R8.
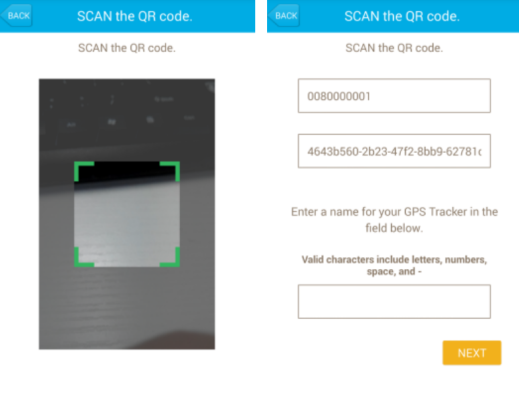
4. Scan the QRcode
- Get the device information and register it to your account.
5. Configure to accece WiFi AP
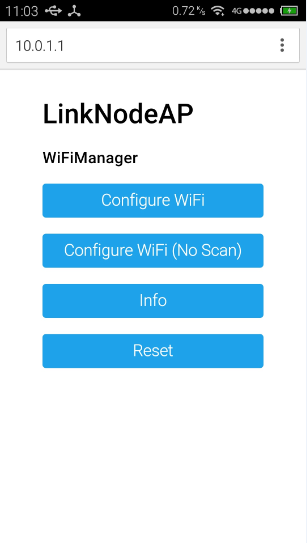
- Supply the power for LinkNodeR8, the LinkNode R8 will create a AP called LinkNodeAP
- Use your mobile phone to connect this AP
- Open a browser and enter the ip address 10.0.1.1 and you will see the following website:
- Click the button configure WiFi
- Select your WiFi AP which you want to connect and enter your wifi password.
- If connecting failed, you can go to the same website to configure it again.
- After that, LinkNode R8 will connect to Linksprite IO via the internet.
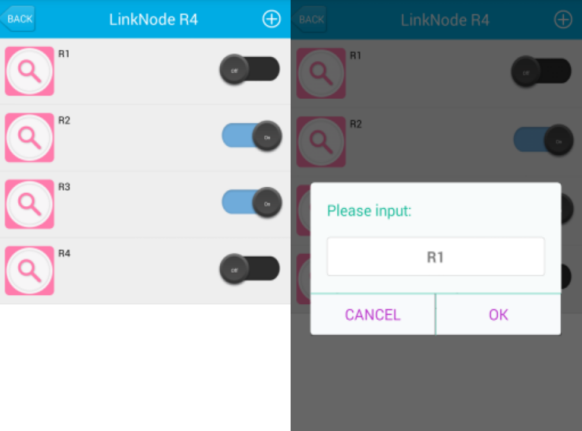
6. Control your 4-channel relay
- control the button on the right side to turn on or off the relays, and you can click the relay's name to change it.
