Acrylic Turtle 2WD Mobile Video Robot powered by pcDuino2
Revision as of 07:10, 2 February 2015 by Qian.zhang (talk | contribs) (→Install pcDuino2 On The Robot)
Contents
Introduction
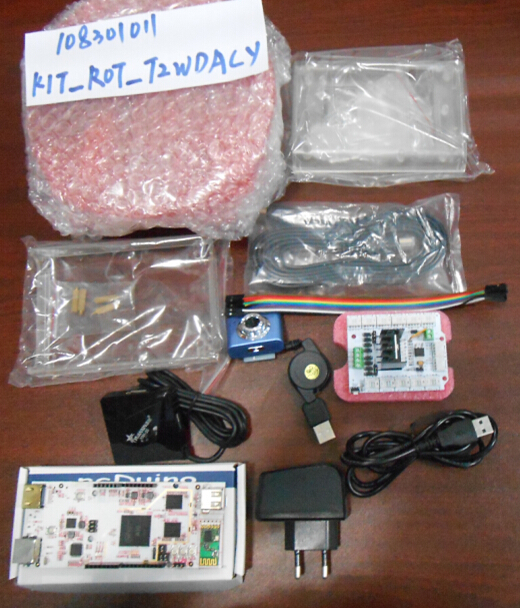
The new robot with acrylic frame and video surveillance, it uses pcDuino V2 as control board.
Package List
- 1 × pcDuino V2[MP_PCDUINOV2][102102006]
- 1 × Mini Webcam for Robot Video Real Time Video Stream[WEBCAM_PCDUINO][108202004-1]
- 1 × Motor Shield[SHD_MOTOR][101101014][SHD_MOTOR][101101014]
- 1 × Acrylic Frame Robot Platform [KIT_ROT_T2WDACY][108301011]
- 1 × Wall Power Adapter (5V 2A)[POW_5V2AUSB_EU][126201003]
- 1 × Micro USB cable[CAB_uB][117201004]
- 1 × 4 port USB hub[TOL-USBHUB-4PT][125201004]
- 1 × HDMI cable[CAB_HDMI][117201007]
- 1 × Clear Case V2
- 1 × LinkSprite Clear Enclosure for pcDuino[COM_CASE_PCDUINO_CLEAR] [114201005]
- 1 × Acrylic Baffle Plate for pcDuino V2[CASE_PCDV2END][128201001]
- 1 × Plate of Case[COM_CASE_ARDU_CLEAR_PLATE][114201003]
- 10× 2.54mm to 2.0mm Jumper Wire[IT_JUMR_FF2.54_2.0MM_WI20CM][BB101101]
Assembly Instruction
Assembly Instruction
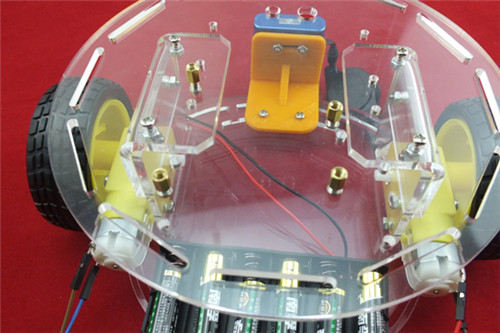
- For the frame of robot assembly instruction, please refer to here: http://linksprite.com/wiki/index.php5?title=Acrylic_Frame_Robot_Platform#Assembly_Instructions
Firmware of pcDuino2
- Write Kernel:
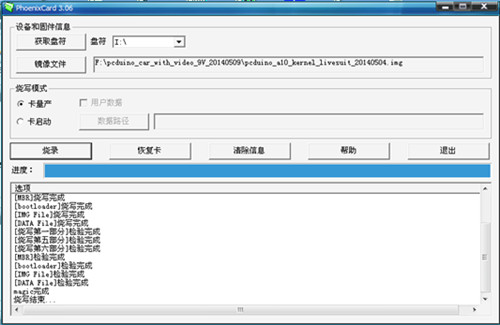
- Use PhoenixCard.exe write pcduino_a10_kernel_livesuit_20140504.img to a SD card.
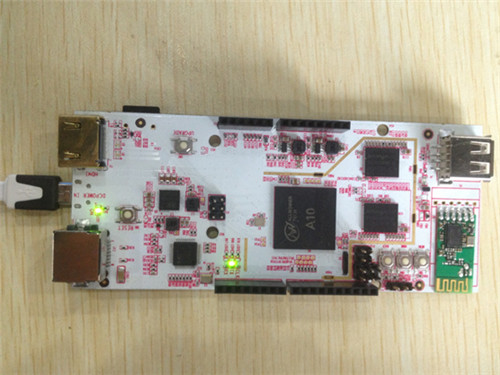
- Insert the SD card to pcDuino2 and power on. You will find the Tx LED on pcDuino2 blink. Wait a moment , the Tx LED will stop blink, this indicates that the kernel is write to pcDuino2, power off pcDuino2 and take out the SD card.
- Write Firmware:
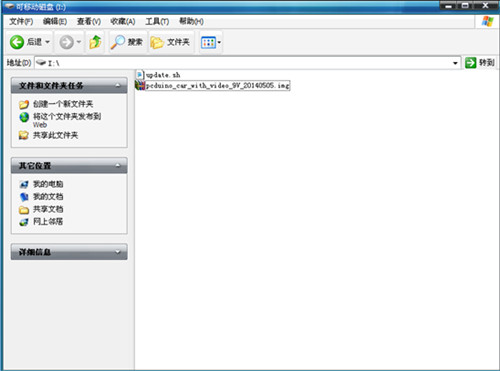
- Format the last step's SD card, copy the image to the SD card.
- Connect pcDuino2 with HDMI screen and power on it, when you see:
 searching update.sh from usb disk
 searching update.sh from sdcard
Insert the SD card to pcDuino2, you will see:
it will take about 10 minutes to finish…
Then wait servel minutes, the screen will remind you update finished.
Install pcDuino2 On The Robot
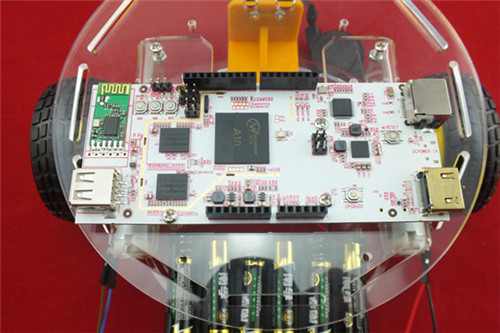
- Refer to Explanation of Acrylic Top Plate, use screws and nuts fix the pcDuino2 on acrylic top plate:
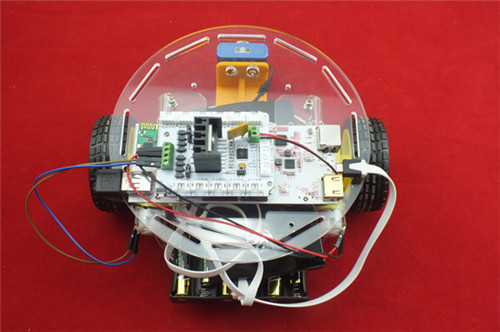
- Add Motor Shield on pcDuino2, connect the Motors' control and power wires. Plug the USB of mini webcam to pcDuino2. Here we powered on pcDuino2 with 5V/2A mobile power supply:
- Wait the Rx and Tx LEDs on pcDuino2 light up, this indicates that pcDuino2 is set up. Open WLAN of your Android cellphone, you will find a net named "carwifi", join it, the password is "12345678".
App of Android
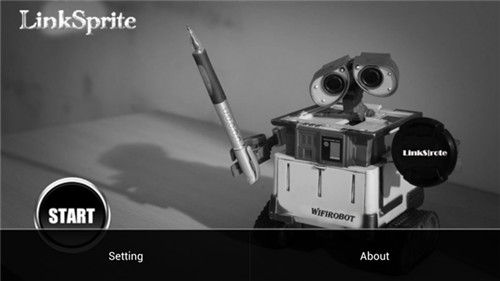
- Install the WiFiRobot.apk on your Android cellphone and open it. Click your cellphone's menu key, you will see the following picture:
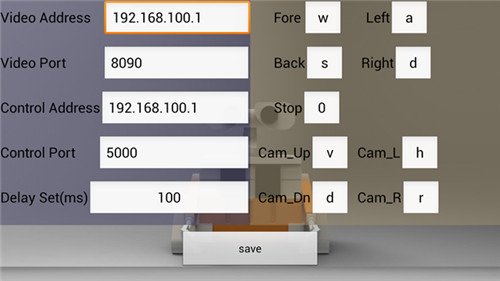
- Click "Setting" , set IP as the following picture:
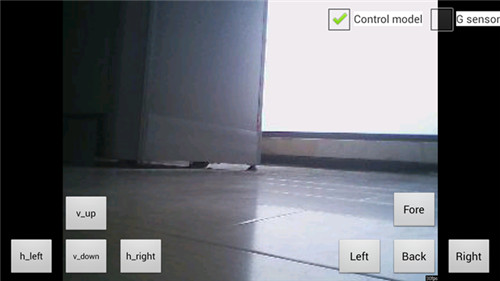
- Click "save" to save the settings. Then click "START", you will see "socket link success" and "video link success", your cellphone display the monitor screen before the mini webcam.
- Now you can control your robot with Fore, Back, Left, Right button on the lower right corner.
You may find the robot's action is not right as the suppose, this is because the Motors' control wires are not at right position, you can exchange them.
