Difference between revisions of "LED Strip"
(→Hardware connection) |
(→How to Use) |
||
| Line 11: | Line 11: | ||
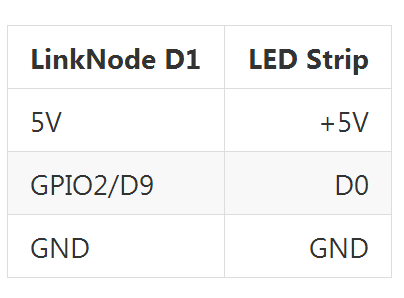
=== Hardware connection === | === Hardware connection === | ||
| − | [[File:dengdai 1.png| | + | [[File:dengdai 1.png|450px]] |
=== Install Apk === | === Install Apk === | ||
| Line 23: | Line 23: | ||
* Enter to the login page | * Enter to the login page | ||
| − | [[File:login.png| | + | [[File:login.png|450px]] |
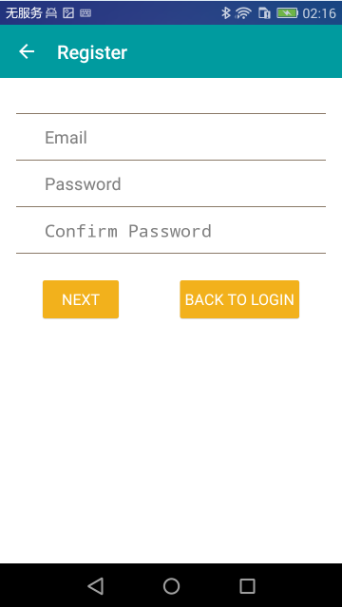
*If not register,Please register | *If not register,Please register | ||
| − | [[File:register.png| | + | [[File:register.png|450px]] |
=== Create Device === | === Create Device === | ||
| Line 33: | Line 33: | ||
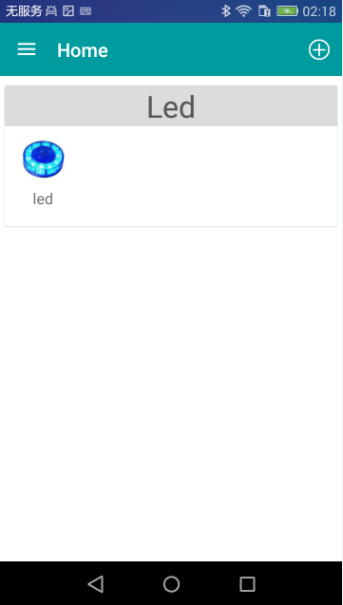
*If not have device,Please click + icon to add device | *If not have device,Please click + icon to add device | ||
| − | [[File:home.png| | + | [[File:home.png|450px]] |
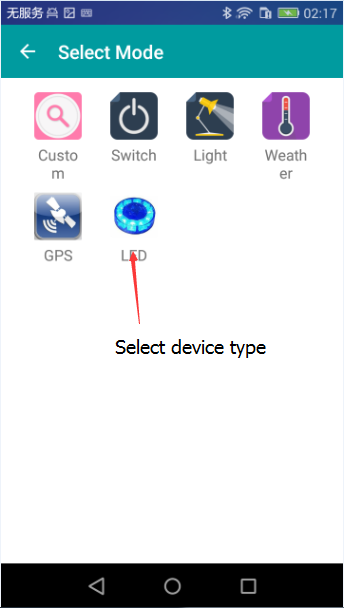
*Please choose LED button and other device type will be added later. | *Please choose LED button and other device type will be added later. | ||
| − | [[File:select.png| | + | [[File:select.png|450px]] |
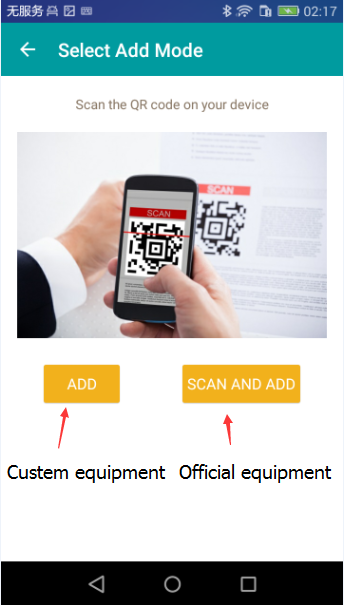
*Please choose ADD button to create a device | *Please choose ADD button to create a device | ||
| − | [[File:selectMode.png| | + | [[File:selectMode.png|450px]] |
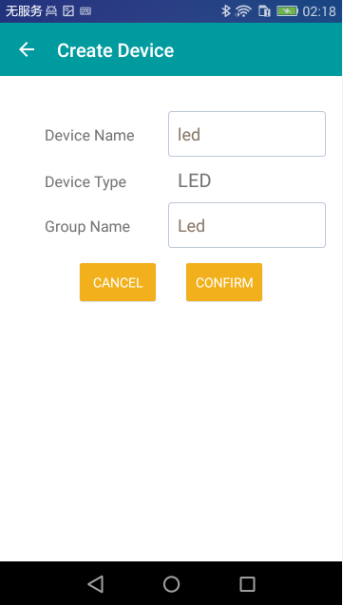
*Fill in the name of the device and group name, and click the confirm button to create the device | *Fill in the name of the device and group name, and click the confirm button to create the device | ||
| − | [[File:createDevice.png| | + | [[File:createDevice.png|450px]] |
=== Upload arduino code === | === Upload arduino code === | ||
| Line 59: | Line 59: | ||
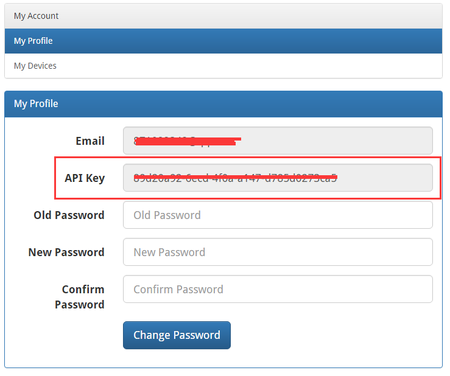
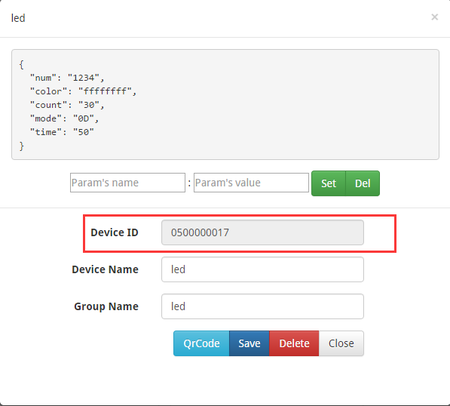
*Open the website [https://github.com/delongqilinksprite/LED_Strip/blob/master/www.linksprite.io LinkSpriteIO],and sign in get your deviceID and apikey. | *Open the website [https://github.com/delongqilinksprite/LED_Strip/blob/master/www.linksprite.io LinkSpriteIO],and sign in get your deviceID and apikey. | ||
| − | [[File:key.png| | + | [[File:key.png|450px]] |
| − | [[File:id.png| | + | [[File:id.png|450px]] |
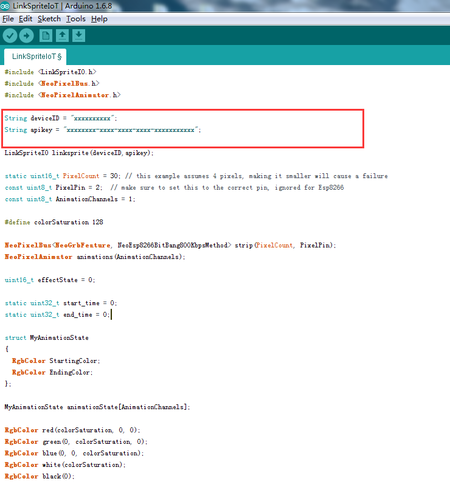
*change deviceID and apikey of program by your LinkSpriteIO device. | *change deviceID and apikey of program by your LinkSpriteIO device. | ||
| − | [[File:arduino.png| | + | [[File:led arduino.png|450px]] |
*Upload the code to LinkNode D1,and then you can use your mobile control the led strip. | *Upload the code to LinkNode D1,and then you can use your mobile control the led strip. | ||
| Line 75: | Line 75: | ||
*Please choose the device button to set device | *Please choose the device button to set device | ||
| − | [[File:led.png| | + | [[File:led.png|450px]] |
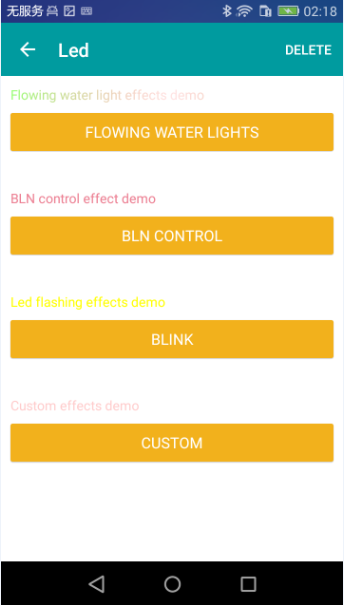
*LED strip how to show: | *LED strip how to show: | ||
| Line 87: | Line 87: | ||
4.Custom | 4.Custom | ||
| − | [[File:ledshow.png| | + | [[File:ledshow.png|450px]] |
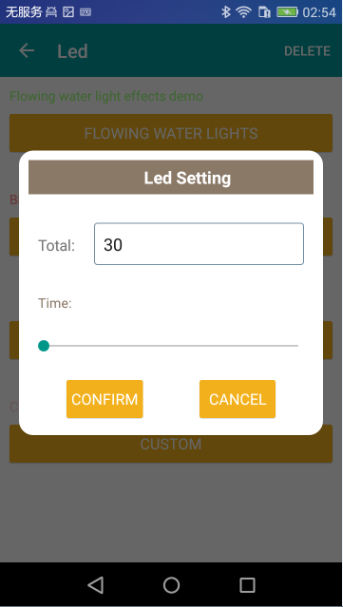
*Set the flowing water lights | *Set the flowing water lights | ||
| Line 95: | Line 95: | ||
Set the time of flowing water lights:Time | Set the time of flowing water lights:Time | ||
| − | [[File:water.png| | + | [[File:water.png|450px]] |
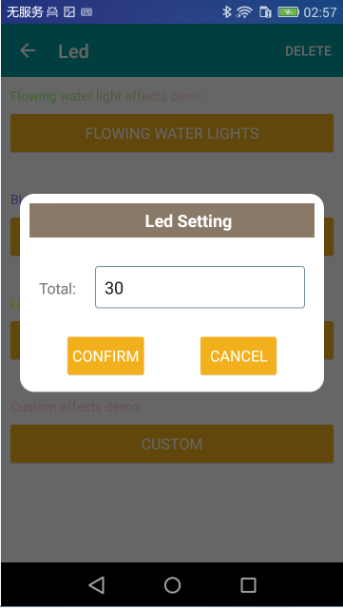
*Set bln control | *Set bln control | ||
| Line 101: | Line 101: | ||
Set the total number of LED strip:Total | Set the total number of LED strip:Total | ||
| − | [[File:bln.png| | + | [[File:bln.png|450px]] |
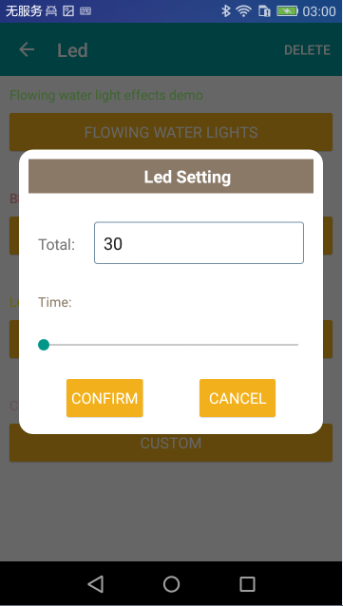
*Set blink | *Set blink | ||
| Line 109: | Line 109: | ||
Set the time of blink:Time | Set the time of blink:Time | ||
| − | [[File:blink.png| | + | [[File:blink.png|450px]] |
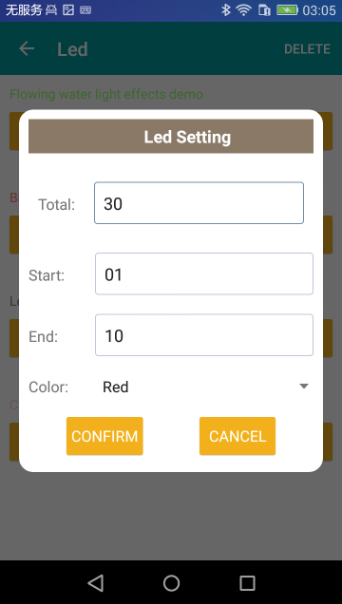
*Set custom | *Set custom | ||
| Line 121: | Line 121: | ||
Set the color of LED:Color (Four color:Red,Blue,Green,White) | Set the color of LED:Color (Four color:Red,Blue,Green,White) | ||
| − | [[File:custem.png| | + | [[File:custem.png|450px]] |
Revision as of 08:09, 1 December 2016
Contents
Introduction
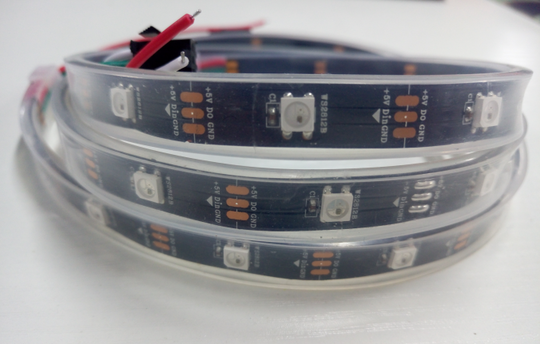
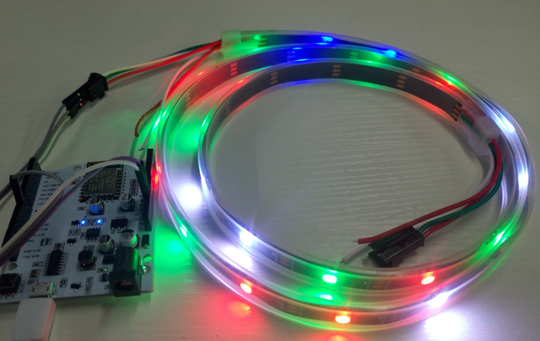
Arduino library for controlling single-wire-based LED pixels and strip such as the Adafruit 30 LED/meter Digital LED strip, the Adafruit FLORA RGB Smart Pixel, the Adafruit Breadboard-friendly RGB Smart Pixel, the Adafruit NeoPixel Stick, and the Adafruit NeoPixel Shield. We based on these and LinkSpriteIO make it can be controled by mobile phone ,to achieve a number of simple functions with LinkNode D1.
How to Use
Hardware connection
Install Apk
- Download LinkspriteIo.apk
- Install Linksprite.apk
Register Or Login
- Enter to the login page
- If not register,Please register
Create Device
- If not have device,Please click + icon to add device
- Please choose LED button and other device type will be added later.
- Please choose ADD button to create a device
- Fill in the name of the device and group name, and click the confirm button to create the device
Upload arduino code
- Download LinkSpriteIO anduino library
- Download NeoPixelBus arduino library
- Install libraries in Arduino Libraries folder.
- Restart Arduino IDE, then open File->Examples->NeoPixelBus->LinkSpriteIoT sketch.
- Open the website LinkSpriteIO,and sign in get your deviceID and apikey.
- change deviceID and apikey of program by your LinkSpriteIO device.
- Upload the code to LinkNode D1,and then you can use your mobile control the led strip.
If you've never used D1 LinkNode,you can learn from here.
LED Strip Control
- Please choose the device button to set device
- LED strip how to show:
1.Flowing water lights
2.Bln control
3.Blink
4.Custom
- Set the flowing water lights
Set the total number of LED strip:Total
Set the time of flowing water lights:Time
- Set bln control
Set the total number of LED strip:Total
- Set blink
Set the total number of LED strip:Total
Set the time of blink:Time
- Set custom
Set the total number of LED strip:Total
Set the start number which :Start
Set the end number:End
Set the color of LED:Color (Four color:Red,Blue,Green,White)
