Difference between revisions of "LinkSprite Extension Plate for Black Enclosure for pcDuino"
Qian.zhang (talk | contribs) (Created page with "== Introduction == This LinkSprint extension plate is a standard accessory for LinkSprite pcDuino enclosure. By stacking multiple extension plate, the LinkSprite black enclos...") |
Qian.zhang (talk | contribs) (→Usage) |
||
| (2 intermediate revisions by the same user not shown) | |||
| Line 5: | Line 5: | ||
[[File:Plate for Black Enclosure.jpg]] | [[File:Plate for Black Enclosure.jpg]] | ||
| + | |||
| + | ==Usage== | ||
| + | |||
| + | *1. Install the pcDuino enclosure as the normal one ([http://linksprite.com/wiki/index.php5?title=LinkSprite_Black_Enclosure_for_pcDuino#Assembly_Steps_for_pcDuino step 1 to step 3]). | ||
| + | *2. Mount the shield on pcDuino.Fit the extension plate into the groove on the bottom panel. | ||
| + | |||
| + | [[File:extension step1.jpg | 500 px]] | ||
| + | |||
| + | *3. Insert the copper cylinder, you can install more extension plates if you have more shields or you need more internal space. | ||
| + | |||
| + | [[File:extension step2.jpg | 500 px]] | ||
| + | |||
| + | [[file:extension step3.jpg | 500 px]] | ||
| + | |||
| + | *4. Cover with the lid and fasten by the screws at last. | ||
| + | |||
| + | [[File:extension step4.jpg | 500 px]] | ||
Latest revision as of 08:12, 3 September 2014
Introduction
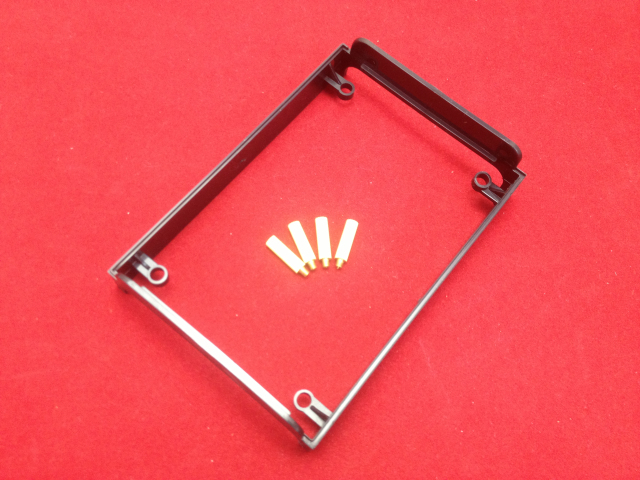
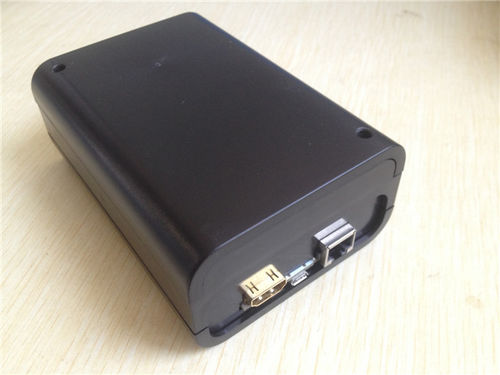
This LinkSprint extension plate is a standard accessory for LinkSprite pcDuino enclosure. By stacking multiple extension plate, the LinkSprite black enclosure can allow multiple shield be to stack altogether. When used with the pcDuino/Arduino enclosure, it fits nicely with the existing enclosure. You can apply one or more plates based on your need. What you need to do is to fasten by the copper cylinder in the package.
Usage
- 1. Install the pcDuino enclosure as the normal one (step 1 to step 3).
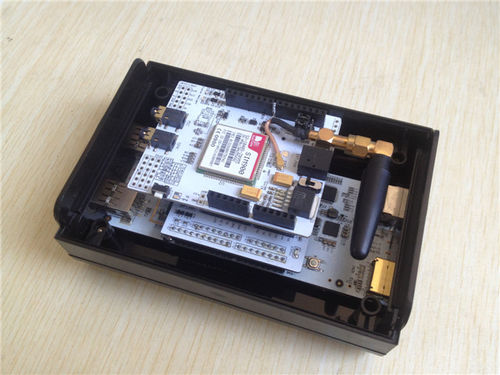
- 2. Mount the shield on pcDuino.Fit the extension plate into the groove on the bottom panel.
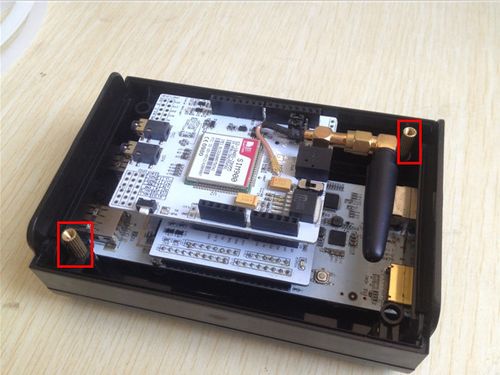
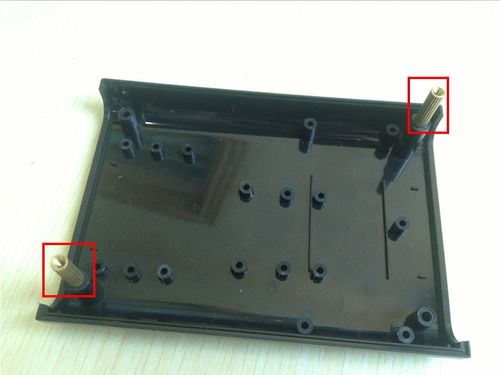
- 3. Insert the copper cylinder, you can install more extension plates if you have more shields or you need more internal space.
- 4. Cover with the lid and fasten by the screws at last.
