Difference between revisions of "LinkerKit for Raspberry Pi"
(→Environment Setup) |
|||
| Line 26: | Line 26: | ||
Now we will install python-pip (pip is a package used to install and manage python software package, and it is used replace esay_install): | Now we will install python-pip (pip is a package used to install and manage python software package, and it is used replace esay_install): | ||
| + | |||
| + | <code> | ||
sudo apt-get install python-imaging python-imaging-tk python-pip python-dev git | sudo apt-get install python-imaging python-imaging-tk python-pip python-dev git | ||
| + | </code> | ||
| + | |||
Next, we will install spidev using pip: | Next, we will install spidev using pip: | ||
| + | |||
| + | <code> | ||
sudo pip install spidev | sudo pip install spidev | ||
| + | </code> | ||
| + | |||
Then we will install WiringPi (the driver for IOs on Raspberry pi, that can be used in C, shell script or Python, etc): | Then we will install WiringPi (the driver for IOs on Raspberry pi, that can be used in C, shell script or Python, etc): | ||
| + | |||
| + | <code> | ||
sudo pip install wiringpi | sudo pip install wiringpi | ||
| + | </code> | ||
Revision as of 15:37, 31 July 2013
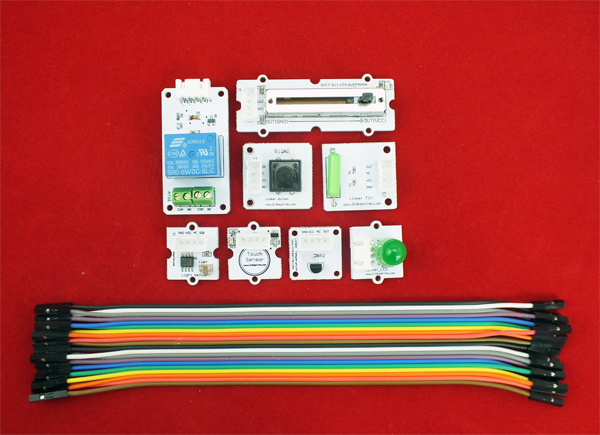
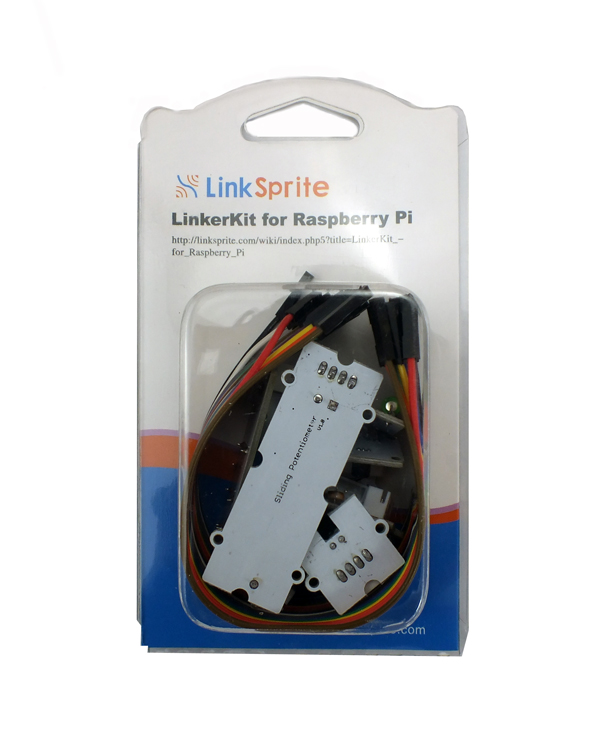
This pack includes the following components:
- Button Module [LINKER_BUTTON][118101002]
- 5mm Green LED Module [LINKER_5MMGREEN][118101001]
- LDR Module [LINKER_LDR][118101003]
- Thermal Module [LINKER_TEMP][118101005]
- Linear/Slide Potentiometer Module [LINKER_LINEPOTENT][118101006]
- Tilt Module [LINKER_TLT][118101004]
- Touch Sensor Module [LINKER_TOUSEN][118101007]
- Relay Module [LINKER_RELAY][118101008]
- Female to female jumper wires
Tutorial
In this tutorial, we are going to explain how to use Python to do the experiments:
Environment Setup
Now we will install python-pip (pip is a package used to install and manage python software package, and it is used replace esay_install):
sudo apt-get install python-imaging python-imaging-tk python-pip python-dev git
Next, we will install spidev using pip:
sudo pip install spidev
Then we will install WiringPi (the driver for IOs on Raspberry pi, that can be used in C, shell script or Python, etc):
sudo pip install wiringpi

