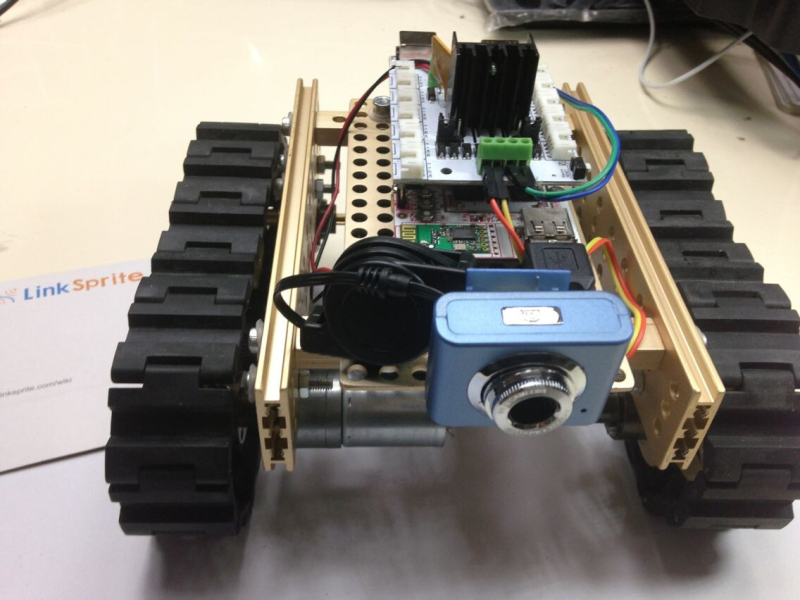
Difference between revisions of "PcDuino Metal Lego Video Tank"
Qian.zhang (talk | contribs) (→Parts List) |
Qian.zhang (talk | contribs) (→Assembly Instruction) |
||
| Line 33: | Line 33: | ||
== Assembly Instruction == | == Assembly Instruction == | ||
| − | + | ===Assemble the frame=== | |
| + | |||
| + | 1. Take a piece of 9×18 Lego Holes Sheet and two side beams with 6 holes and put them together with the M4 bolts and nuts. | ||
| + | |||
| + | [[File:assemble video tank1.jpg]] | ||
| + | |||
| + | 2. Install two grooved beam with 10 holes. | ||
| + | |||
| + | [[File:assemble video tank2.jpg]] | ||
| + | |||
| + | [[File:assemble video tank3.jpg]] | ||
| + | |||
| + | |||
| + | ===Install battery pack=== | ||
| + | |||
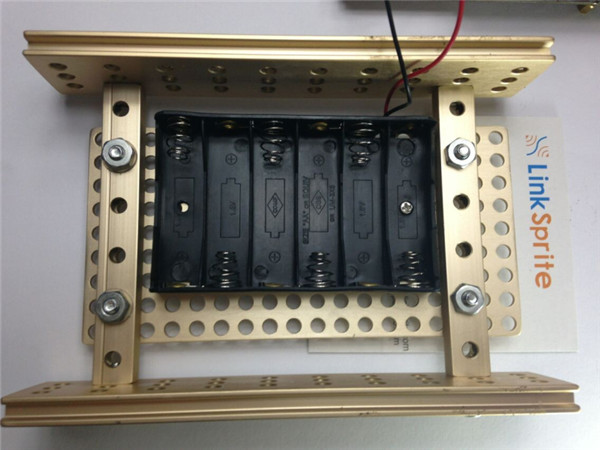
| + | Install battery pack. There are two options here. One is to use the one below, and fix it on the sheet: | ||
| + | |||
| + | [[File:assemble video tank4.jpg]] | ||
| + | |||
| + | The other option, actually, the recommended one is to use the rechargeable one: Battery Pack for Robot 4800mAH. | ||
| + | |||
| + | |||
| + | ===Install pcDuino and Motor Shield=== | ||
| + | |||
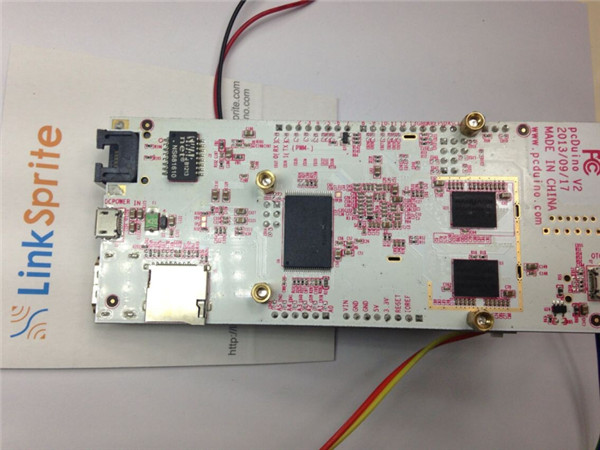
| + | 1. Install four buts on the back of pcDuino2 using screws: | ||
| + | |||
| + | [[File:assemble video tank5.jpg]] | ||
| + | |||
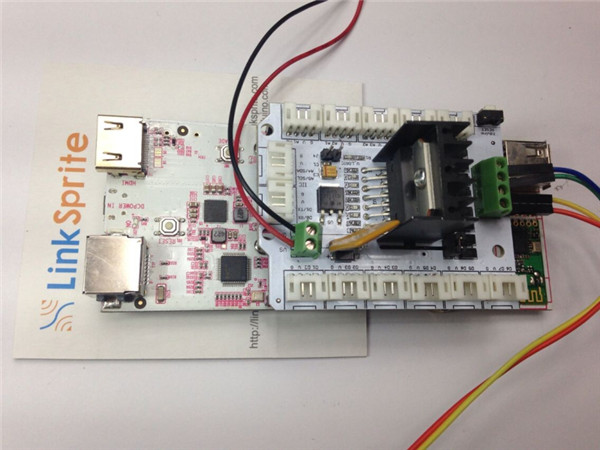
| + | 2. Install Motor Shield on pcDuino2. | ||
| + | |||
| + | [[File:assemble video tank6.jpg]] | ||
| + | |||
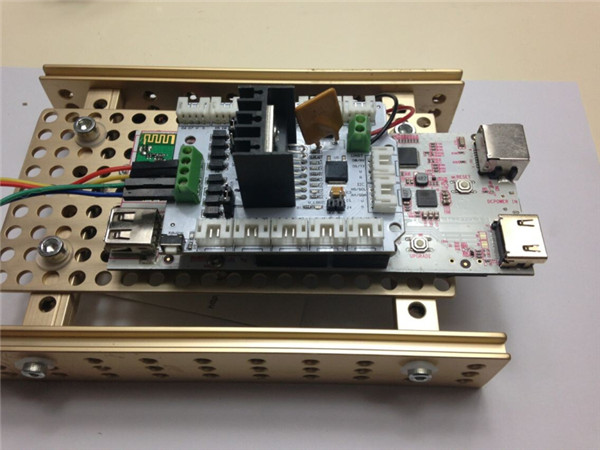
| + | 3. Fix pcDuino2 on the the sheet: | ||
| + | |||
| + | [[File:assemble video tank7.jpg]] | ||
Revision as of 01:25, 11 August 2014
Contents
Introduction
Parts List
- 2 × Linker Block Side Beam with 6 Holes
- 2 × Linker Block 10*3 Lego Holes Long Grooved Beam -Aluminium
- 24× Linker Block M4x14 Bolt
- 8 × Linker Block M4 Nut
- 6 × Linker Block UN*16 Bolt
- 6 × Linker Block UN Nut
- 4 × Linker Block Grub Screw
- 1 × Linker Block Plastic Washer M4 Bag
- 6 × Linker Block Shaft Connector
- 4 × Linker Block Gear Wheel with a Diameter of 5.6cm
- 4 × Linker Block Passive Cross Shaft -Aluminium
- 2 × Linker Block Shaft Collar
- 2 × Linker Block DC Motor
- 4 × Linker Block Motor Fixture Plate -Aluminium
- 1 × Linker Block 9*18 Lego Holes Sheet -Aluminium
- 1 × Linker Block 90 Degree Fixture With a Length of 3 Holes
- 32× Linker Block Track
- 32× Linker Block Track Connector
- 1 × Linker Block Screw Driver For Hexagon M1.5
- 1 × Linker Block Screw Driver For Hexagon M3
- 1 × Linker Block Screw Driver For Hexagon M4
- 1 × pcDuino V2
- 1 × Mini Webcam for Robot Video Real Time Video Stream - pcDuino
- 1 × Copper Pillar and Screw Bag
- 4 male to male jumpers as shown in Jumper Wires Premium - Pack of 60- Male-to-Male
Assembly Instruction
Assemble the frame
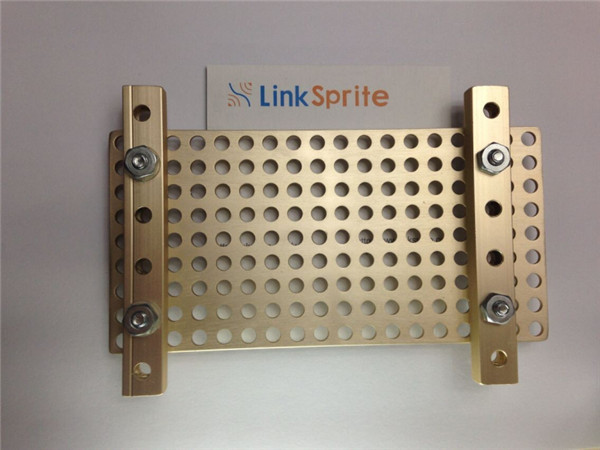
1. Take a piece of 9×18 Lego Holes Sheet and two side beams with 6 holes and put them together with the M4 bolts and nuts.
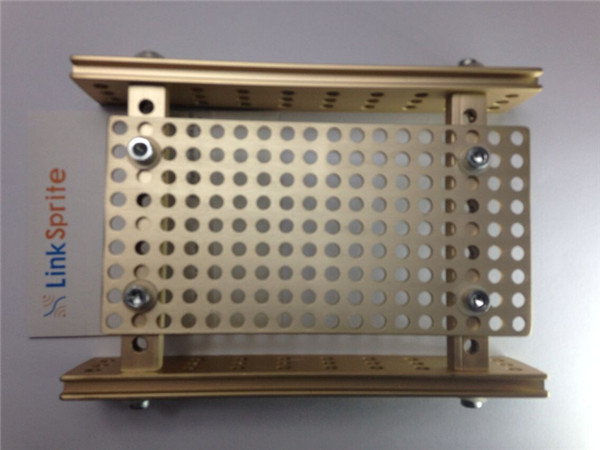
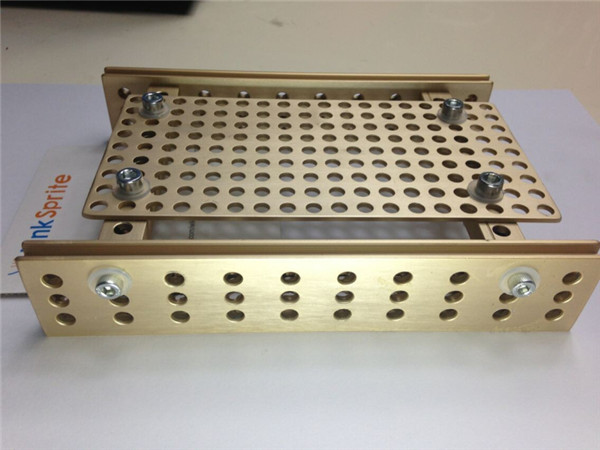
2. Install two grooved beam with 10 holes.
Install battery pack
Install battery pack. There are two options here. One is to use the one below, and fix it on the sheet:
The other option, actually, the recommended one is to use the rechargeable one: Battery Pack for Robot 4800mAH.
Install pcDuino and Motor Shield
1. Install four buts on the back of pcDuino2 using screws:
2. Install Motor Shield on pcDuino2.
3. Fix pcDuino2 on the the sheet:
