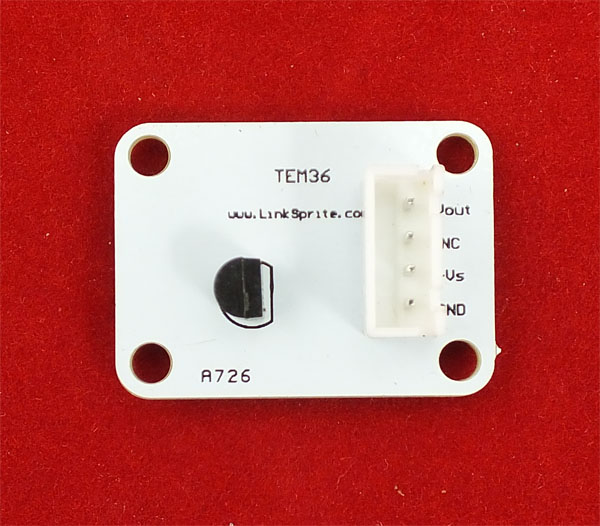
Difference between revisions of "Thermal Module"
| Line 48: | Line 48: | ||
== Schematics == | == Schematics == | ||
*[https://s3.amazonaws.com/linksprite/LinkerKit/Temperature.pdf Schematics ] | *[https://s3.amazonaws.com/linksprite/LinkerKit/Temperature.pdf Schematics ] | ||
| + | |||
| + | ==How to buy== | ||
| + | Here to buy Thermal Module on [http://store.linksprite.com/thermal-module-of-linker-kit-for-pcduino-arduino/ store] | ||
Revision as of 03:03, 24 February 2014
Sample
<syntaxhighlight lang="c"> //TMP36 Pin Variables int sensorPin = 0; //the analog pin the TMP36's Vout (sense) pin is connected to
                       //the resolution is 10 mV / degree centigrade with a
                       //500 mV offset to allow for negative temperatures
/*
* setup() - this function runs once when you turn your Arduino on
* We initialize the serial connection with the computer
*/
void setup() {
 Serial.begin(9600);  //Start the serial connection with the computer
                      //to view the result open the serial monitor
}
void loop() // run over and over again {
//getting the voltage reading from the temperature sensor
int reading = analogRead(sensorPin);

// converting that reading to voltage, for 3.3v arduino use 3.3
float voltage = reading * 5.0;
voltage /= 1024.0;

// print out the voltage
Serial.print(voltage); Serial.println(" volts");

// now print out the temperature
float temperatureC = (voltage - 0.5) * 100 ;  //converting from 10 mv per degree wit 500 mV offset
                                              //to degrees ((volatge - 500mV) times 100)
Serial.print(temperatureC); Serial.println(" degrees C");

// now convert to Fahrenheight
float temperatureF = (temperatureC * 9.0 / 5.0) + 32.0;
Serial.print(temperatureF); Serial.println(" degrees F");

delay(1000);                                     //waiting a second
}
</syntaxhighlight>
Schematics
How to buy
Here to buy Thermal Module on store
