LinkSprite Black Enclosure for pcDuino/Arduino
Contents
Introduction
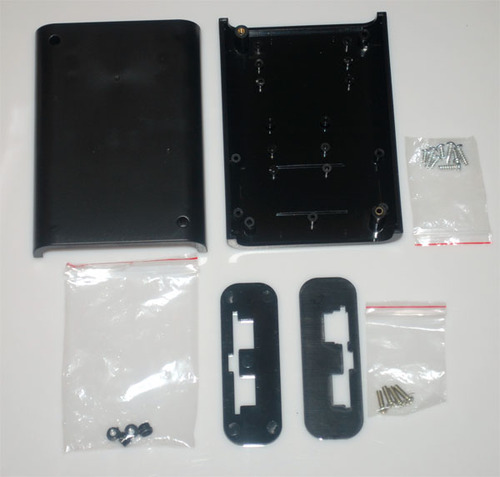
The LinkSprite Black enclosure is a more powerful box for your pcDuino and Arduino board. It's not just suitable for all kinds of Arduino (such as Arduino Uno, Mega, Duemilanove, Leonardo, Maple and Due) but also can be use for pcDuino. For this case we prepare another two precut end pieces which can be fit for all the port on pcDuino beside the regular pair for Arduino. You Just need to align the hole to the different internal mounting hole according to your board.
It’s can adapt for couple of Arduino boards in the same time. The enclosure can use with the extension side plate to make more internal space for the additional Arduino boards. Great use for your pcDuino and project!
- WITH PCDUINO
- WITH ARDUINO MEGA
- WITH ARDUINO MAPLE
Features
- Made of ABS plastic (good thermostability, high intensity)
- Enclosure is easy to machine, drill, cut and shape to what you need
- Brass, screws inserts (can be used and reused for many times)
- Fits various Arduino Boards and 16X2 LCDs
- Couple of boards can be adapted in the same time
- Pop out plates for GPS, buttons, sensors, switches, knobs etc
- Products of high precision, the appearance of fine, exquisite craft.
- Design to a translucent appearance, give you a better and clearer vision.
- Hold up to 4 AAA battries internally using 2 AAA holders. AA’s can squeeze in but the case won’t close nicely so we suggset AAA’s
Dimensions
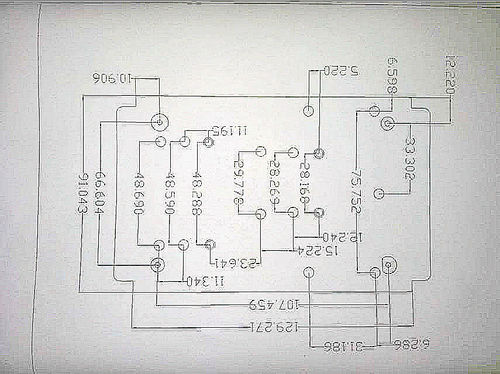
90.5mm X 128.5mm X 34mm
Assembly Steps
Assembly Steps for pcDuino
- Step 1 Mount the four seperate gasket on the socket in order to twist the screws easily.
- Step 2 Install pcDuino with two percut end pieces.
- Step 3 Fasten pcDuino on the bottom with screws.
- Step 4 Cover and insert the screws.
Assembly Steps for Arduino
- Step 1 For the bottom, snap in the pieces to cover the two holes.
- Step 2 Place the Arduino so it line up with the mouning holes
- Step 3 Insert the screws to fix the Arduino board on the bottom.
- Step 4 Connect your shield and LCDs as you need
- Step 5 Grab the box end piece. It’s made of ABS which means it’s very easy to drill and machine according to your jacks.
- Step 6 The other side gets the pracut case that cover the Arduino power and programing slot
- Step 7 Fasten the cover and the bottom by screws at least.
Dimensions
3D print files for pcDuino V2
To use this clear enclosure for pcDuino v2 requires the modification of the two ends.
The following are the STL files that can be used to print out the two ends:
The following are the pictures:

