Proto Shield Kits
Contents
Introduction
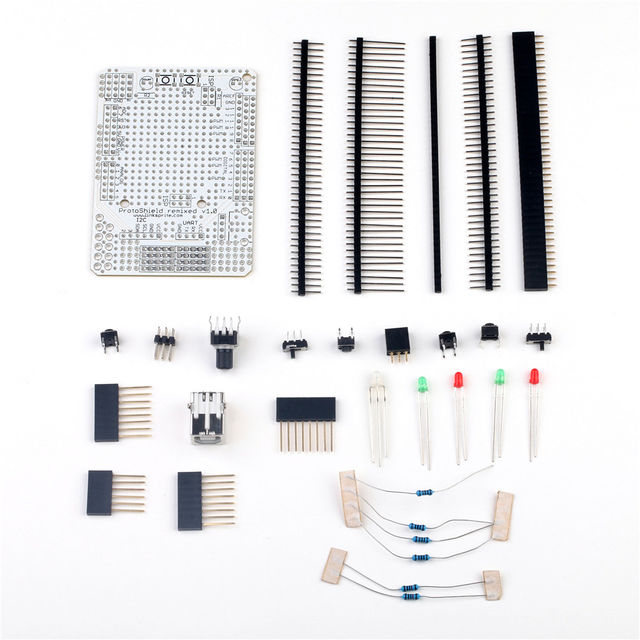
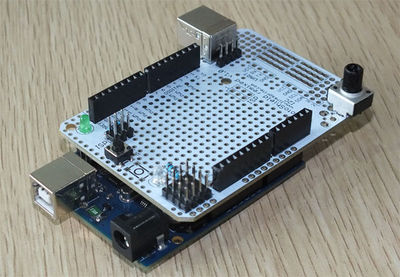
Build your own Arduino shield using the compact and flexible Proto Shield kit. Solder together a limitless range of circuits and reuse it in all your Arduino projects. A standard 0.1" prototyping grid accepts commonly used through-hole parts and chips. You could also find a range of basic components are included to help you get started with your custom shield.
Features
- Standard Arduino compatible
- Large 0.1"*0.1" pitch prototyping area
- A variety of through-hole sizes to fit most parts
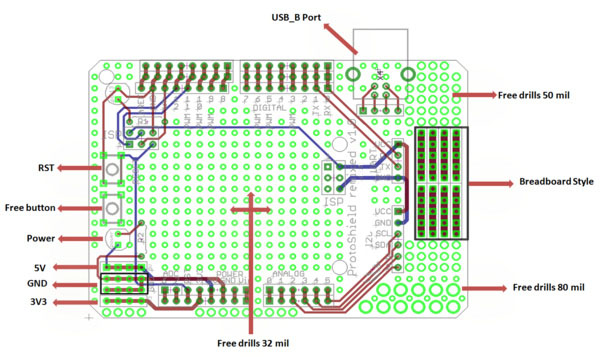
- Arduino UART and I2C port pin breakout for easy external communications
- Dual ISP breakouts for easy programming and stacking
- 3.3 volt, 5 volt, and ground power rails are easily available anywhere on the board
- Breadboard style prototyping area
- USB type B breakout
- Basic components included (buttons, switches, LEDs, resistors, USB jack)
Packing List
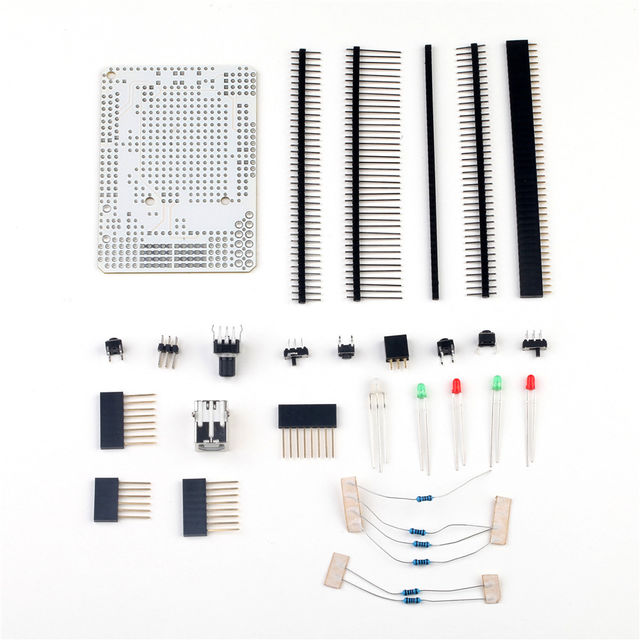
- 1x Arduino compatible Proto Board
- 1x B type USB connector
- 1x 40-pin 2.54mm male long header
- 1x 40-pin 2.54mm female header
- 2x 40-pin 2.54mm male header
- 1x 40-pin 2.54mm spacer
- 3x 8-pin 2.54mm female header
- 1x 6-pin 2.54mm female header
- 1x ISP female pin header
- 1x ISP male pin header
- 1x 10k Ohm rotary potentiometer
- 4x 1k Ohm through-hole resistor
- 2x 10k Ohm through-hole resistor
- 2x 3mm Red through-hole LED
- 2x 3mm Green through-hole LED
- 1x 3mm dual color through-hole LED
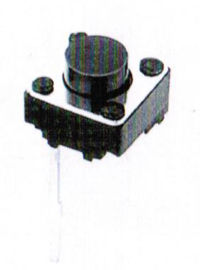
- 4x Mini push button switch
- 2x DPDT switch
Mini Push Button Switch
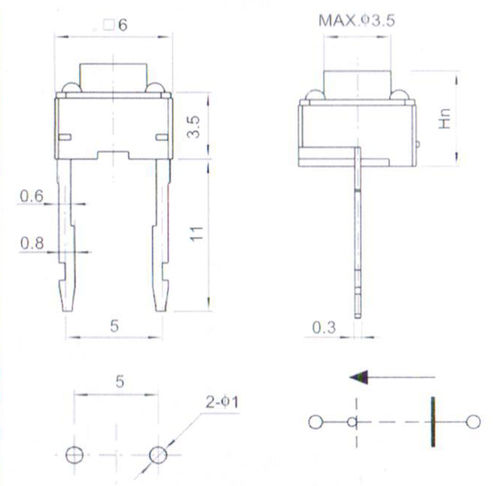
DIMENSION
Interface Function
Assembly Tutorial
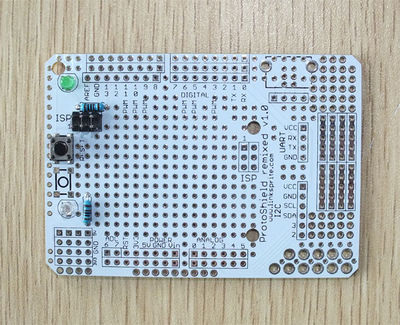
- Step1: Solder the Red LED to Power Socket and blue LED to pin13 socket, and two 1K resistors to R1 and R2. Solder the ISP terminal and Reset button as following:
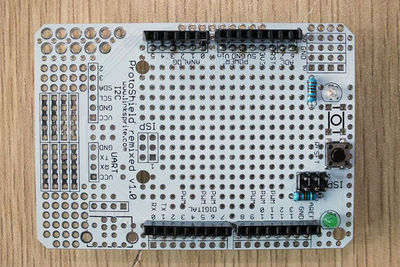
- Step2: Solder the female and male connectors as folloing:
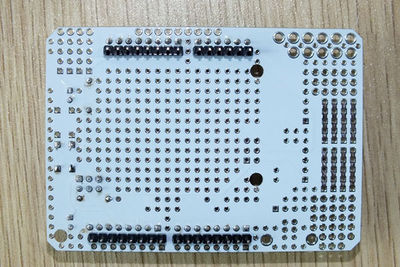
- Step3: Solder the USB connector to USB port and adjustable resistor in the 80 mil free drills. Solder the left bottom Power pins for your use.
Now, You can solder your conponents to these holes or pins to start your own arduino Project.
How to buy
Here to buy Proto Shield kit on store
