Web Cam 3-axis Servo Kit for Real Time Video for pcDuino
Description
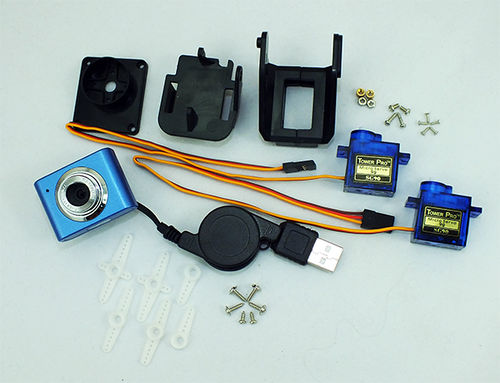
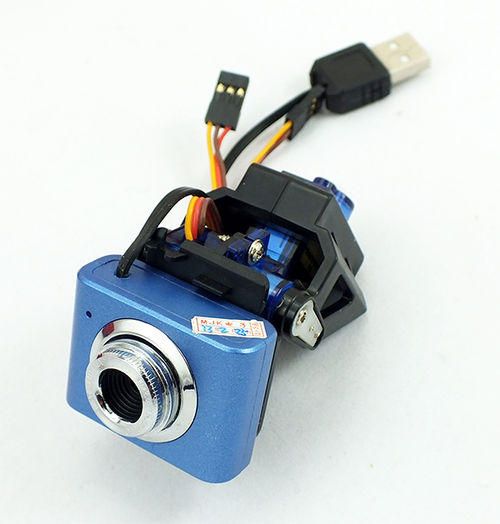
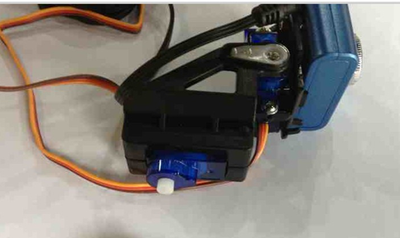
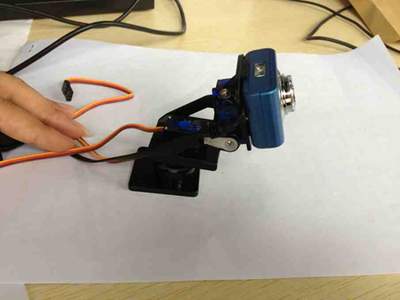
This is a kit that includes a web cam that is compatible with pcDuino, 2 mini servo, and a servo fixture to assemble a complete web cam servo as following:
Product List
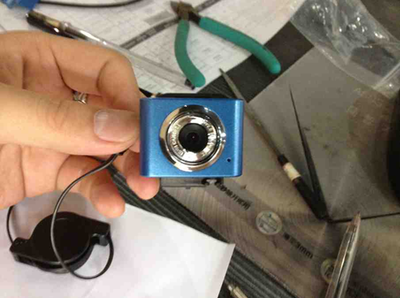
- Mini Webcam for Robot Video Real Time Video Stream [WEBCAM_PCDUINO][108202004-1]
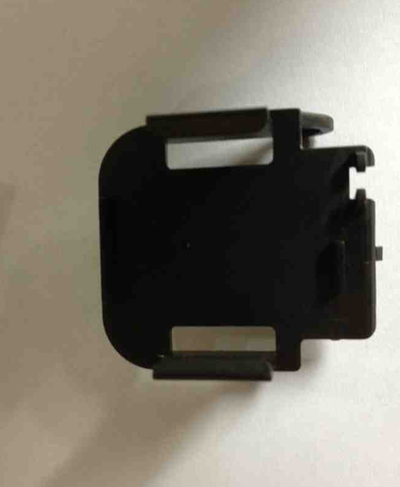
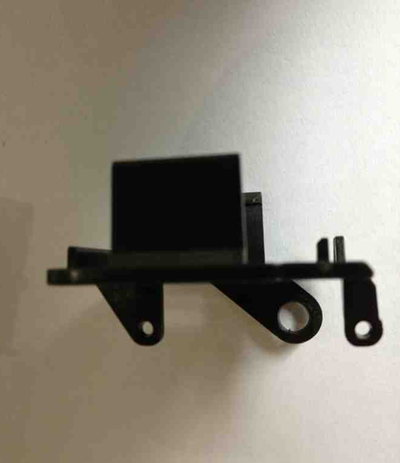
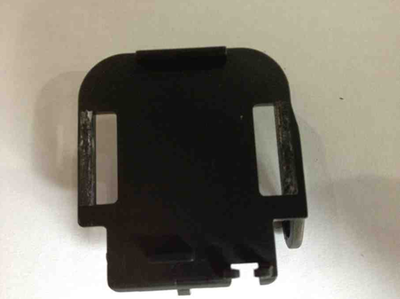
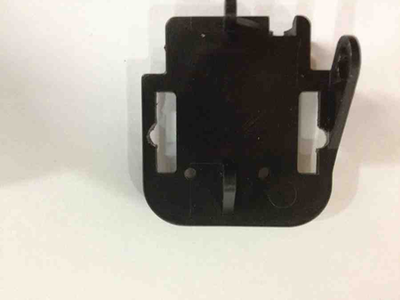
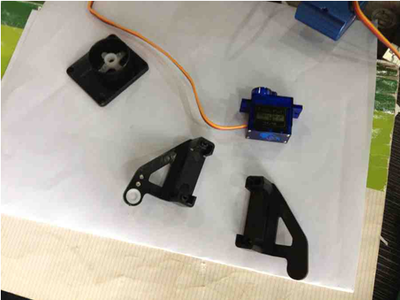
- Fixture for servos of webcam used for Robotics [FIX_SERVO_CAM][108202004-2]
- SG90 mini servo for webcam [SV_SG90][108202004-3]
Webcam assemble steps
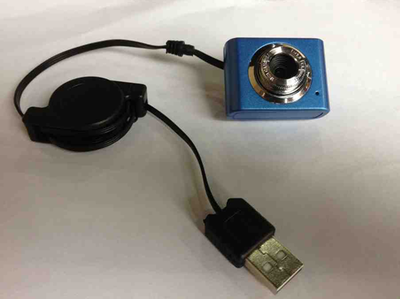
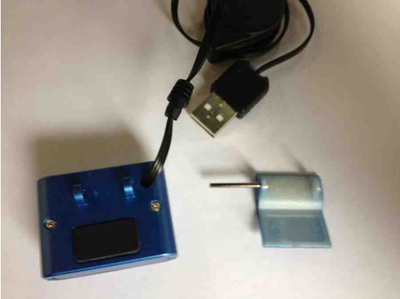
- Step 1. Take out the camera
- Step 2. Remove the pin
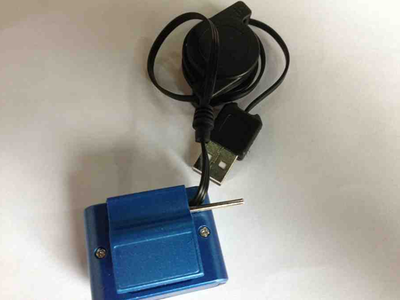
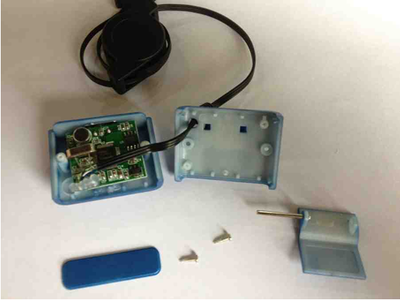
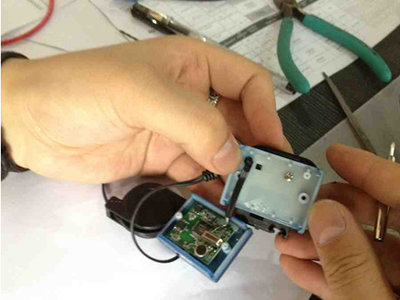
- Step 3. Unscrew the bottom cover
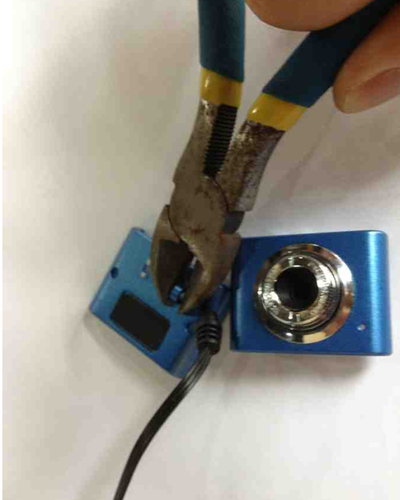
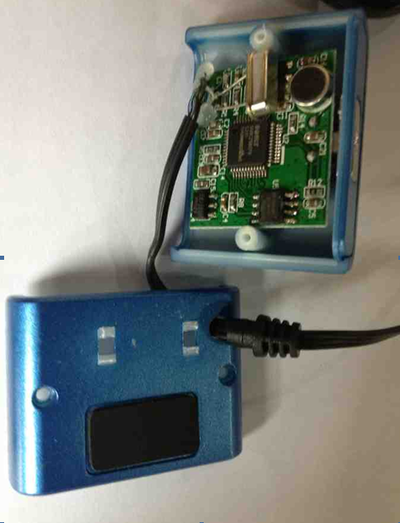
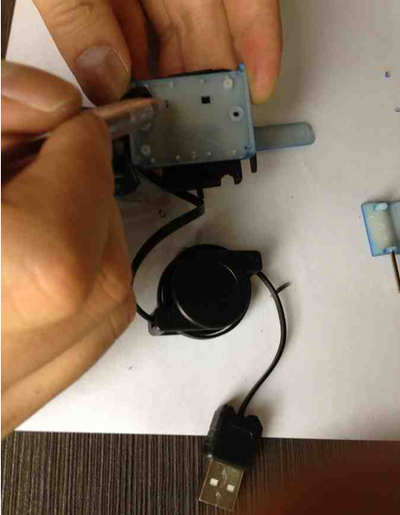
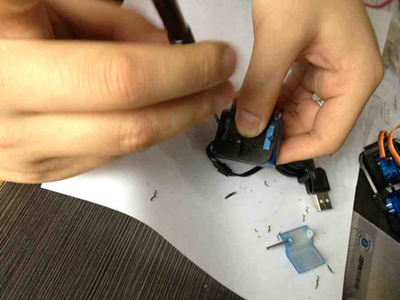
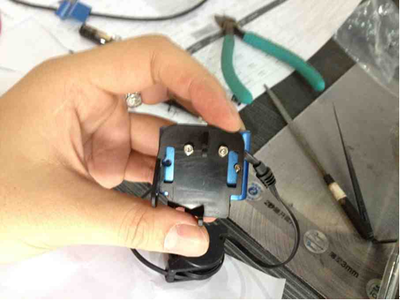
- Step 4. In order to fix camera on the servo fixture, in a later step, we need to drill two holes and fix the camera on the servo fixture by screws. So in this step, we cut the two 'ears' of the webcam and get two holes right away.
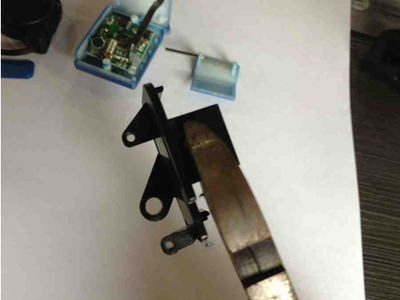
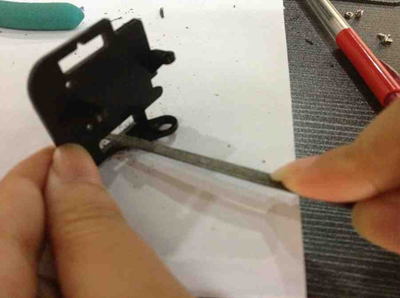
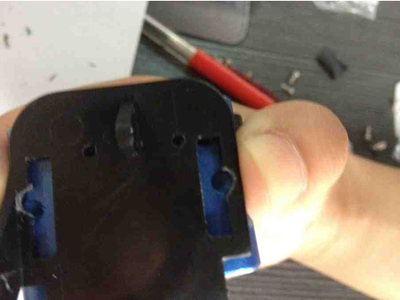
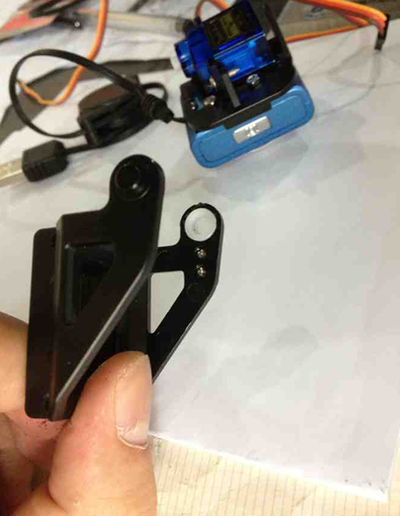
- Step 5. We rework the camera fixture platform of the servo fixture by removing the two sides, and smooth the surface.
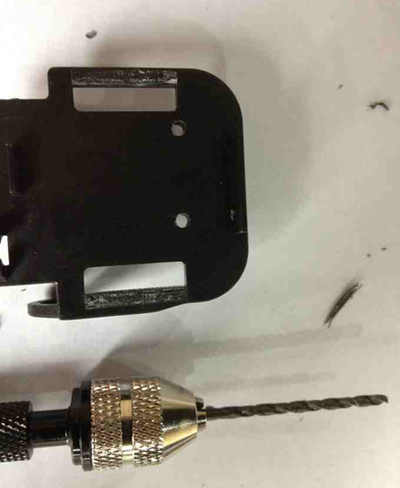
- Step 6. After the rework, align the camera fixture platform with the bottom of camera, mark the corresponding holes on the fixture platform in order to drill the screw holes.
- Step 7. To avoid covering the two screws originally on the bottom of camera, we need to drill two more holes on the fixture.
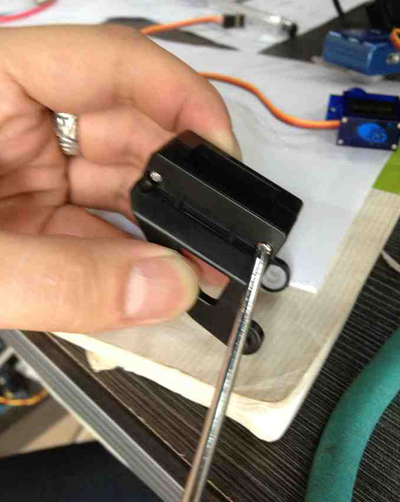
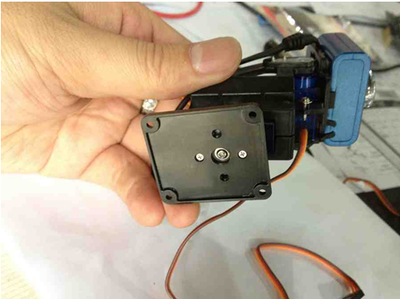
- Step 8. Fix the bottom of the camera on the fixture and fasten with screws.
- Step 9. Finish the installation of the camera with the screws.
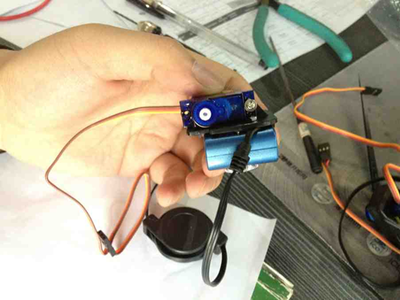
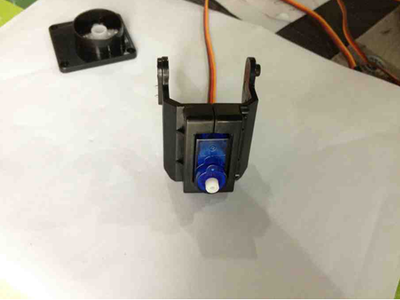
- Step 10. Install the Servo, and pay attention to directions.
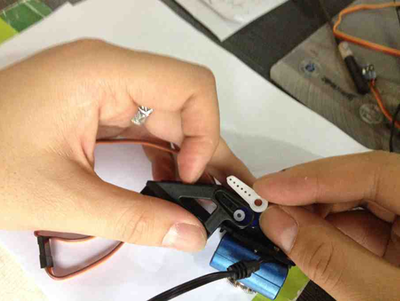
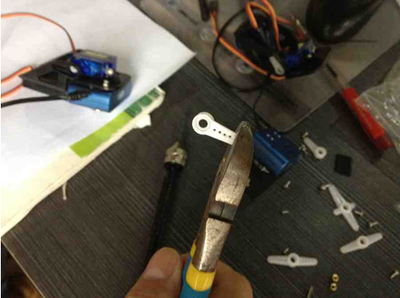
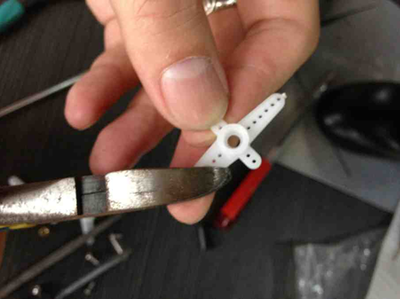
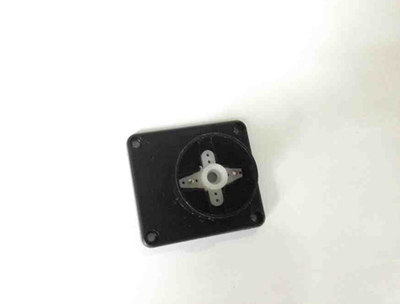
- Step 11. Install the webcam fixture. If the servo arm is too long, cut off the unwanted parts. Fasten by the screw.
- Step 12. Disassembly the webcam fixture, install another servo.
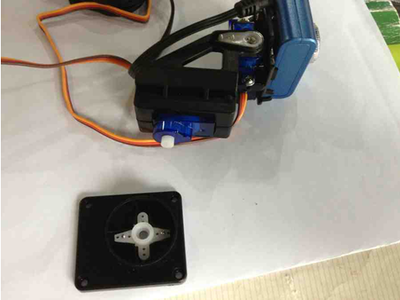
- Step 13. Connect the camera and servo fixture.
- Step 14. Trim the servo holder and install into the base. Insert the stand into the base,fasten by the screw.
How to buy
Here to buy Web Cam 3-axis Servo Kit on store
