Difference between revisions of "Visitor Welcome System Based on Face Recognition"
m (→How to use Visitor Welcome System) |
m (→Resources) |
||
| Line 131: | Line 131: | ||
== Resources == | == Resources == | ||
[https://s3.amazonaws.com/cutedigi/AI/APK/Meeting_v_1.1.0_070119_11_06_r.apk Download Visitor Welcome System APK] | [https://s3.amazonaws.com/cutedigi/AI/APK/Meeting_v_1.1.0_070119_11_06_r.apk Download Visitor Welcome System APK] | ||
| − | |||
| − | |||
Latest revision as of 02:29, 18 April 2019
Contents
Introduction
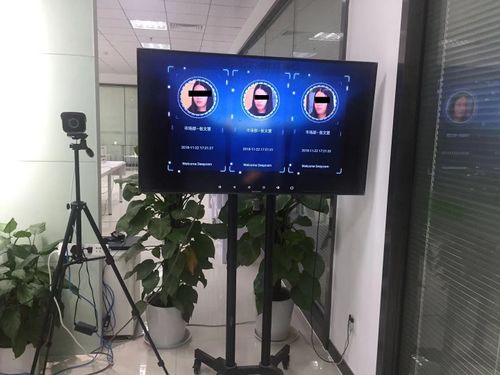
DeepCam's Visitor Welcome System consists of two steps: first, a security check that identifies stranger and sends an alarm if one is detected, followed by the visitors then registering at the front desk and providing information as to whom they are visiting and the purpose of their visit. While waiting for approval, visitors must remain in the designated area following registration in line with building management rules. VIP visitors such as Ming will be warmly welcomed with their names displayed on the screen along with a voice announcement '(the name of the visitor), Welcome!' For those who work within DeepCam, they can enter the building by passing through the facial recognition system even if they have forgotten to bring their entry pass, preventing fraudulent behavior, such as buddy punching (clocking in for a coworker). With the smart systems, companies and their employees within the building can identity their respective areas of activity." And when strangers visit, the system will promptly remind, VIP visitors will be warmly welcomed.
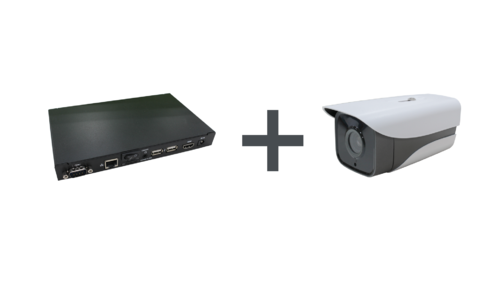
Hardware Component
• Ethernet cable
• HDMI cable
• Monitor with HDMI interface
• Mouse
How to use Visitor Welcome System
Set up
1. Connect the 3288 box/board to a router by ethernet cable.
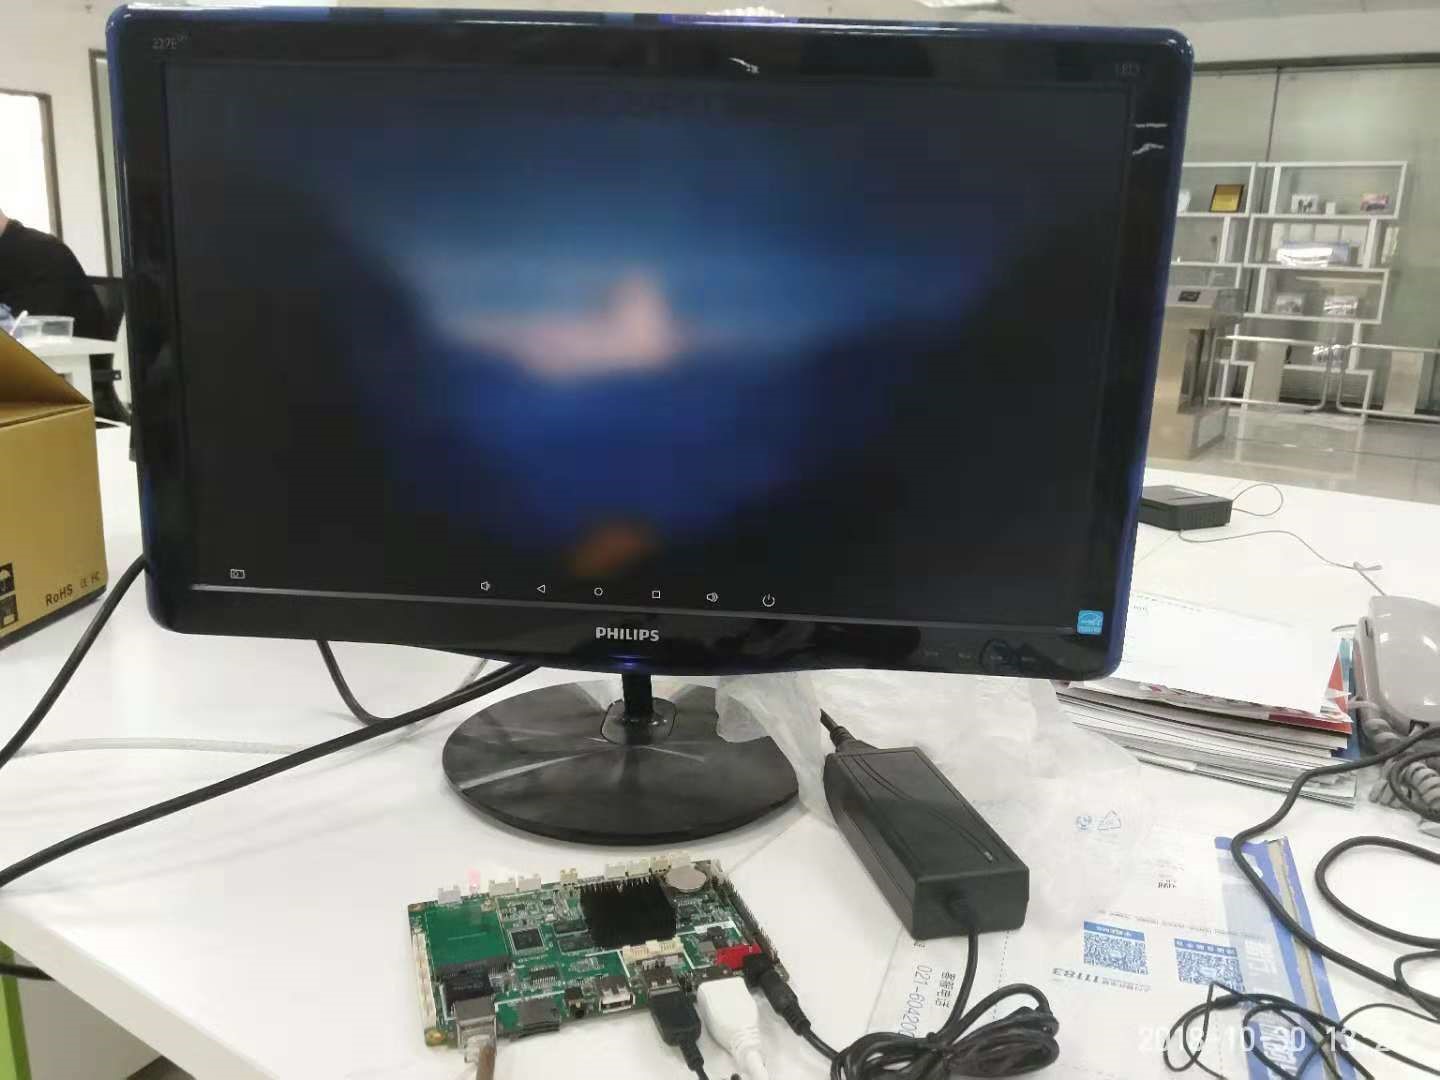
2. Connect the 3288 box/board to a monitor which has HDMI interface by HDMI cable.
3. Power on the 3288 box/board
4. Connect the deepcam capture camera to the same LAN by enthernet cable and power on.
Note: Maker sure the camera and 3288 board are in the same network
Settings
Deepcam capture camera settings
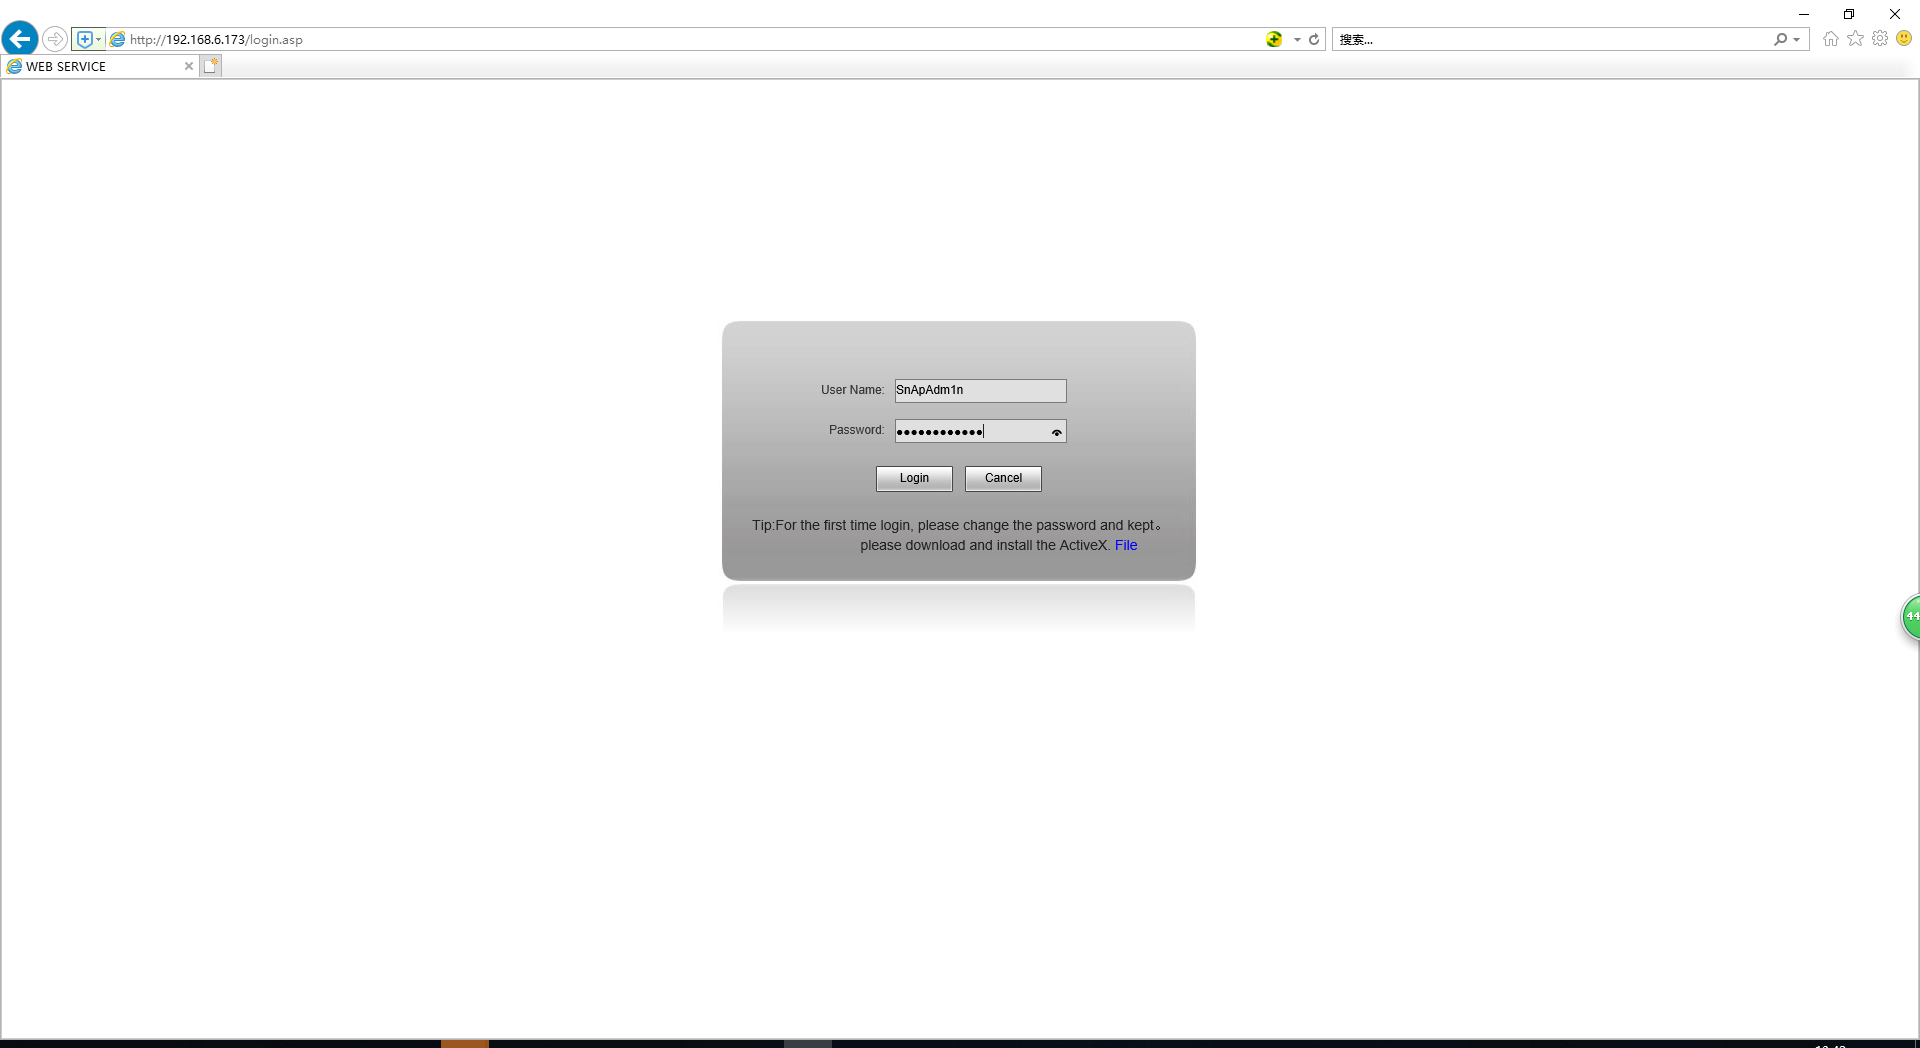
1. Enter the IP address of the deepcam capture camera into IE to login
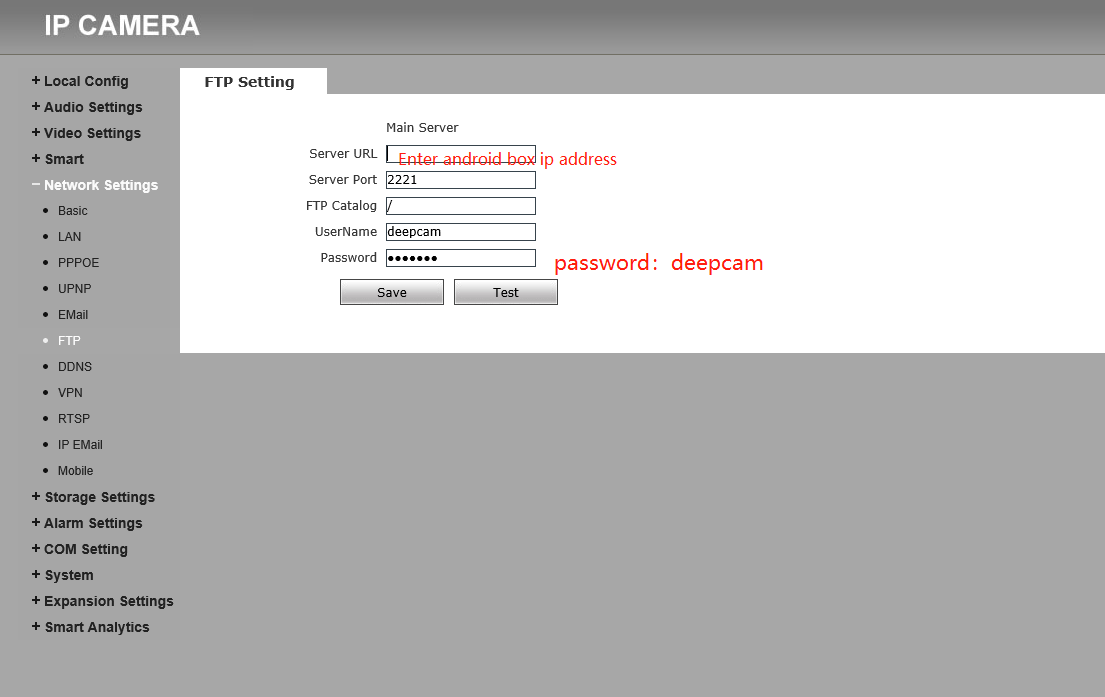
2. FTP settings
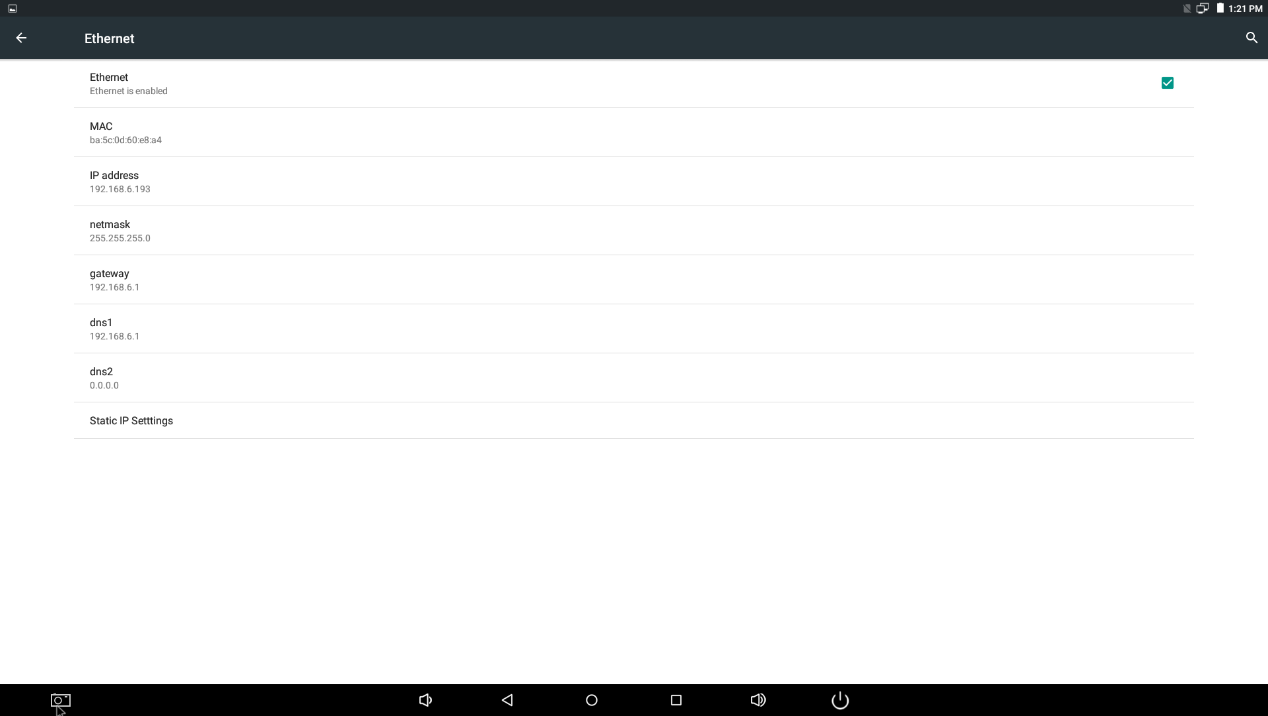
You can get the ip address of 3288 box/board form the android settings like shown below
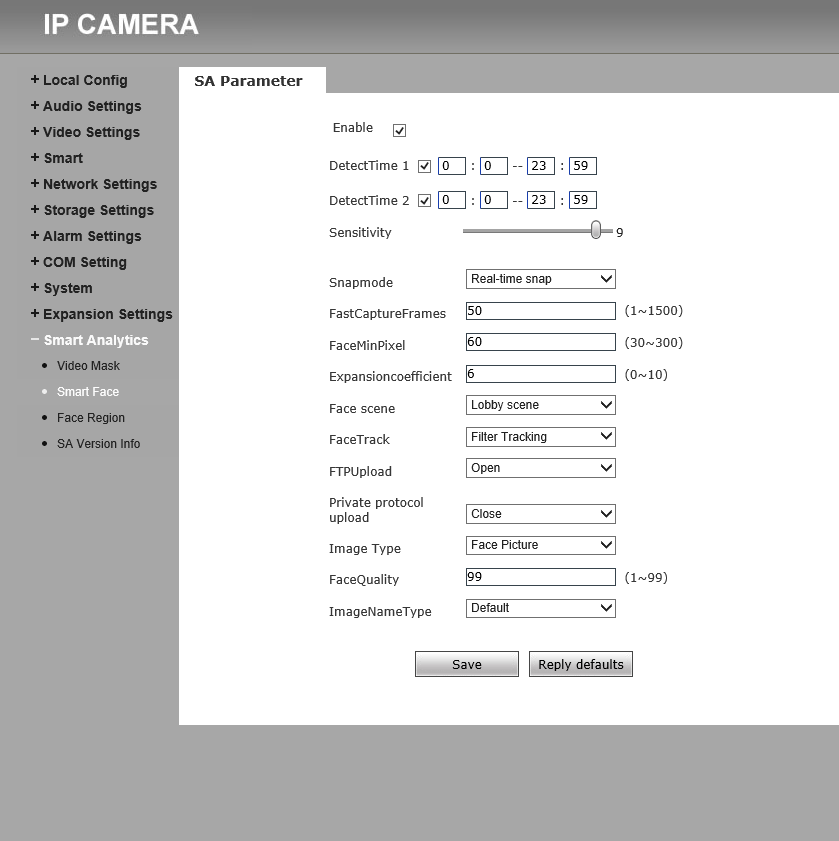
3. Capture settings
Software
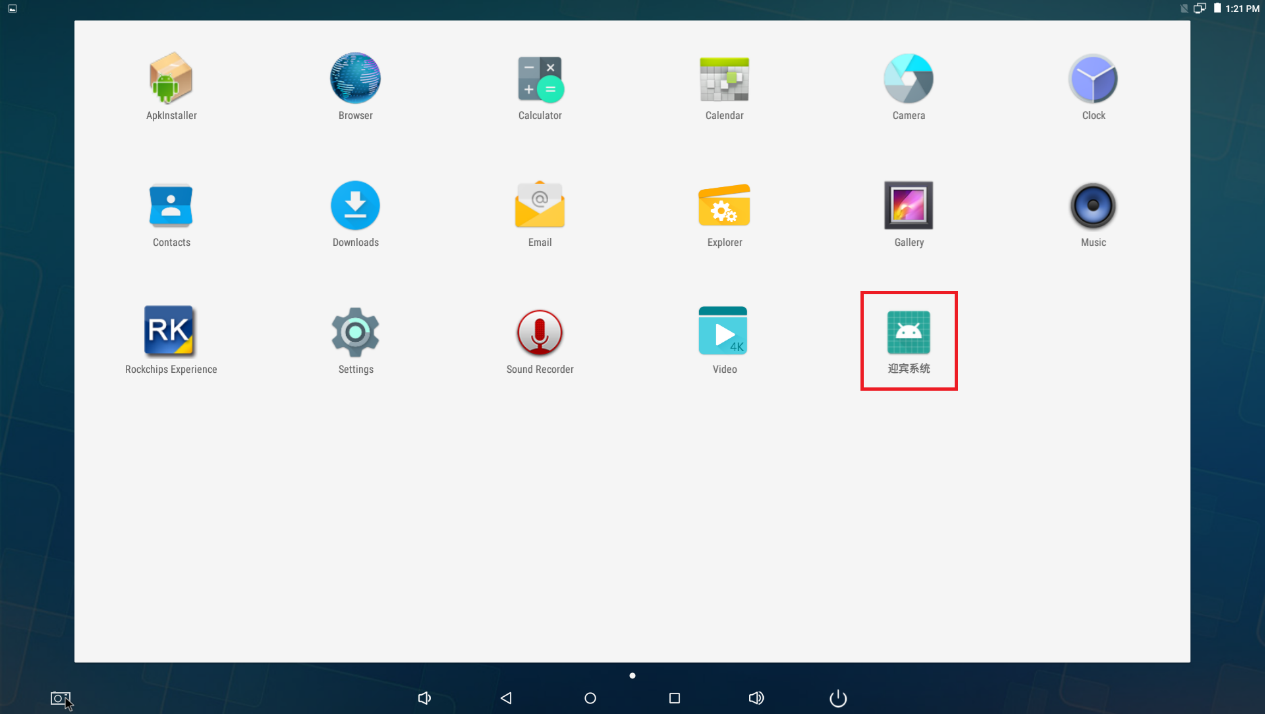
1. Run welcome system as shown below
2. Software settings
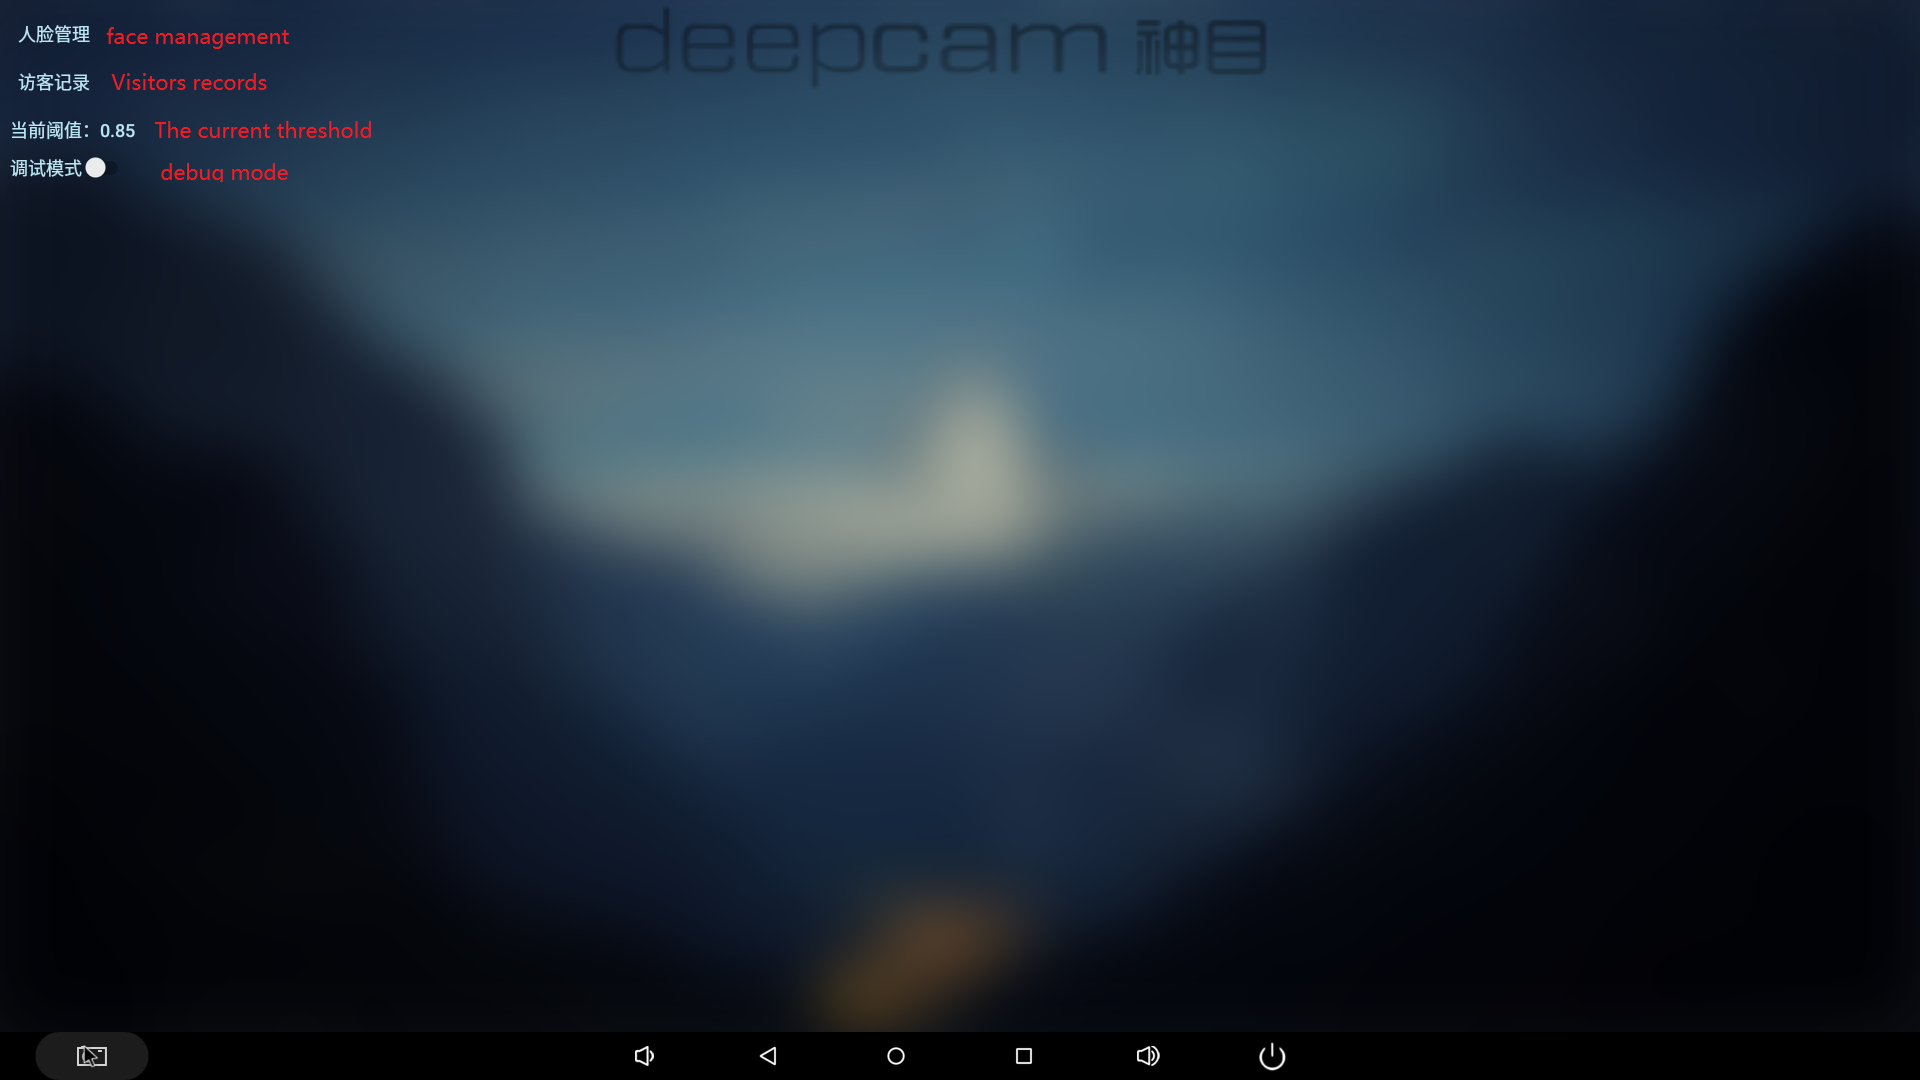
Move the mouse to the top left corner then you can the settings like the following image
2.1 face management
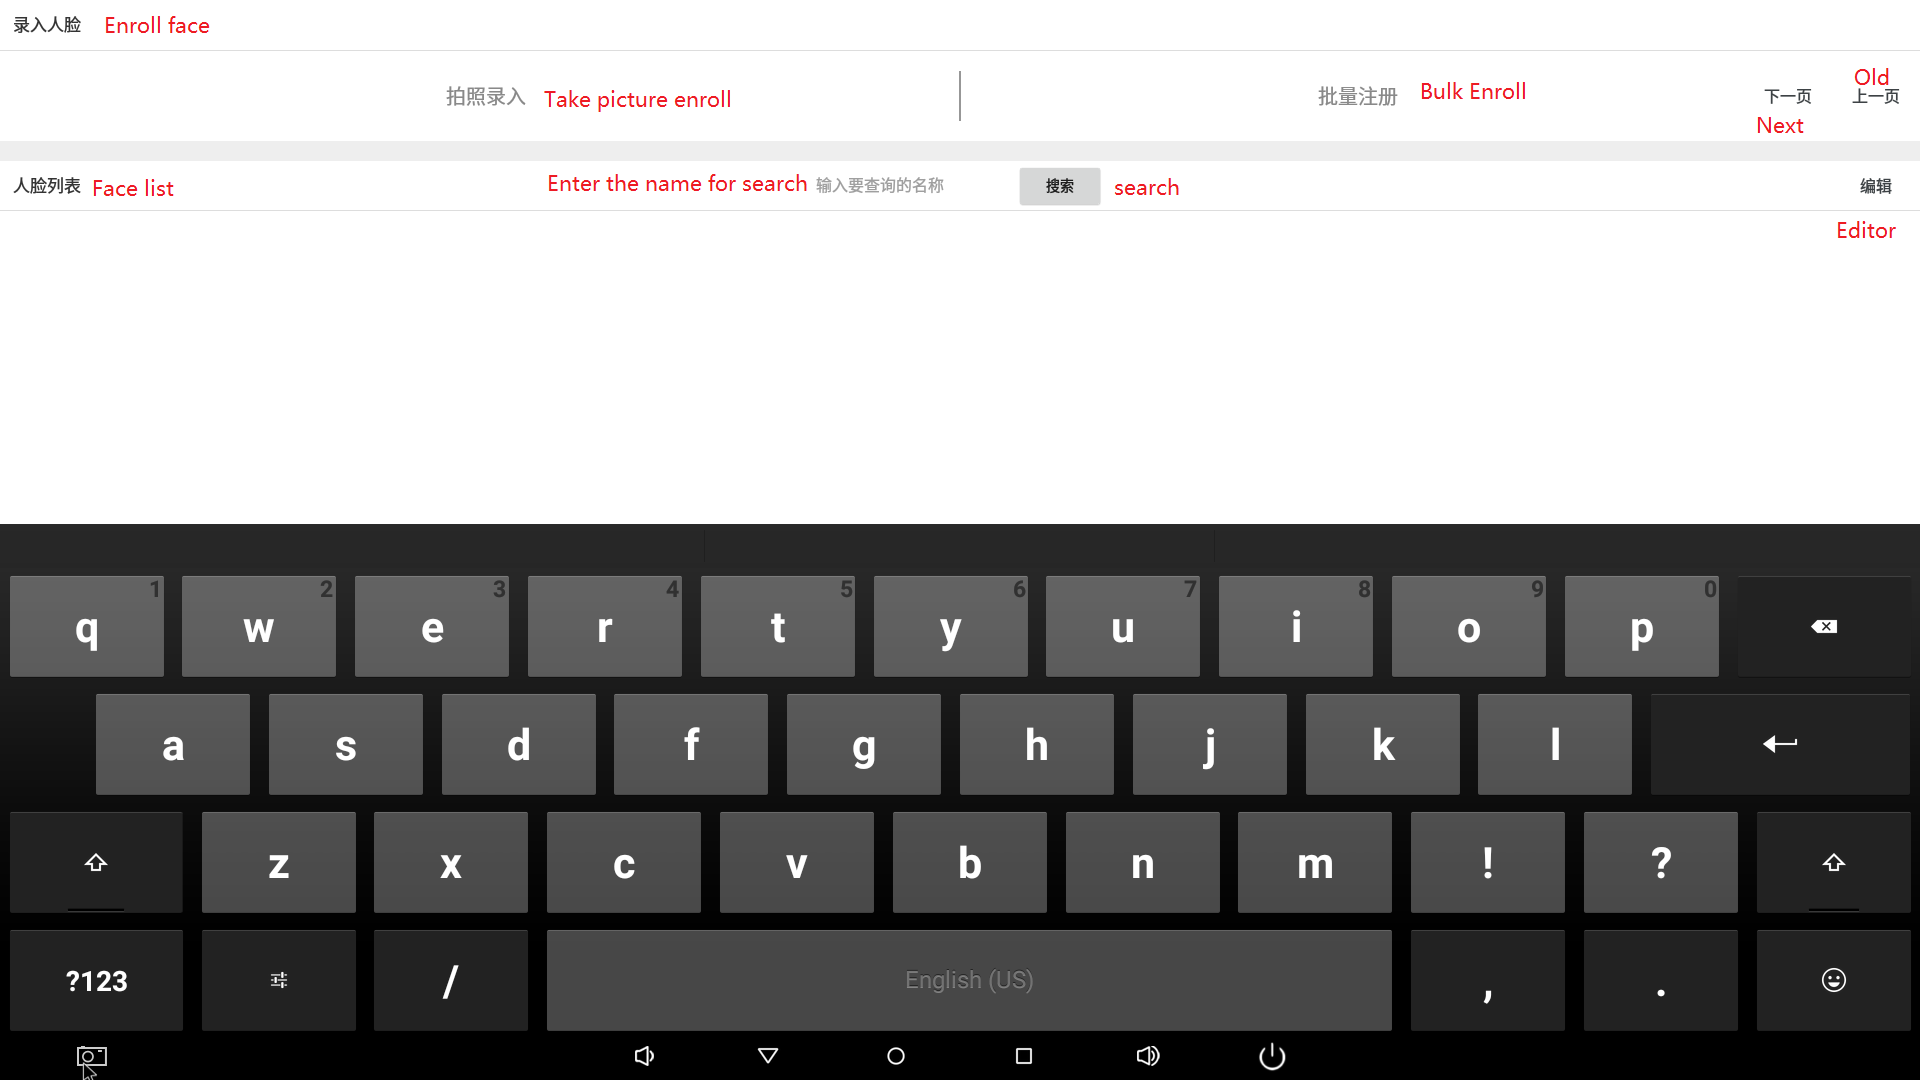
We have 2 way to enroll face, take picture and bulk enroll
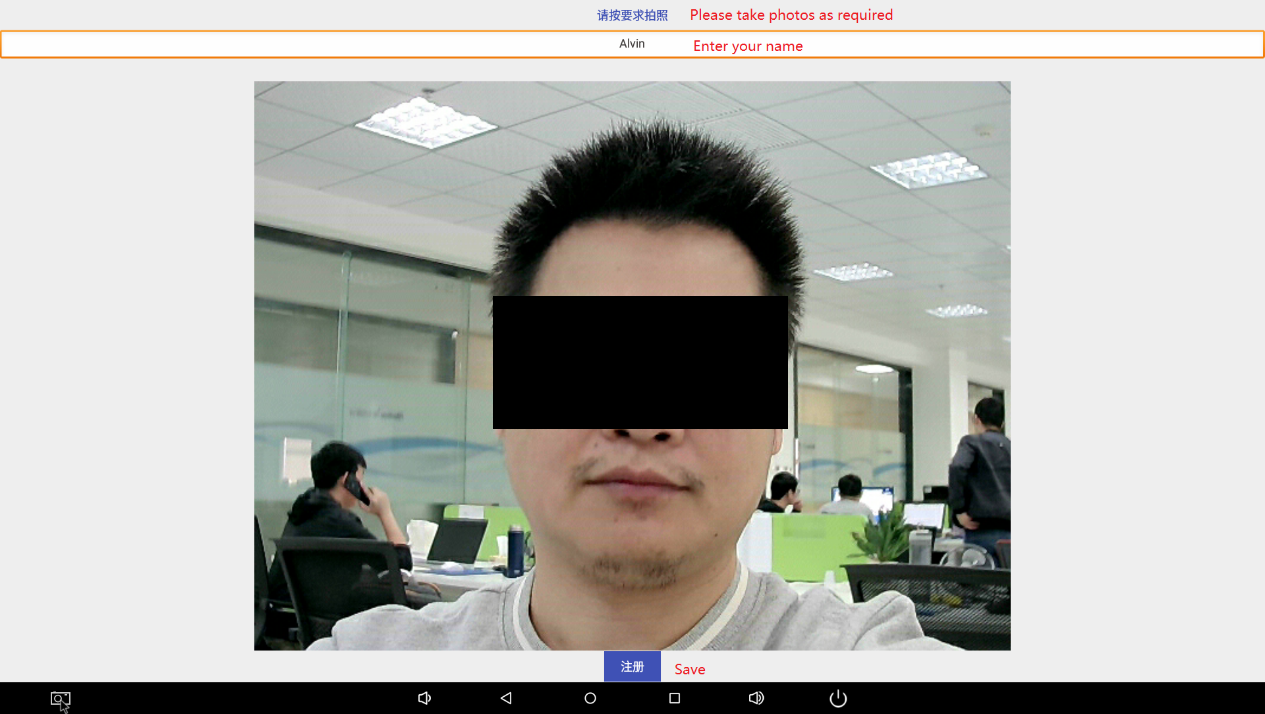
2.1.1 Take picture enroll
If you want to use this way to enroll, you need to connect a USB camera to 3288 box/board.
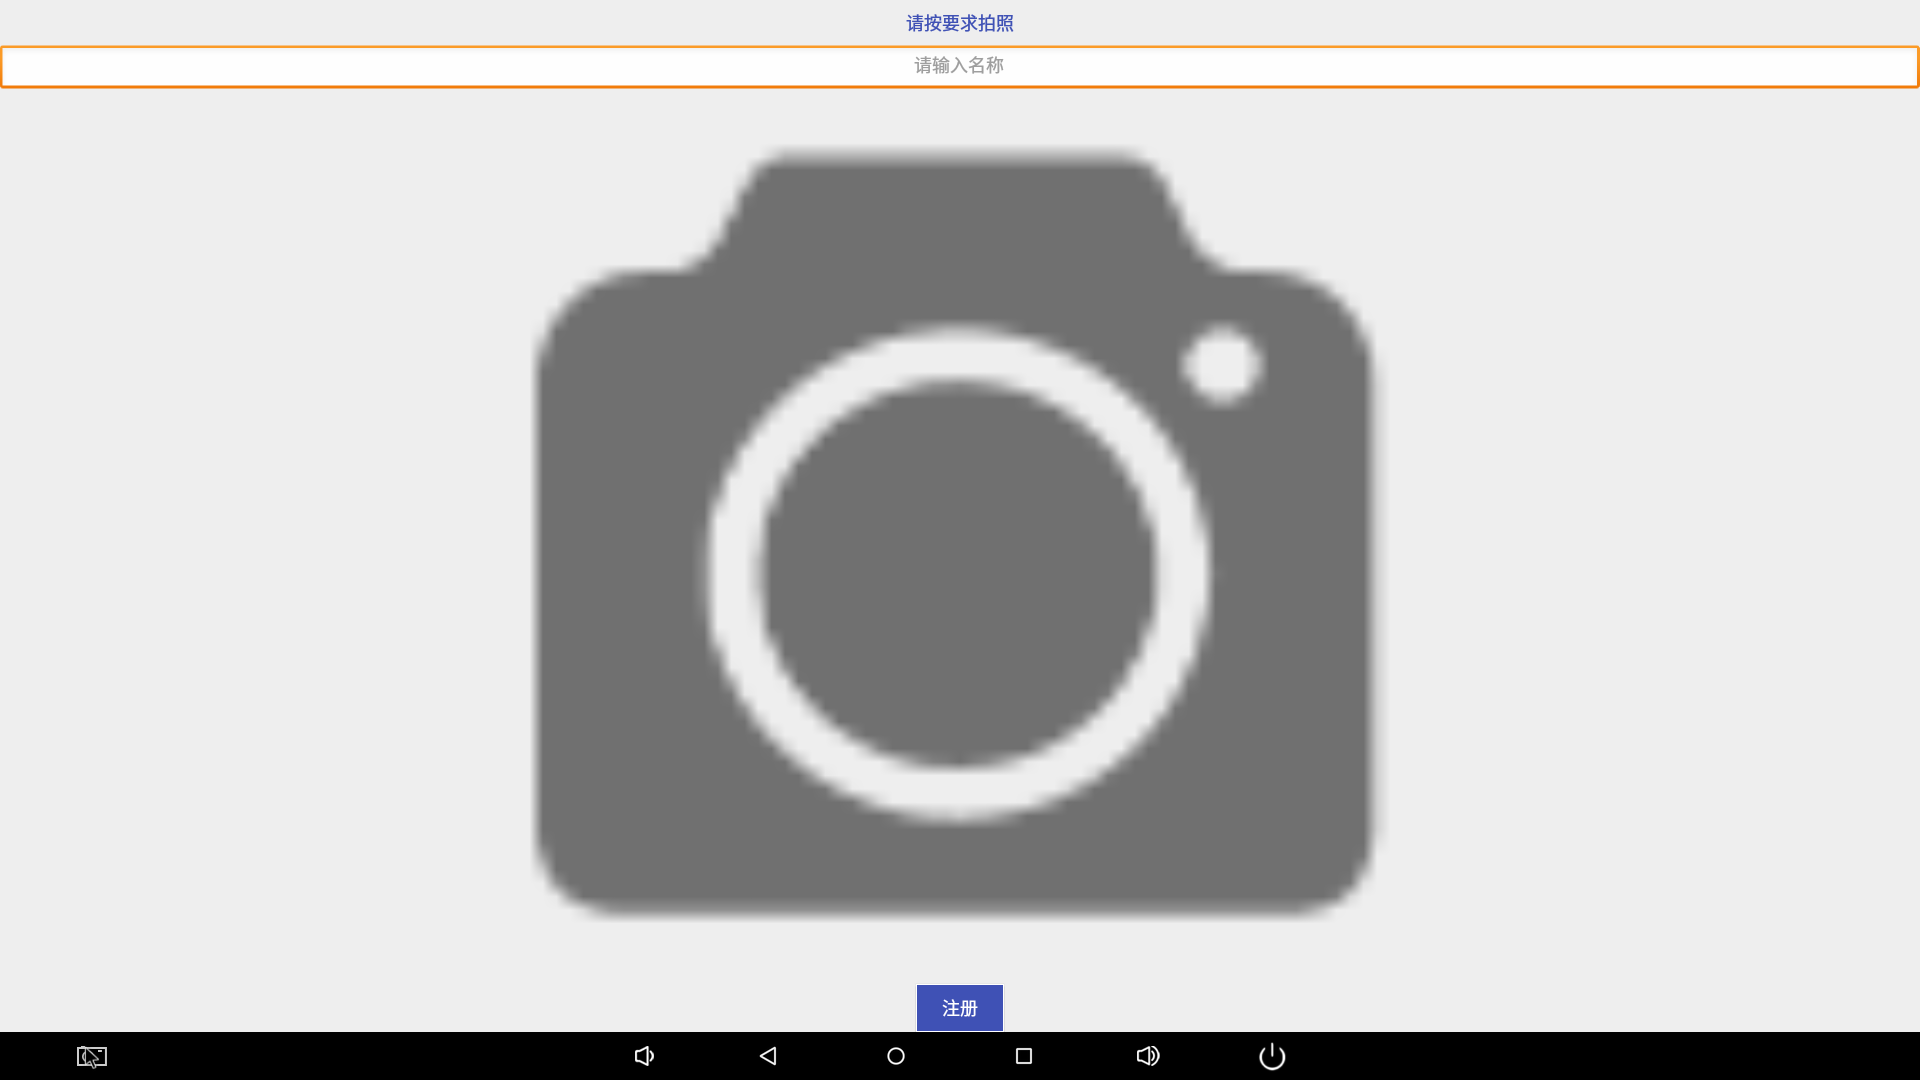
Click Camera icon to take picture
After you save the face the face enrolls successfully.
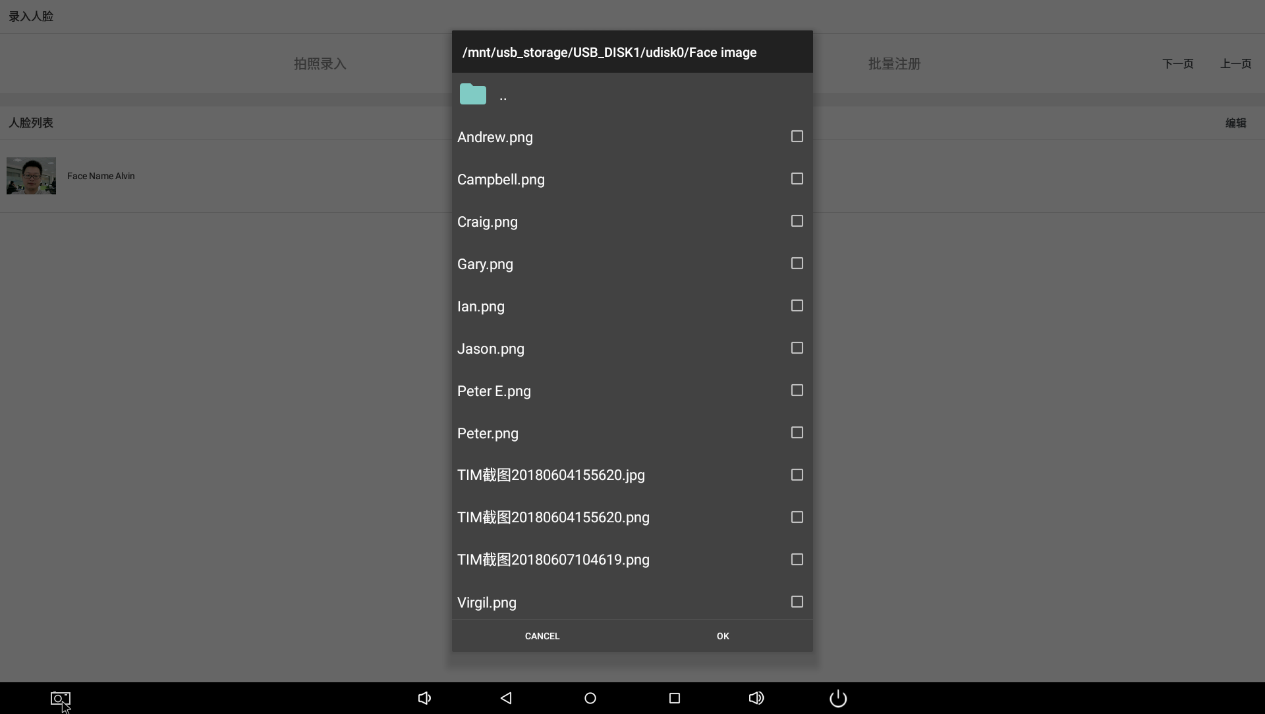
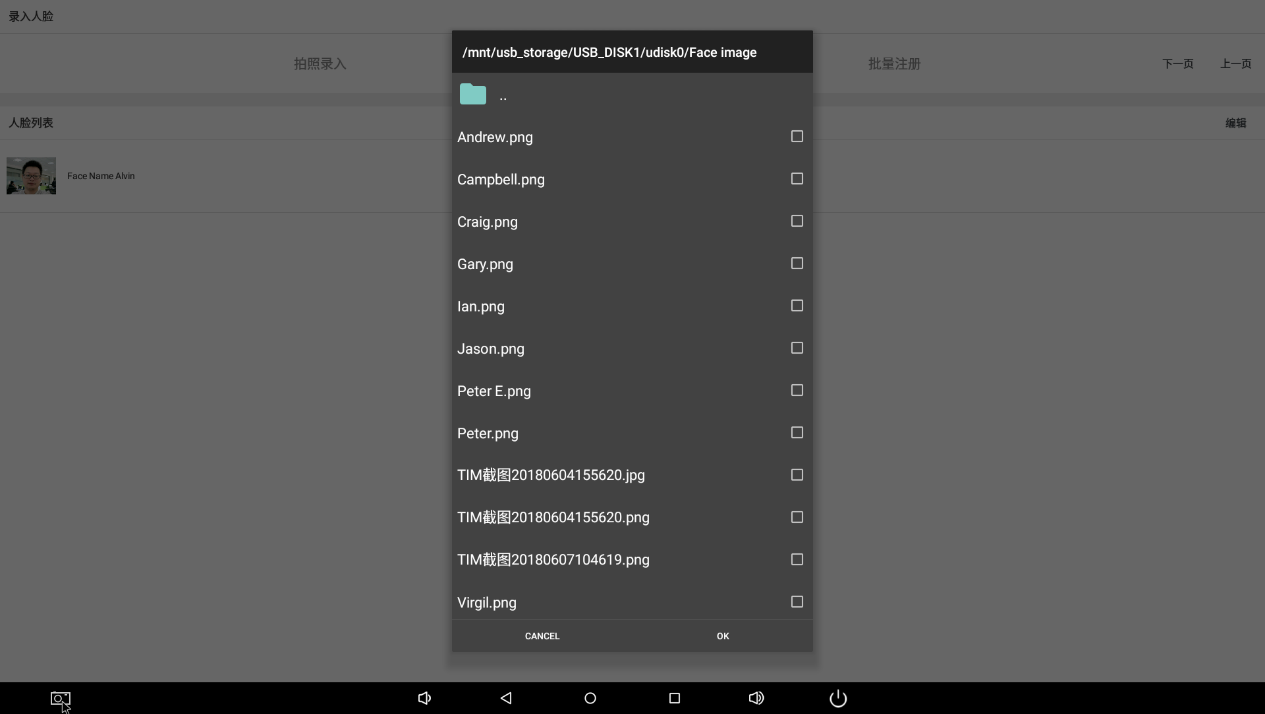
2.1.2 Bulk enroll
Click bulk enroll, you can choose the faces which you want to enroll. Put the face images in one folder and choose the folder, then click ok to enroll
Note: the name of the image is the registration name
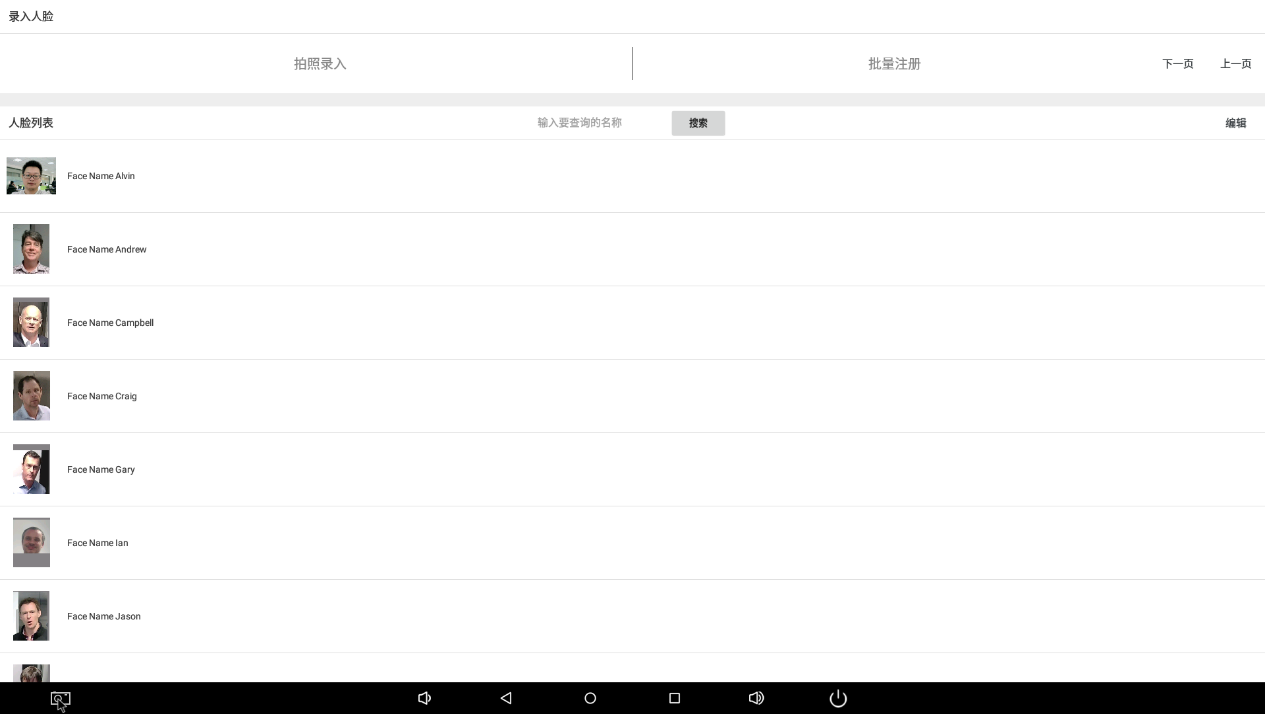
After finished is shown as below:
When you finished the face enroll, go back to the home page of the app.
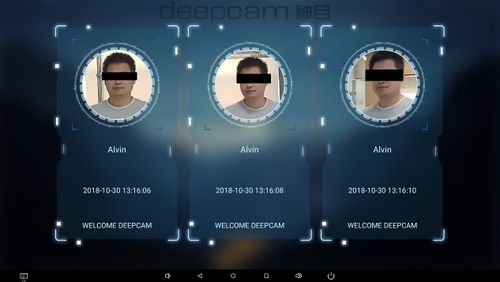
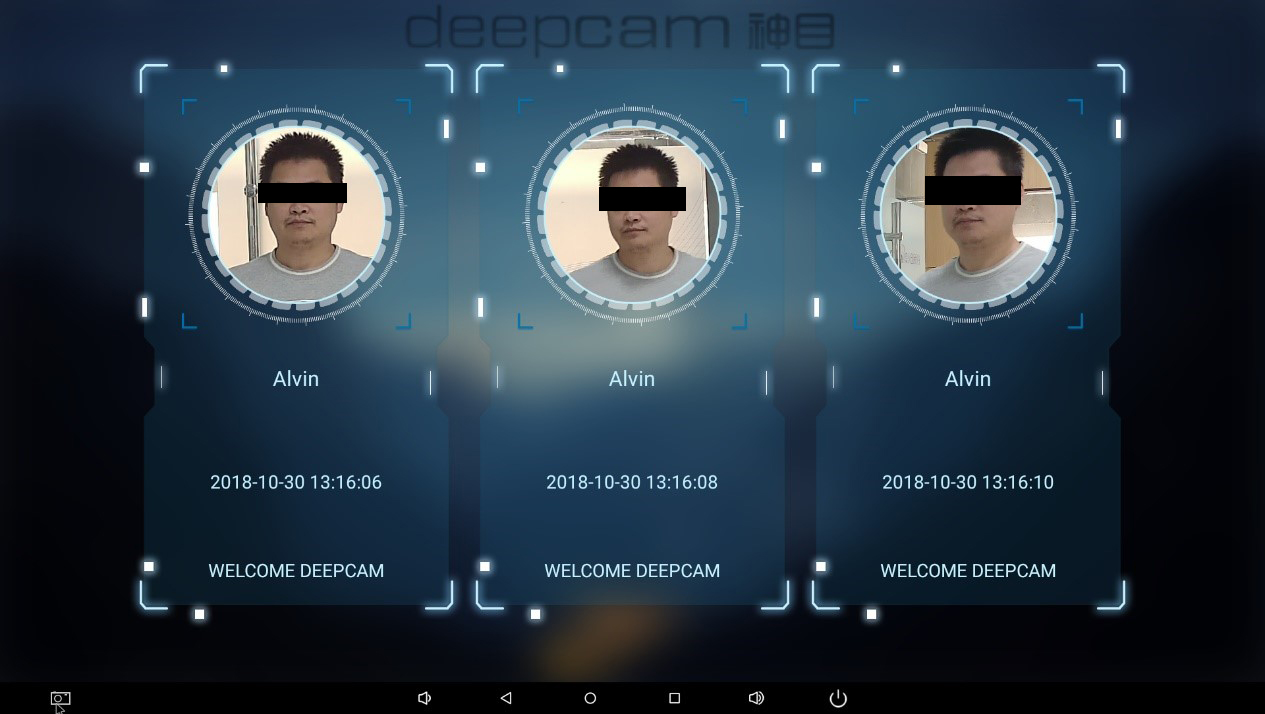
If the registered person goes through the deepcam capture camera, the app will be shown as below:
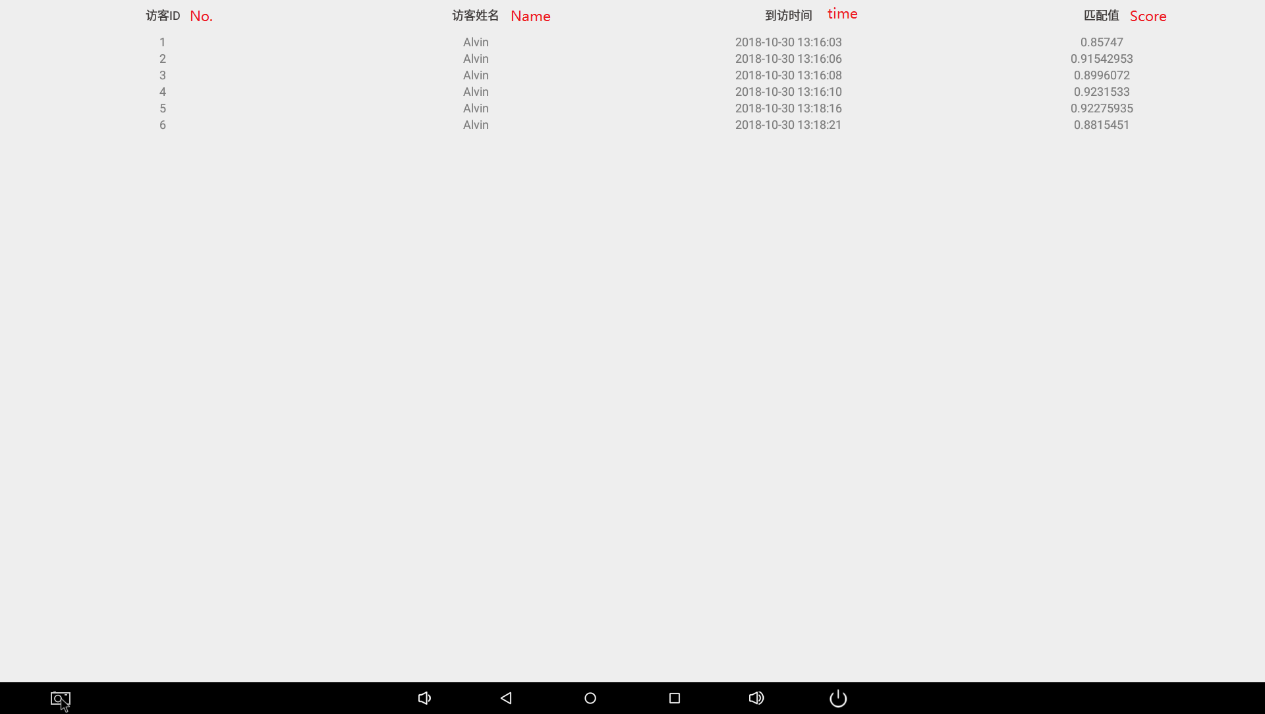
2.2 Visitor records
Click visitor records you can see the records as below:
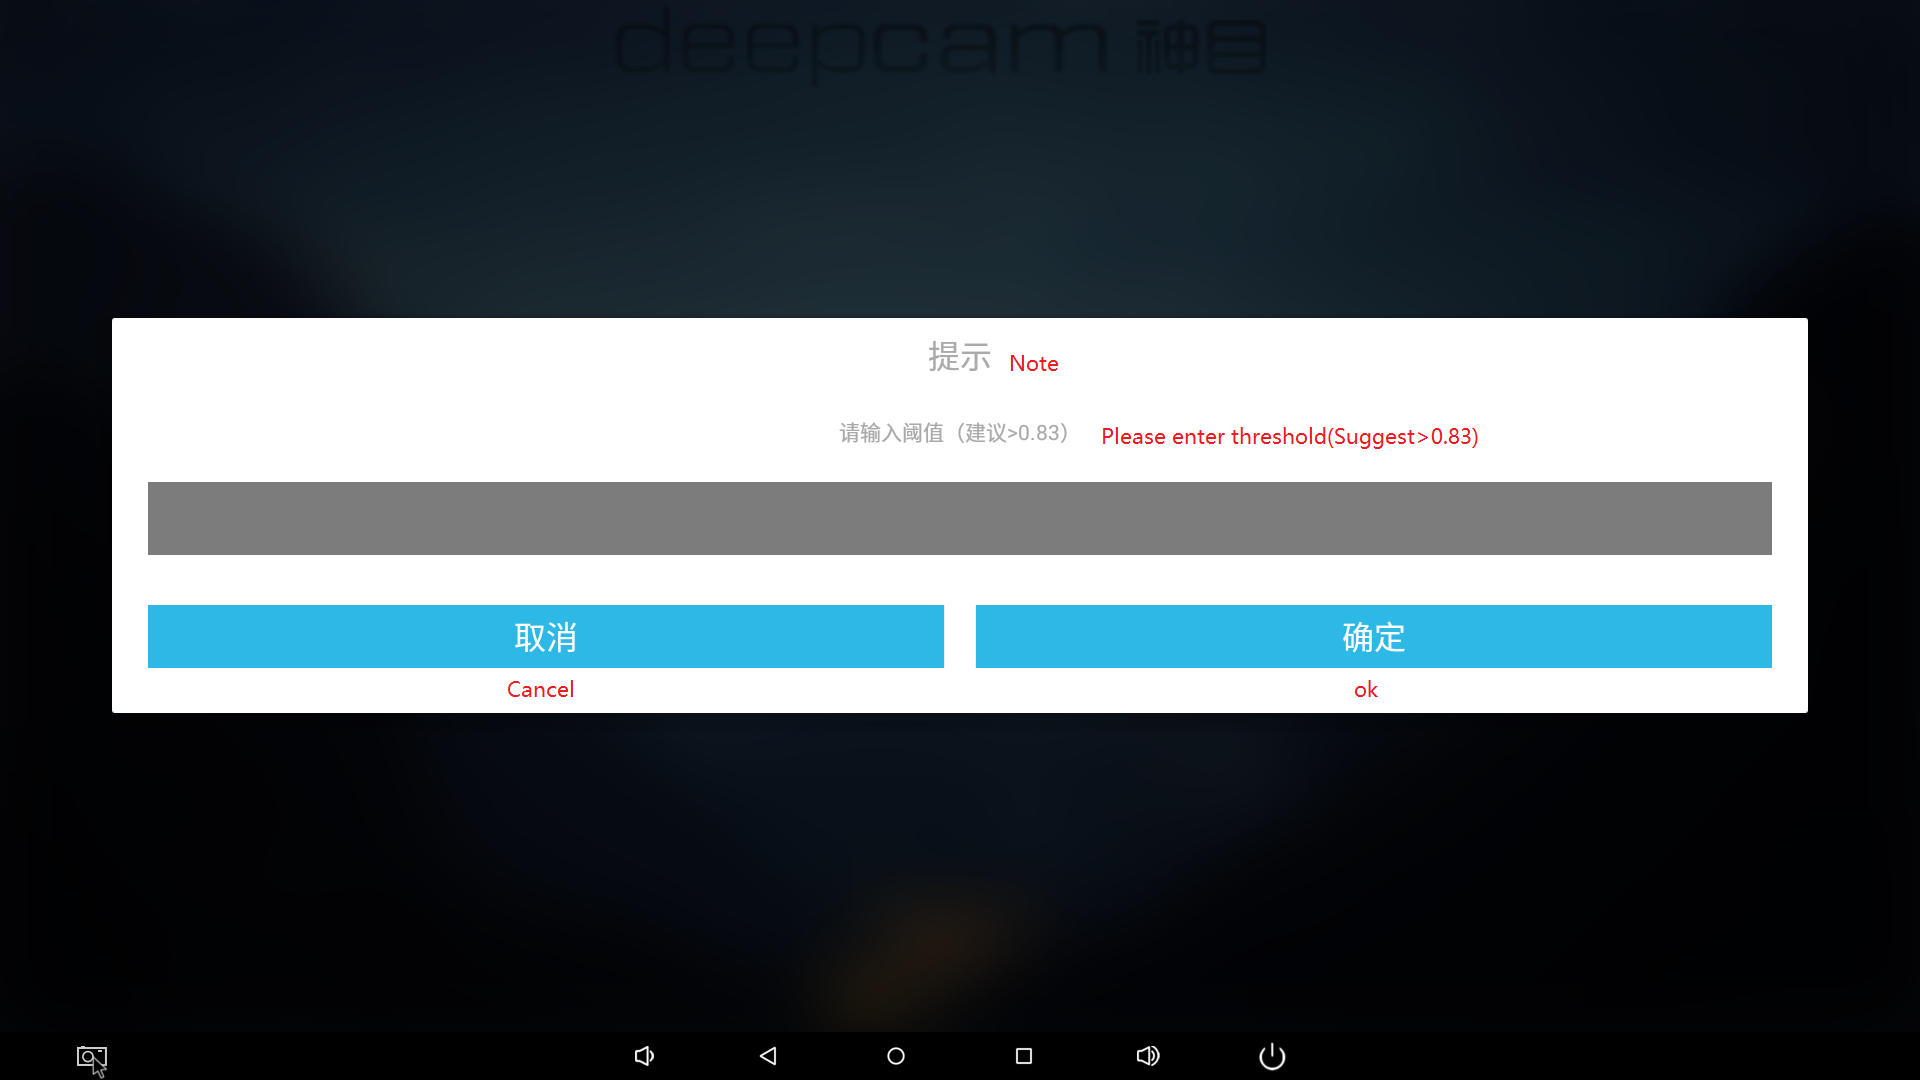
2.3 threshold
Click current threshold to set compare threshold
2.4 debug model
If debug model off, only shows the registered person.
If debug model on, shows registered person and strangers.
